The Ultimate 10-Day Washington & Oregon Road Trip Itinerary
There are few places in the country that pack as much variety into one itinerary as a Pacific Northwest road trip – specifically Washington and Oregon. In just 10 days, you can drive along rugged Pacific beaches, explore moss-covered rainforests, search for tide pools, hike beneath towering mountains, paddle across turquoise lakes, and explore a volcanic lava tube, plus so much more.
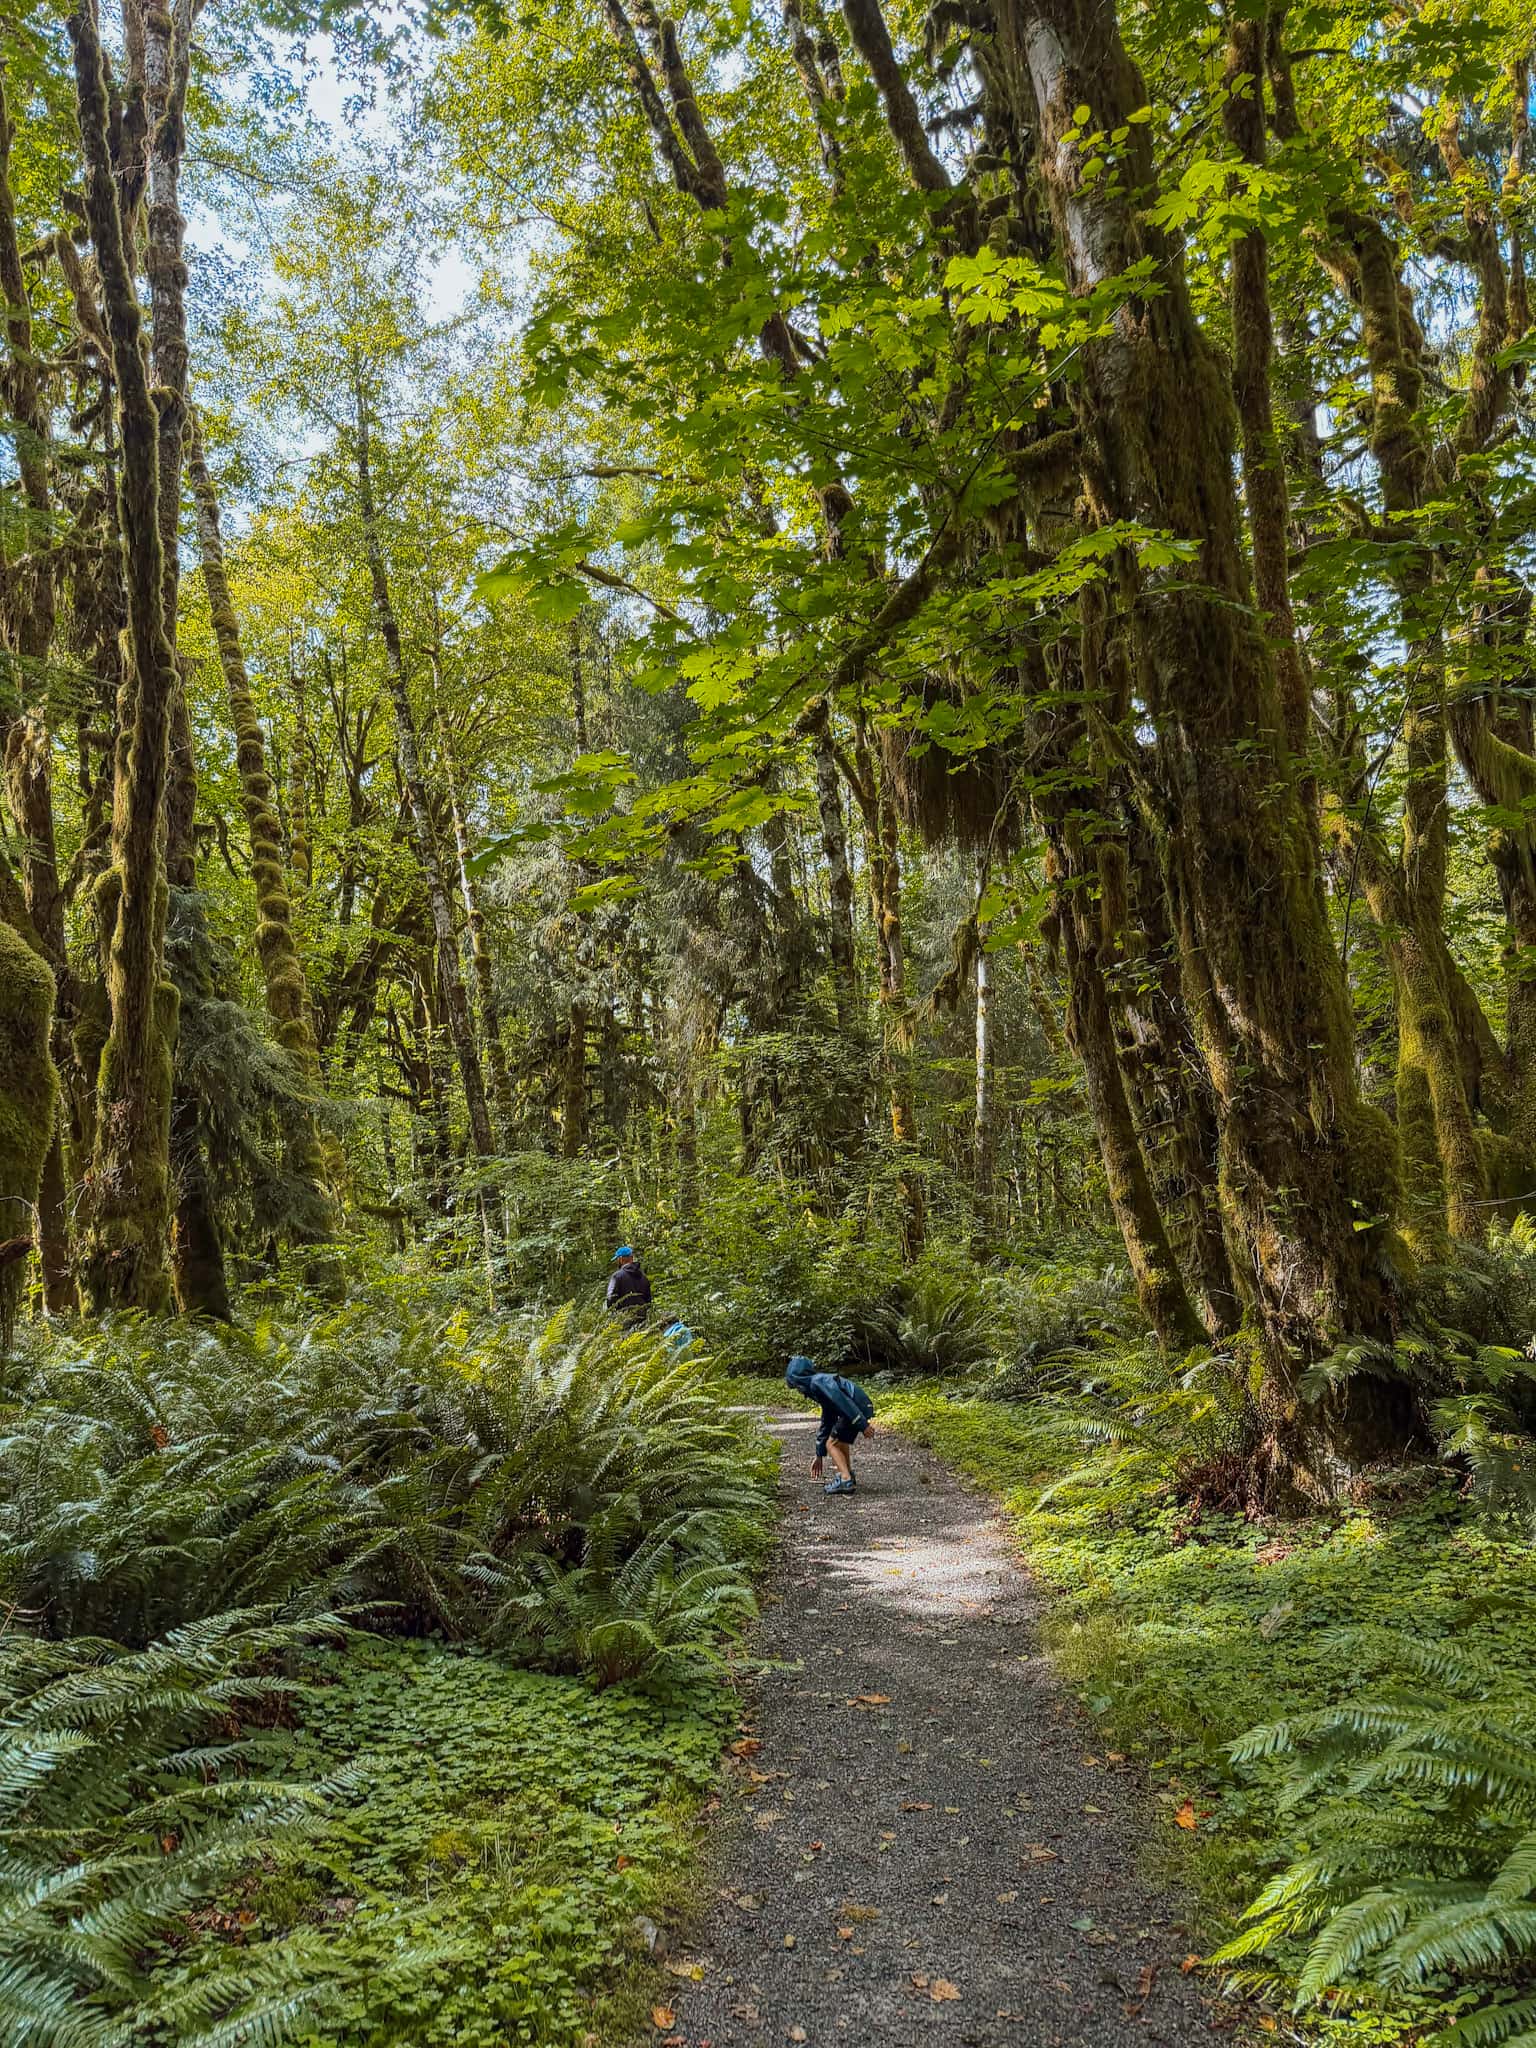
This wide variety of epic outdoor adventures is exactly what drew us to the Pacific Northwest for our latest family road trip.
We spent 10 days traveling through Washington and Oregon with our 3 kids, starting in Portland and working our way up the Oregon Coast before crossing into Washington and exploring Olympic National Park, Whidbey Island, North Cascades National Park, Mount Rainier National Park, and the Columbia River Gorge.
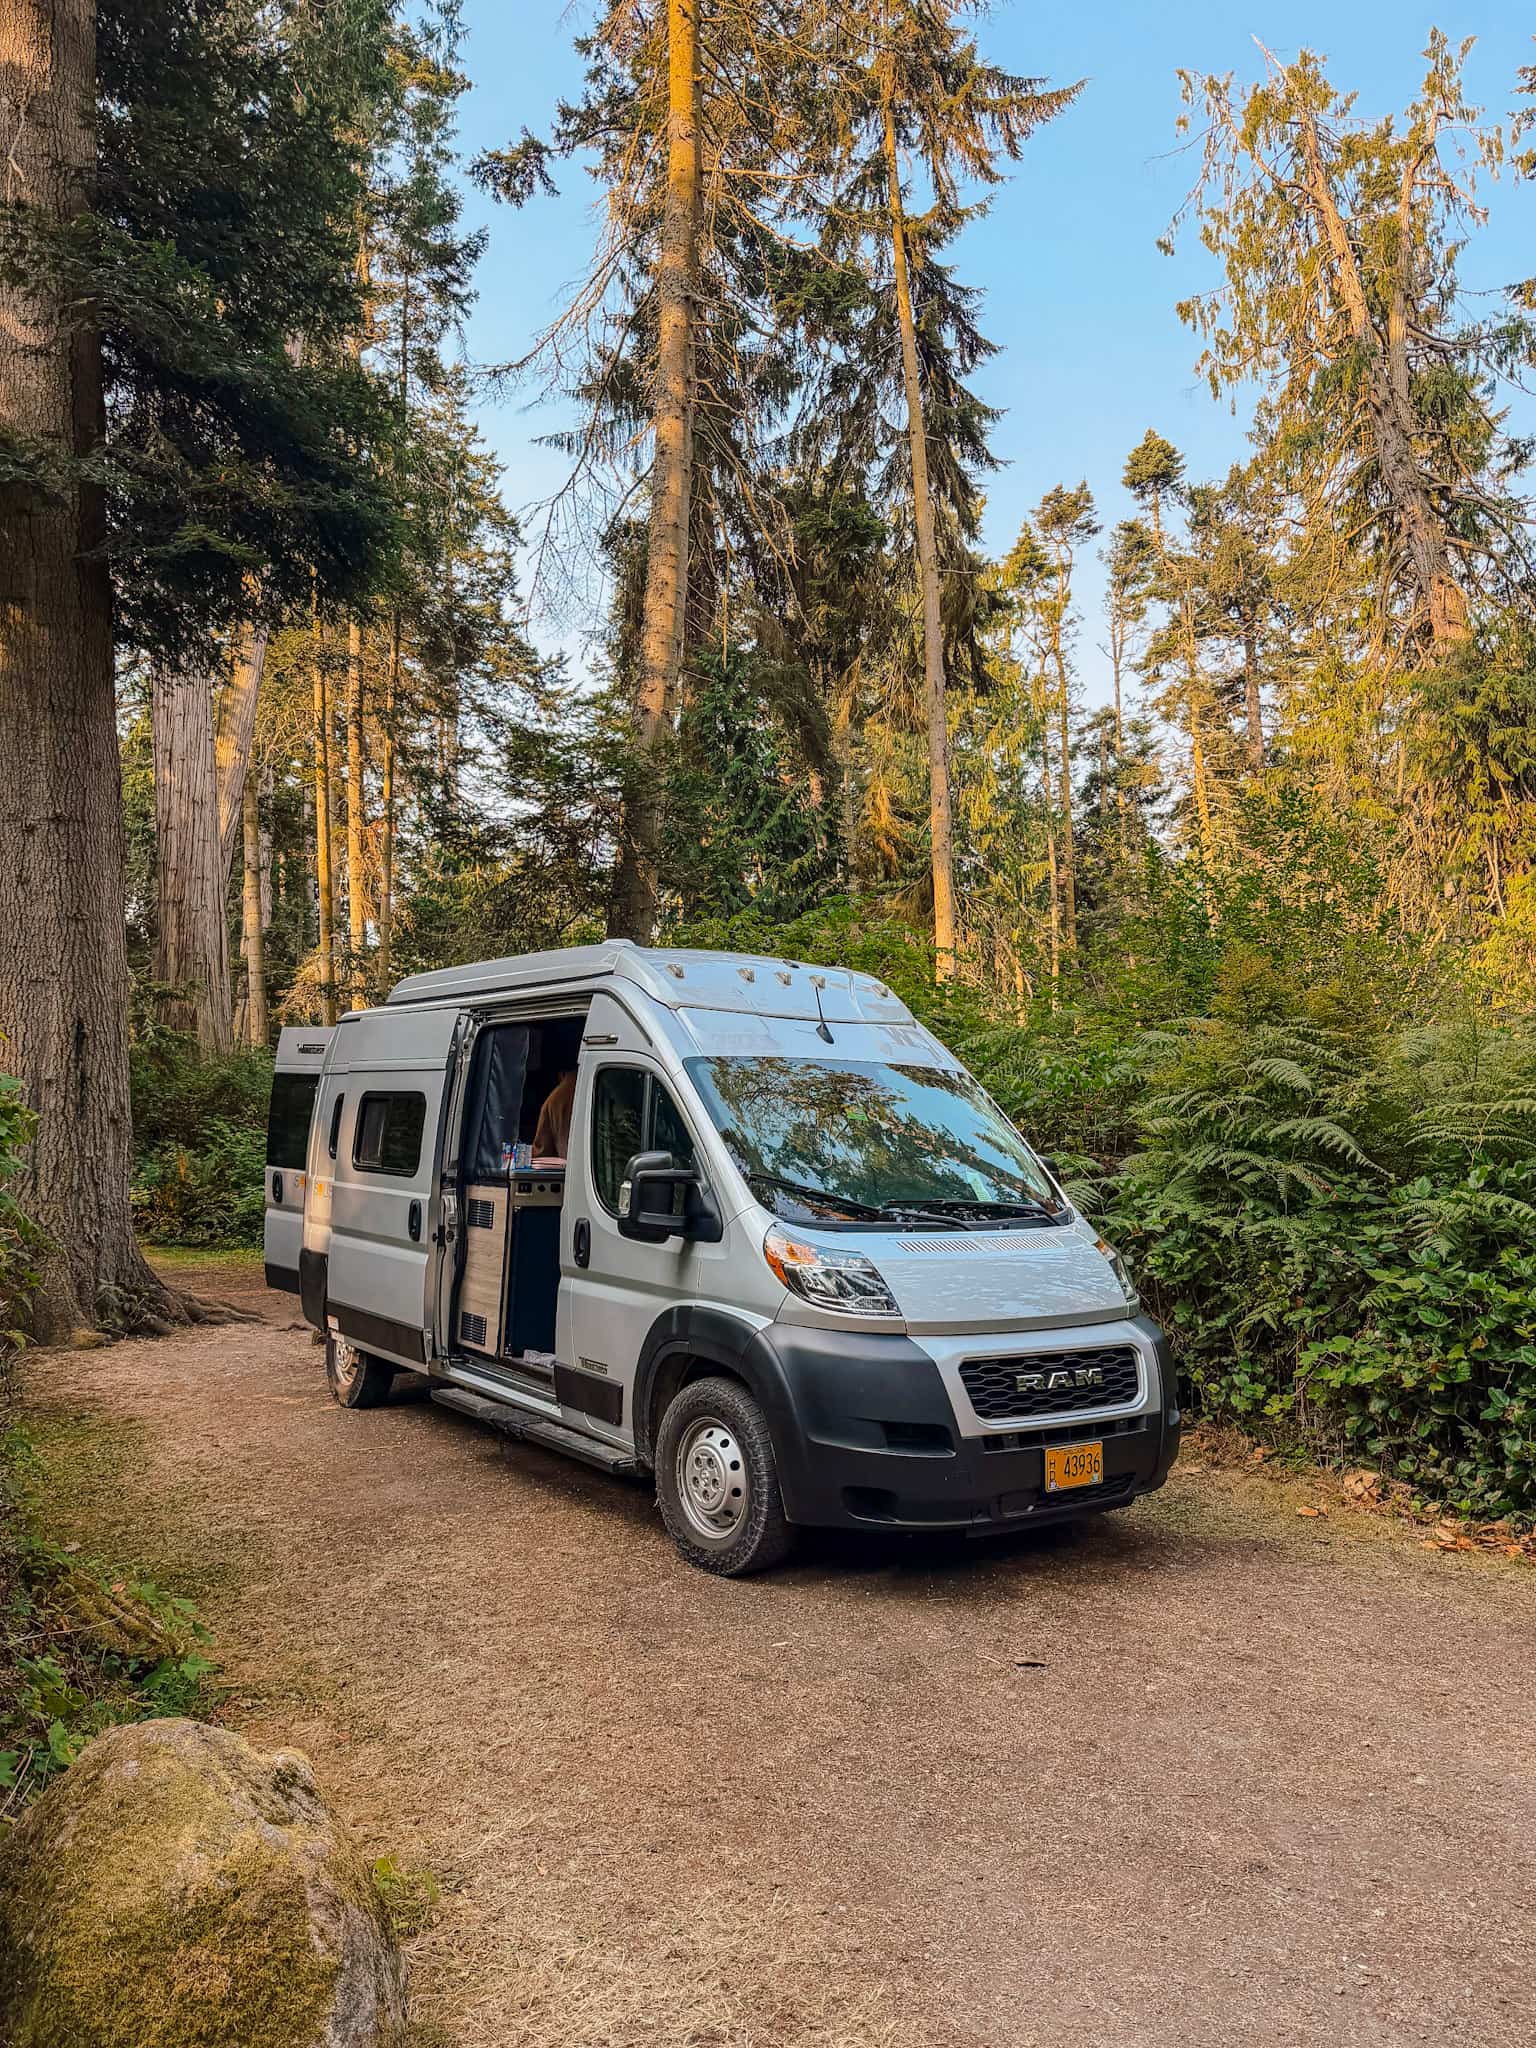
Rather than renting a car and staying in hotels along the way, we did the entire road trip in a campervan rented through Outdoorsy. Having our kitchen, beds, and camping gear with us gave us a completely different way to experience the Pacific Northwest and allowed us to stay right in the middle of some of the places we wanted to explore.
If you’re planning your own Washington and Oregon road trip, this is the route I’d recommend. It is busy—there’s no getting around that—but it packs an incredible amount of some of the best sights and adventures that the Pacific Northwest has to offer into just 10 days.
Our 10-Day Washington & Oregon Road Trip at a Glance
Day 1: Portland → Oregon Coast → Cannon Beach → Fort Stevens
Day 2: Fort Stevens → Astoria → Quinault → Kalaloch → Hoh Rainforest
Day 3: Hoh Rainforest → Second Beach → Cape Flattery → Sol Duc
Day 4: Sol Duc → Salt Creek → Lake Crescent → Hurricane Ridge
Day 5: Port Townsend → Coupeville → Whidbey Island → Deception Pass
Day 6: Deception Pass → Rosario Beach → Orca Boat Tour → North Cascades National Park
Day 7: North Cascades National Park → Mount Rainier National Park
Day 8: Mount Rainier National Park
Day 9: Mount Rainier → Gifford Pinchot National Forest
Day 10: Ape Cave → Columbia River Gorge → Portland
This route covers around 1,200 miles, so if you have more than 10 days, I would absolutely recommend slowing it down. I’ll share ideas throughout the itinerary for places where you could add an extra night, as well as things you can skip if you are short on time.
Before You Start: What to Know About This Road Trip
How many days do you need?
Ten days is the perfect amount to experience the highlights, but this is a fast-paced itinerary with minimal down time.
You’re going to have some long driving days, and there will be days when you’re packing multiple hikes and attractions into one schedule.
If you’re traveling with babies or toddlers, or just prefer a slower pace, I’d recommend stretching this itinerary to 12–14 days.
Also, feel free to take from this itinerary whatever you’re most interested in, and create your own that works well for your family! If you want to just spend a few days on the coast, great! Or if the National Parks are more your style, take the information from those sections.
We love a well rounded road trip that packs in a lot of different places and activities, and this one truly had it all.
Best time to take this road trip
We traveled in late July and early August, which gave us excellent summer weather and access to the higher-elevation trails and mountain roads.
Summer is also the busiest time of year, so expect crowds at popular national park destinations and make campground reservations as early as possible.
Summer also brings wild fires in the PNW, which can cause issues with smoke and air quality. We had to make a few small changes during our trip due to poor air quality in some regions, so keep that in mind when visiting during the late summer. Many campgrounds in the Pacific Northwest also have a burn ban in effect during this time of year, meaning no campfires, which is another important thing to keep in mind if you are planning on camping or RVing.
Where does the road trip start?
We flew into Portland International Airport (PDX) and ended the trip back in Portland.
This makes a convenient starting and ending point and allows you to create a one-way loop without having to backtrack.
This same general route would also work great flying in and out of Seattle. From Seattle, just decide if you want to head to the Olympic Peninsula or North Cascades National Park first, and then start the itinerary from that point, ending back in Seattle.
How did we travel?
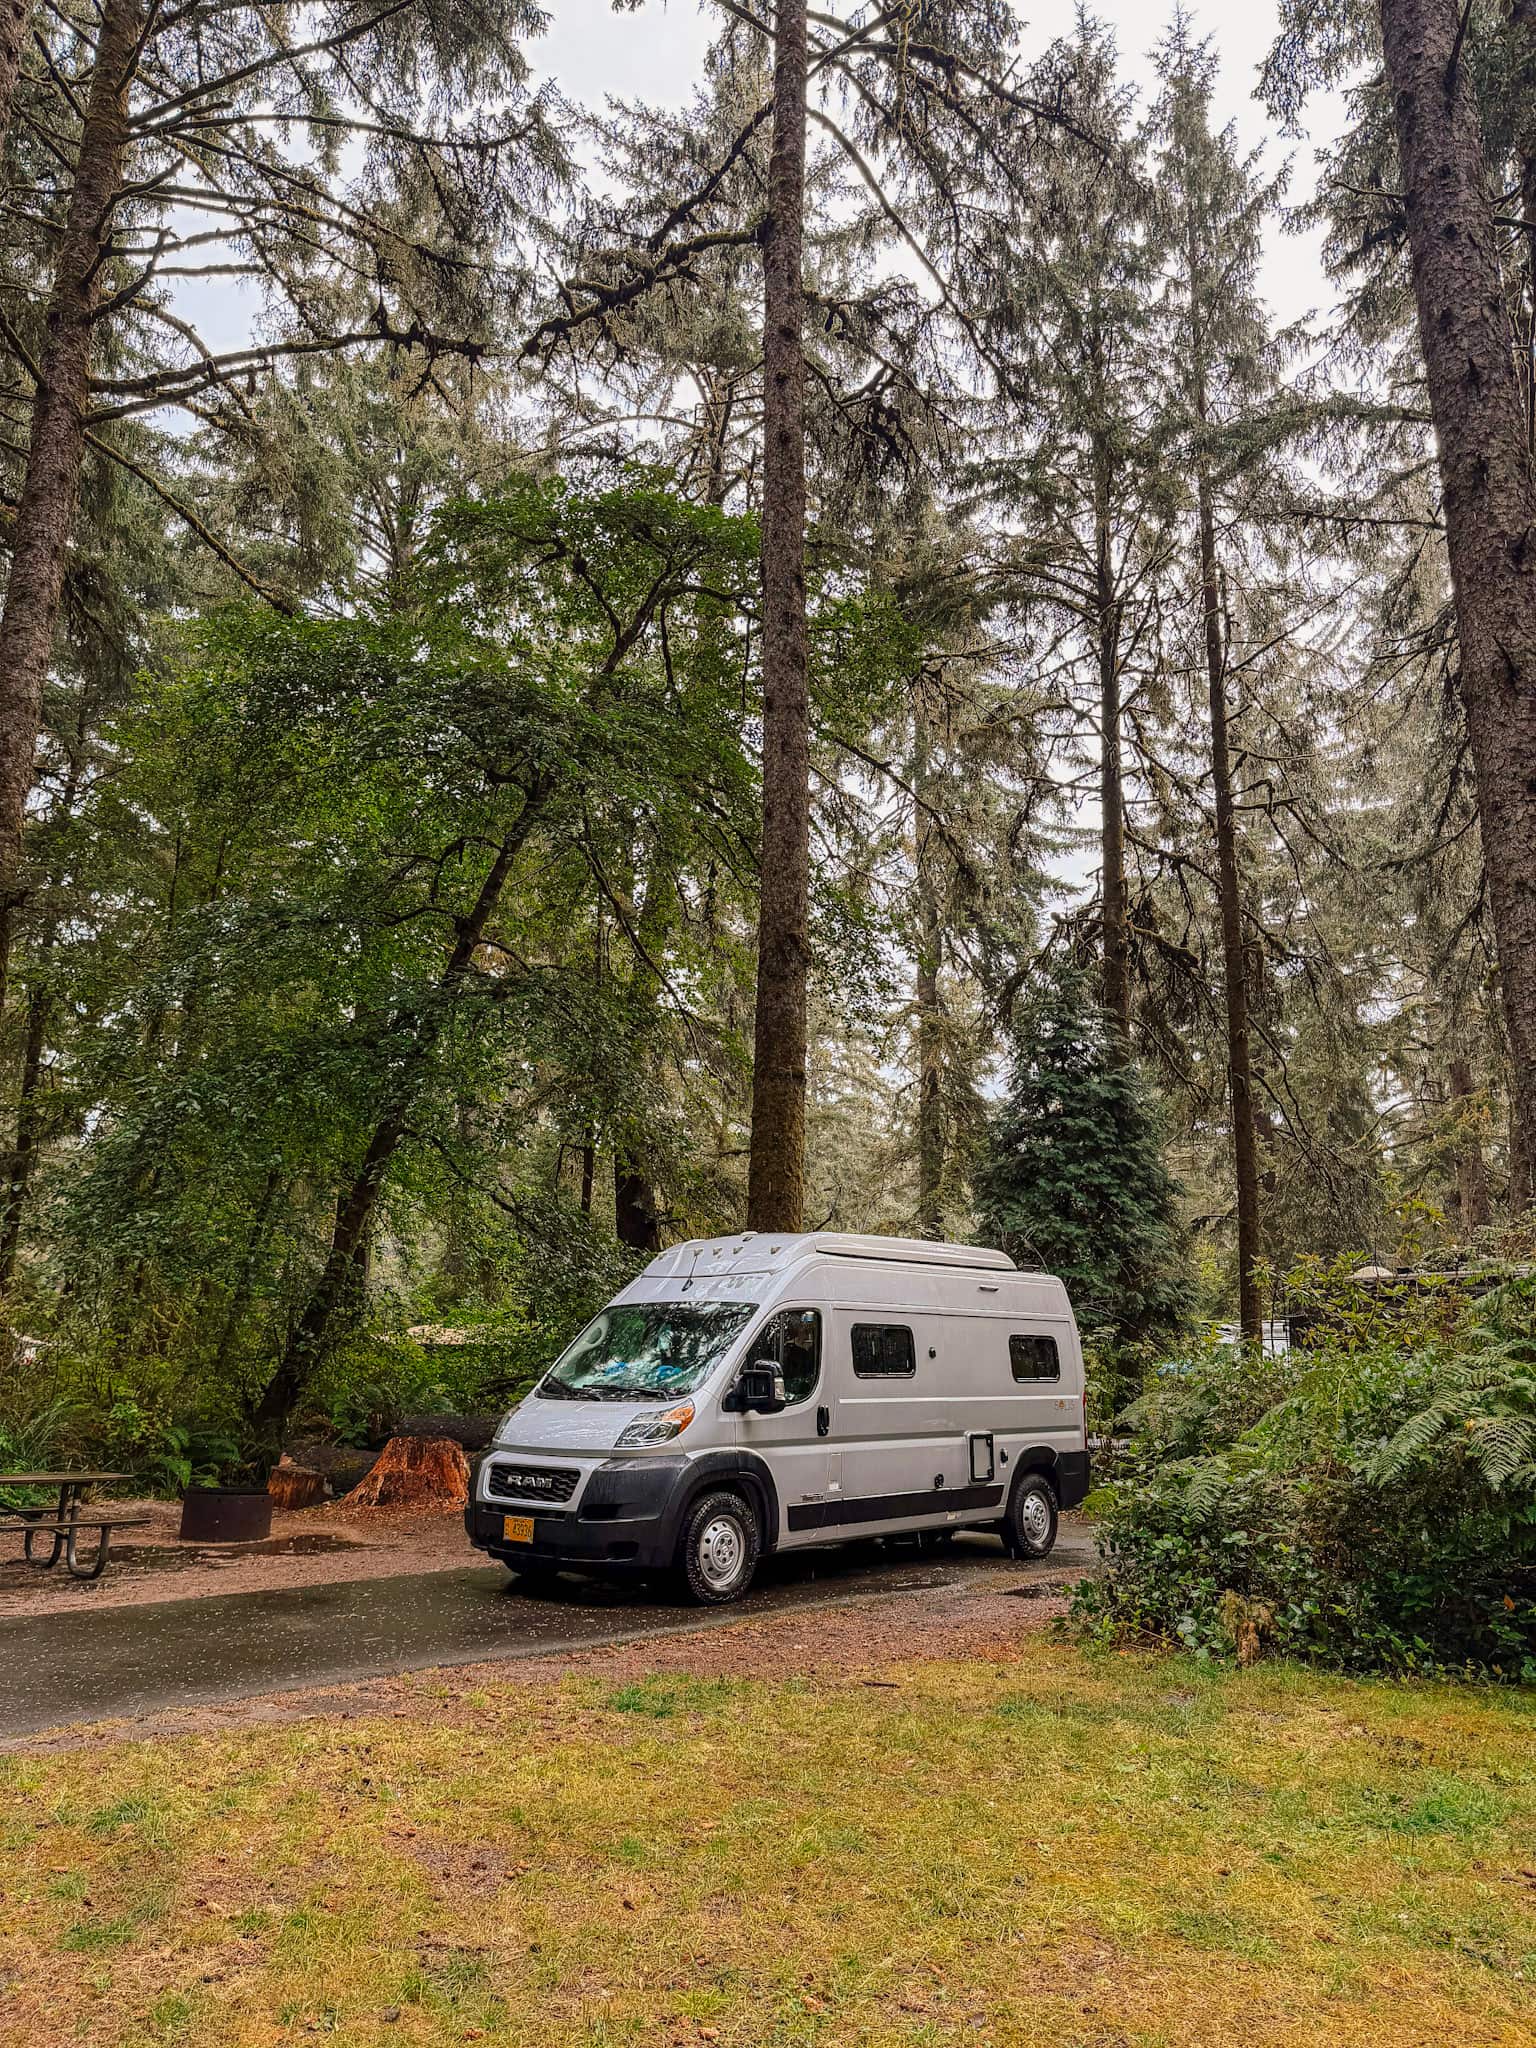
For this trip, we decided to do things a bit differently than our normal family road trips. We rented a campervan through Outdoorsy, which became both our transportation and our accommodation for most of the trip.
Day 1: Portland to the Oregon Coast
Portland → Beaverton → Oceanside → Tillamook → Cannon Beach → Fort Stevens
Where we stayed: Fort Stevens State Park
Your first full day starts with picking up your campervan, RV or rental car and heading toward the Pacific Coast.
We picked up our camper van just outside of Portland first thing in the morning, made a quick grocery run, and then made our way toward the coast.
Tunnel Beach in Oceanside
Our first stop was Tunnel Beach in Oceanside, a small but unique stretch of Oregon coastline that’s accessed through a tunnel carved into the rock.
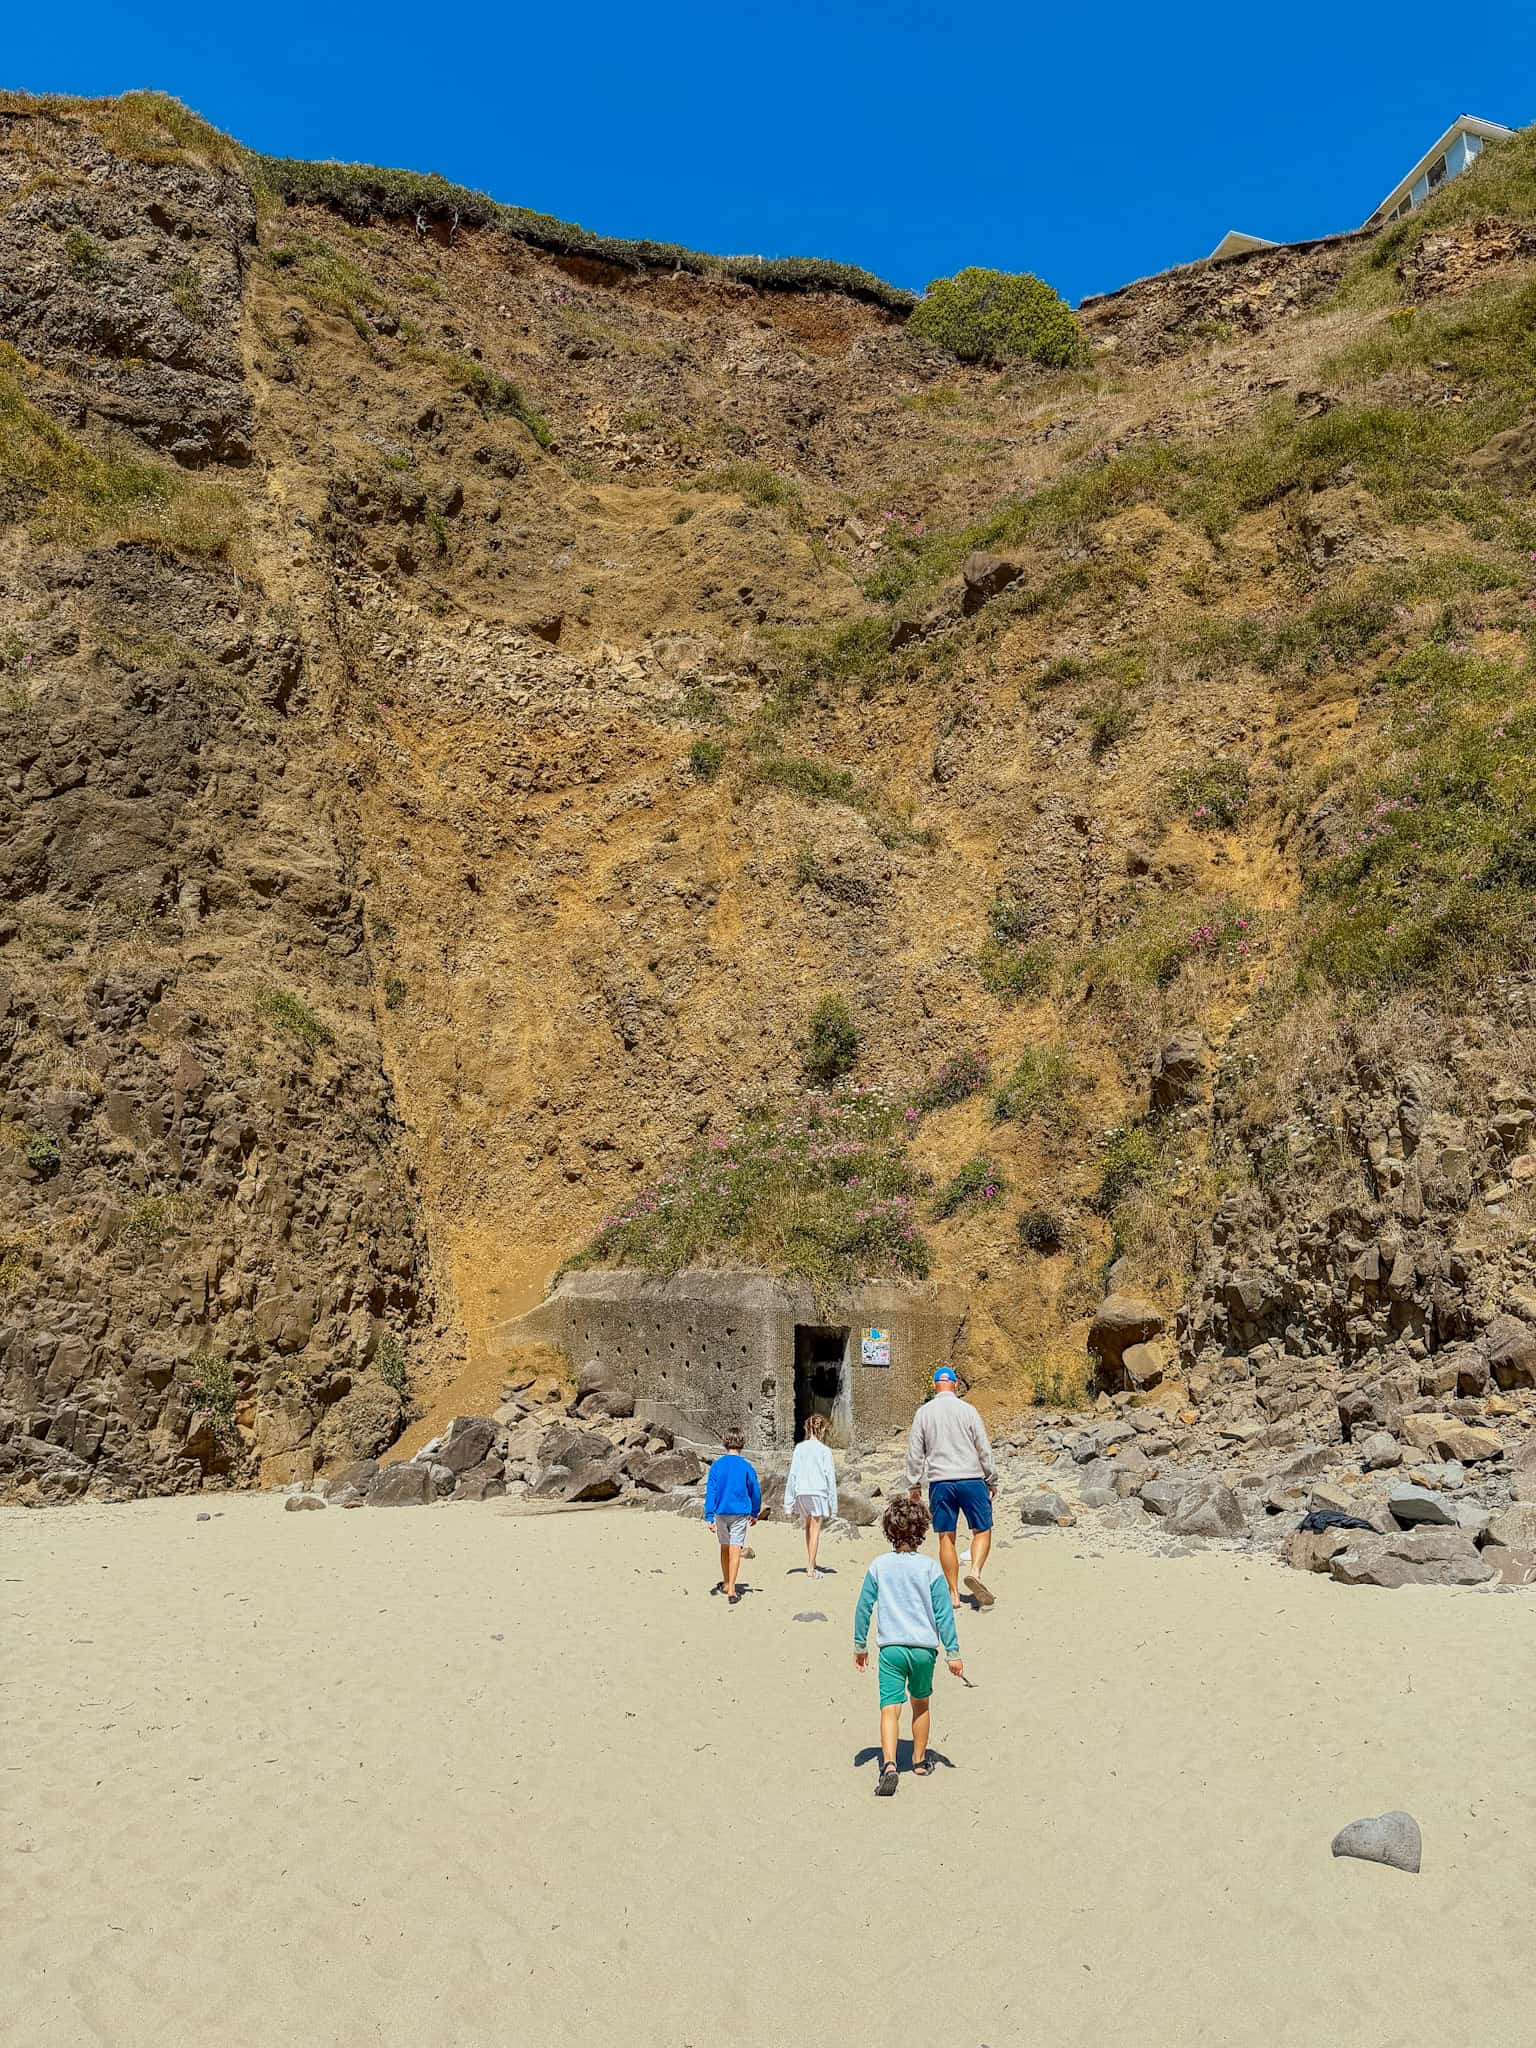
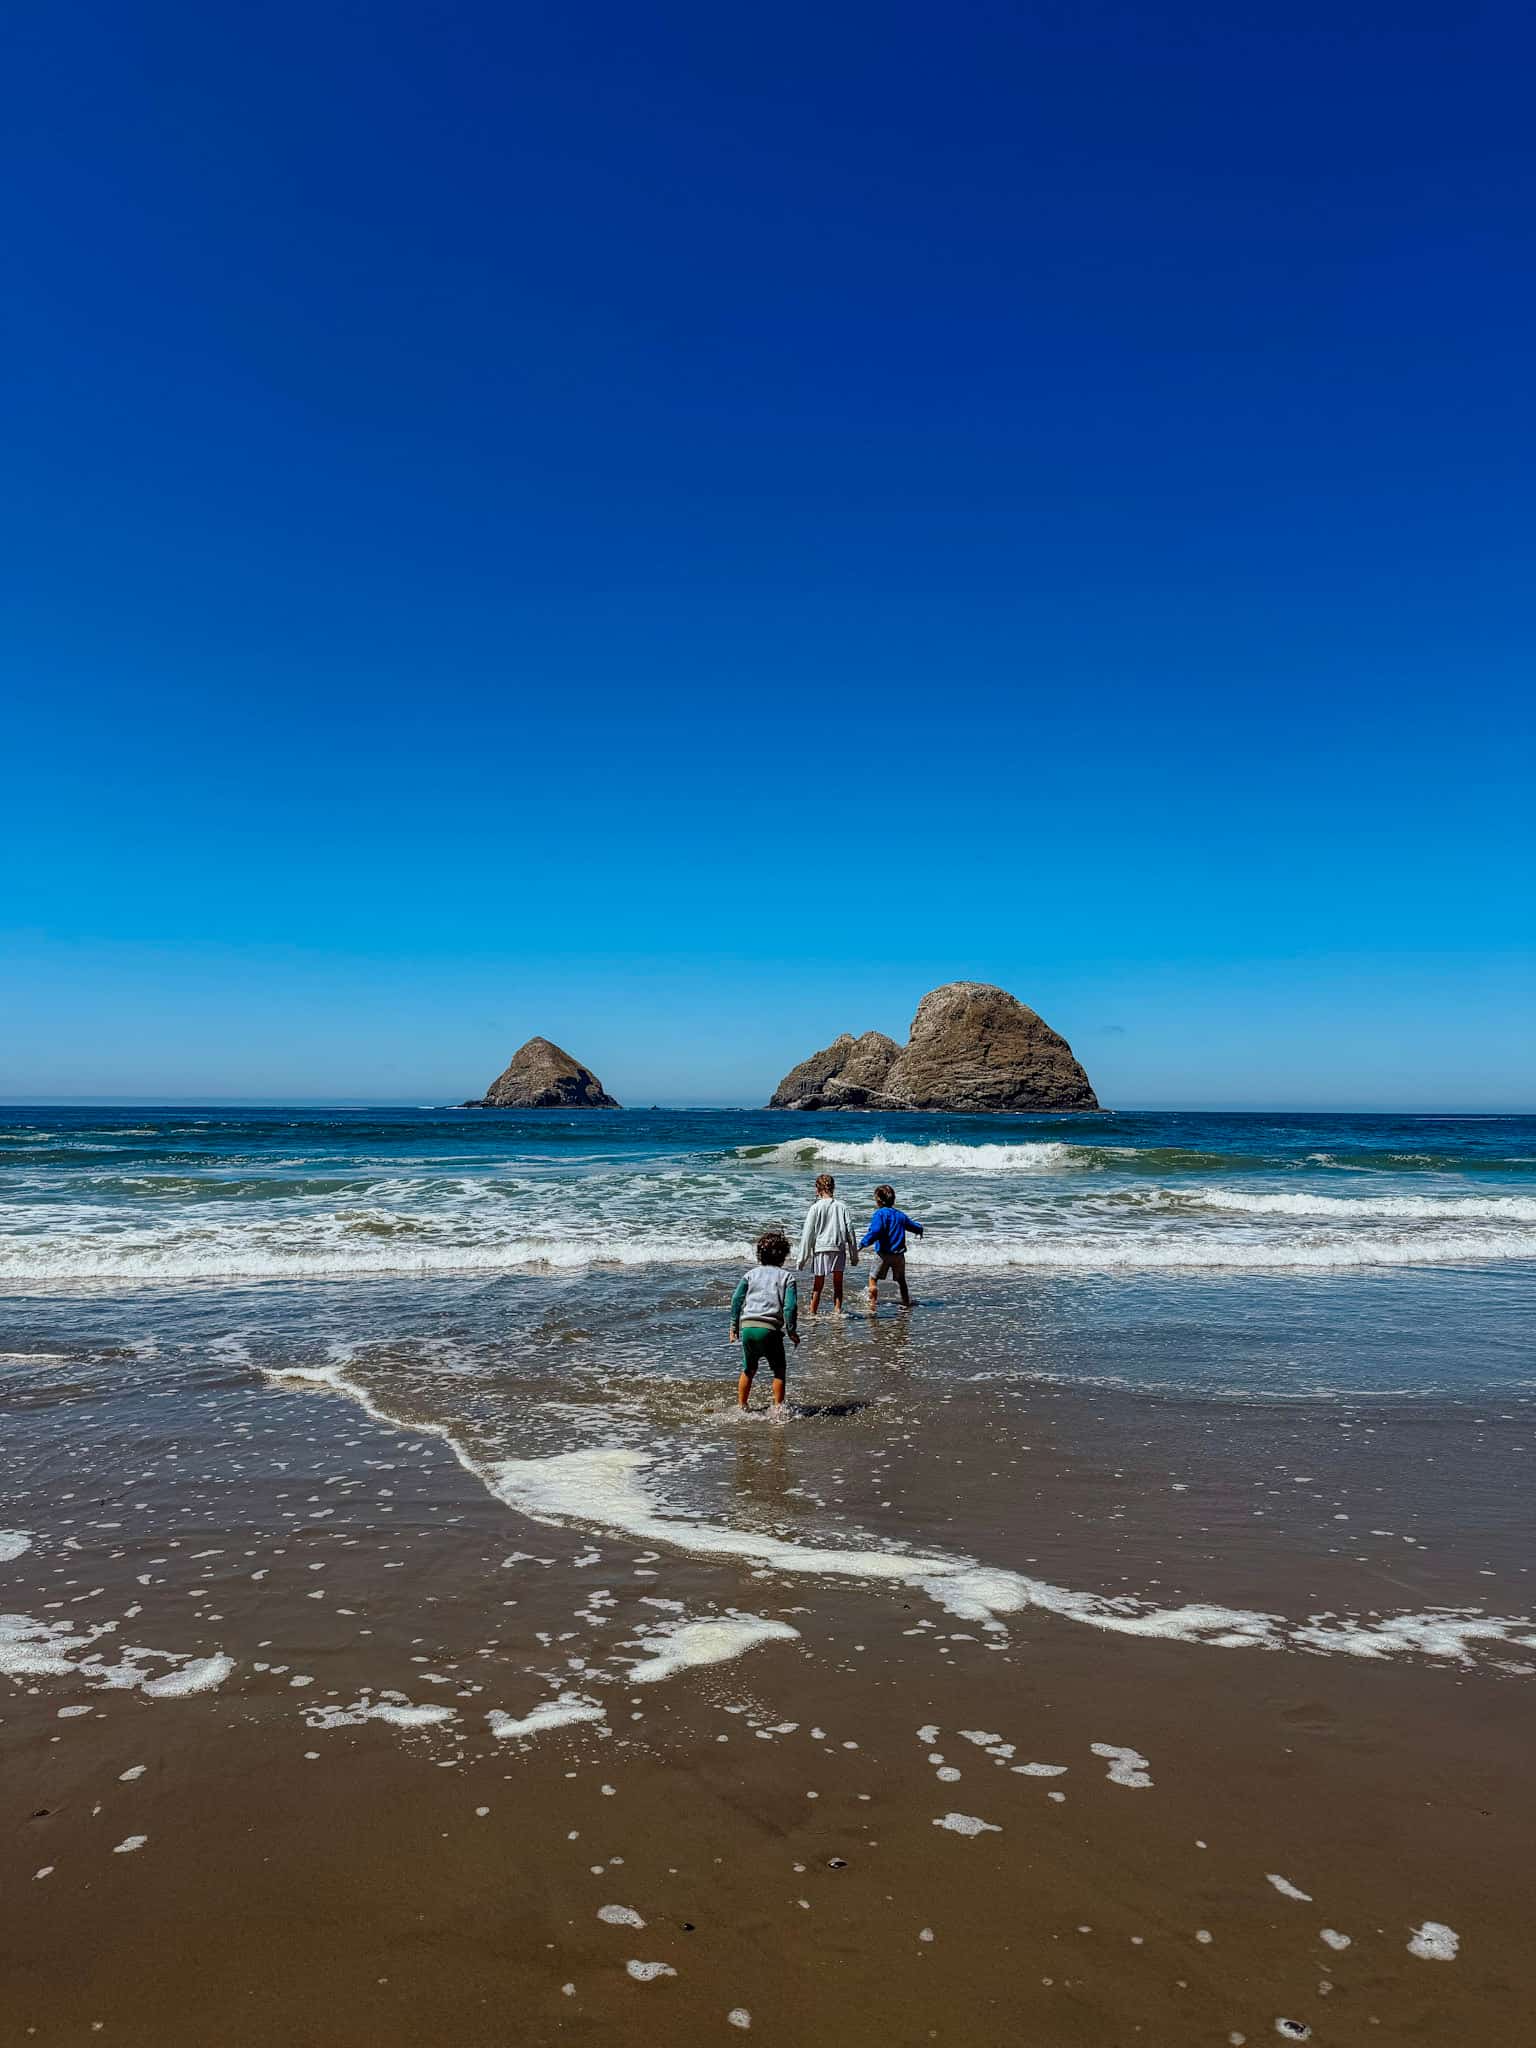
This is a lovely beach with plenty of sand for kids to play in and lots of nearby restaurants. But what really makes this beach stand out is the 90 foot tunnel you can walk through to get to a second, more secluded beach. It makes it feel really unique and is a fun adventure to add to your day!
Oregon Coast Scenic Railroad
Next, we headed north to Garibaldi to board the Oregon Coast Scenic Railroad for a scenic train ride right along the Tillamook coast.
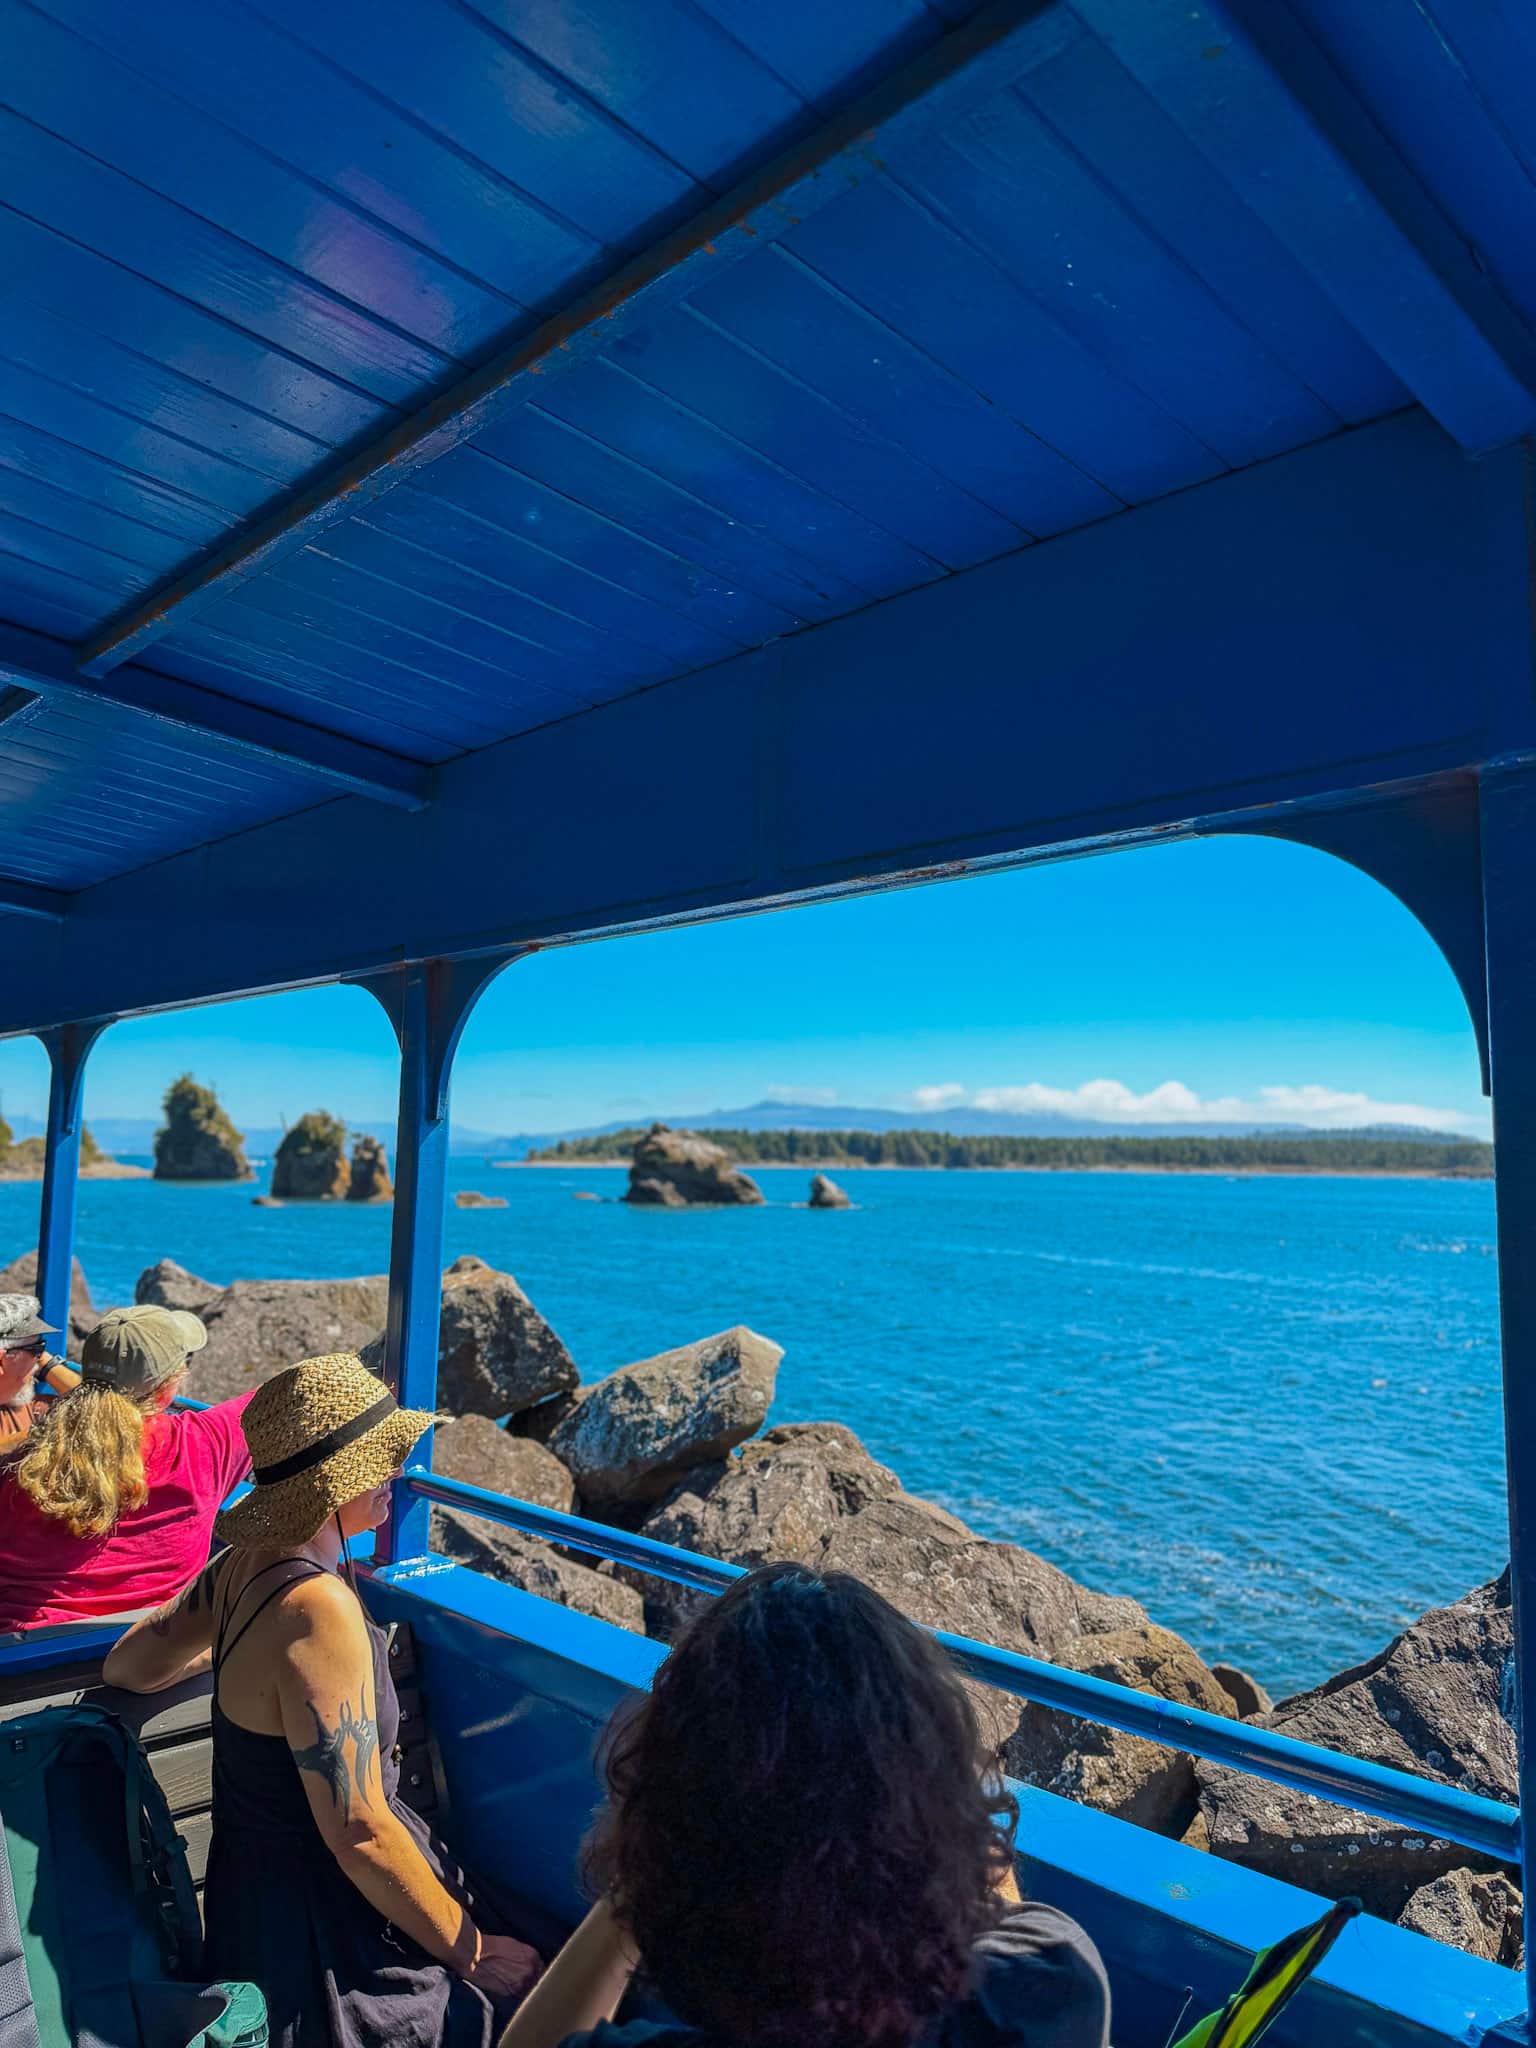
You can choose to depart from either Garibaldi or Rockaway Beach, and each leg of the ride takes about 30 minutes. You can choose to have a quick 30 minute layover, which is what we did, or if you have more time to explore, pick a later return and spend the afternoon wandering the town.
If you’re traveling with kids, this is a really unique way to experience the Oregon Coast.
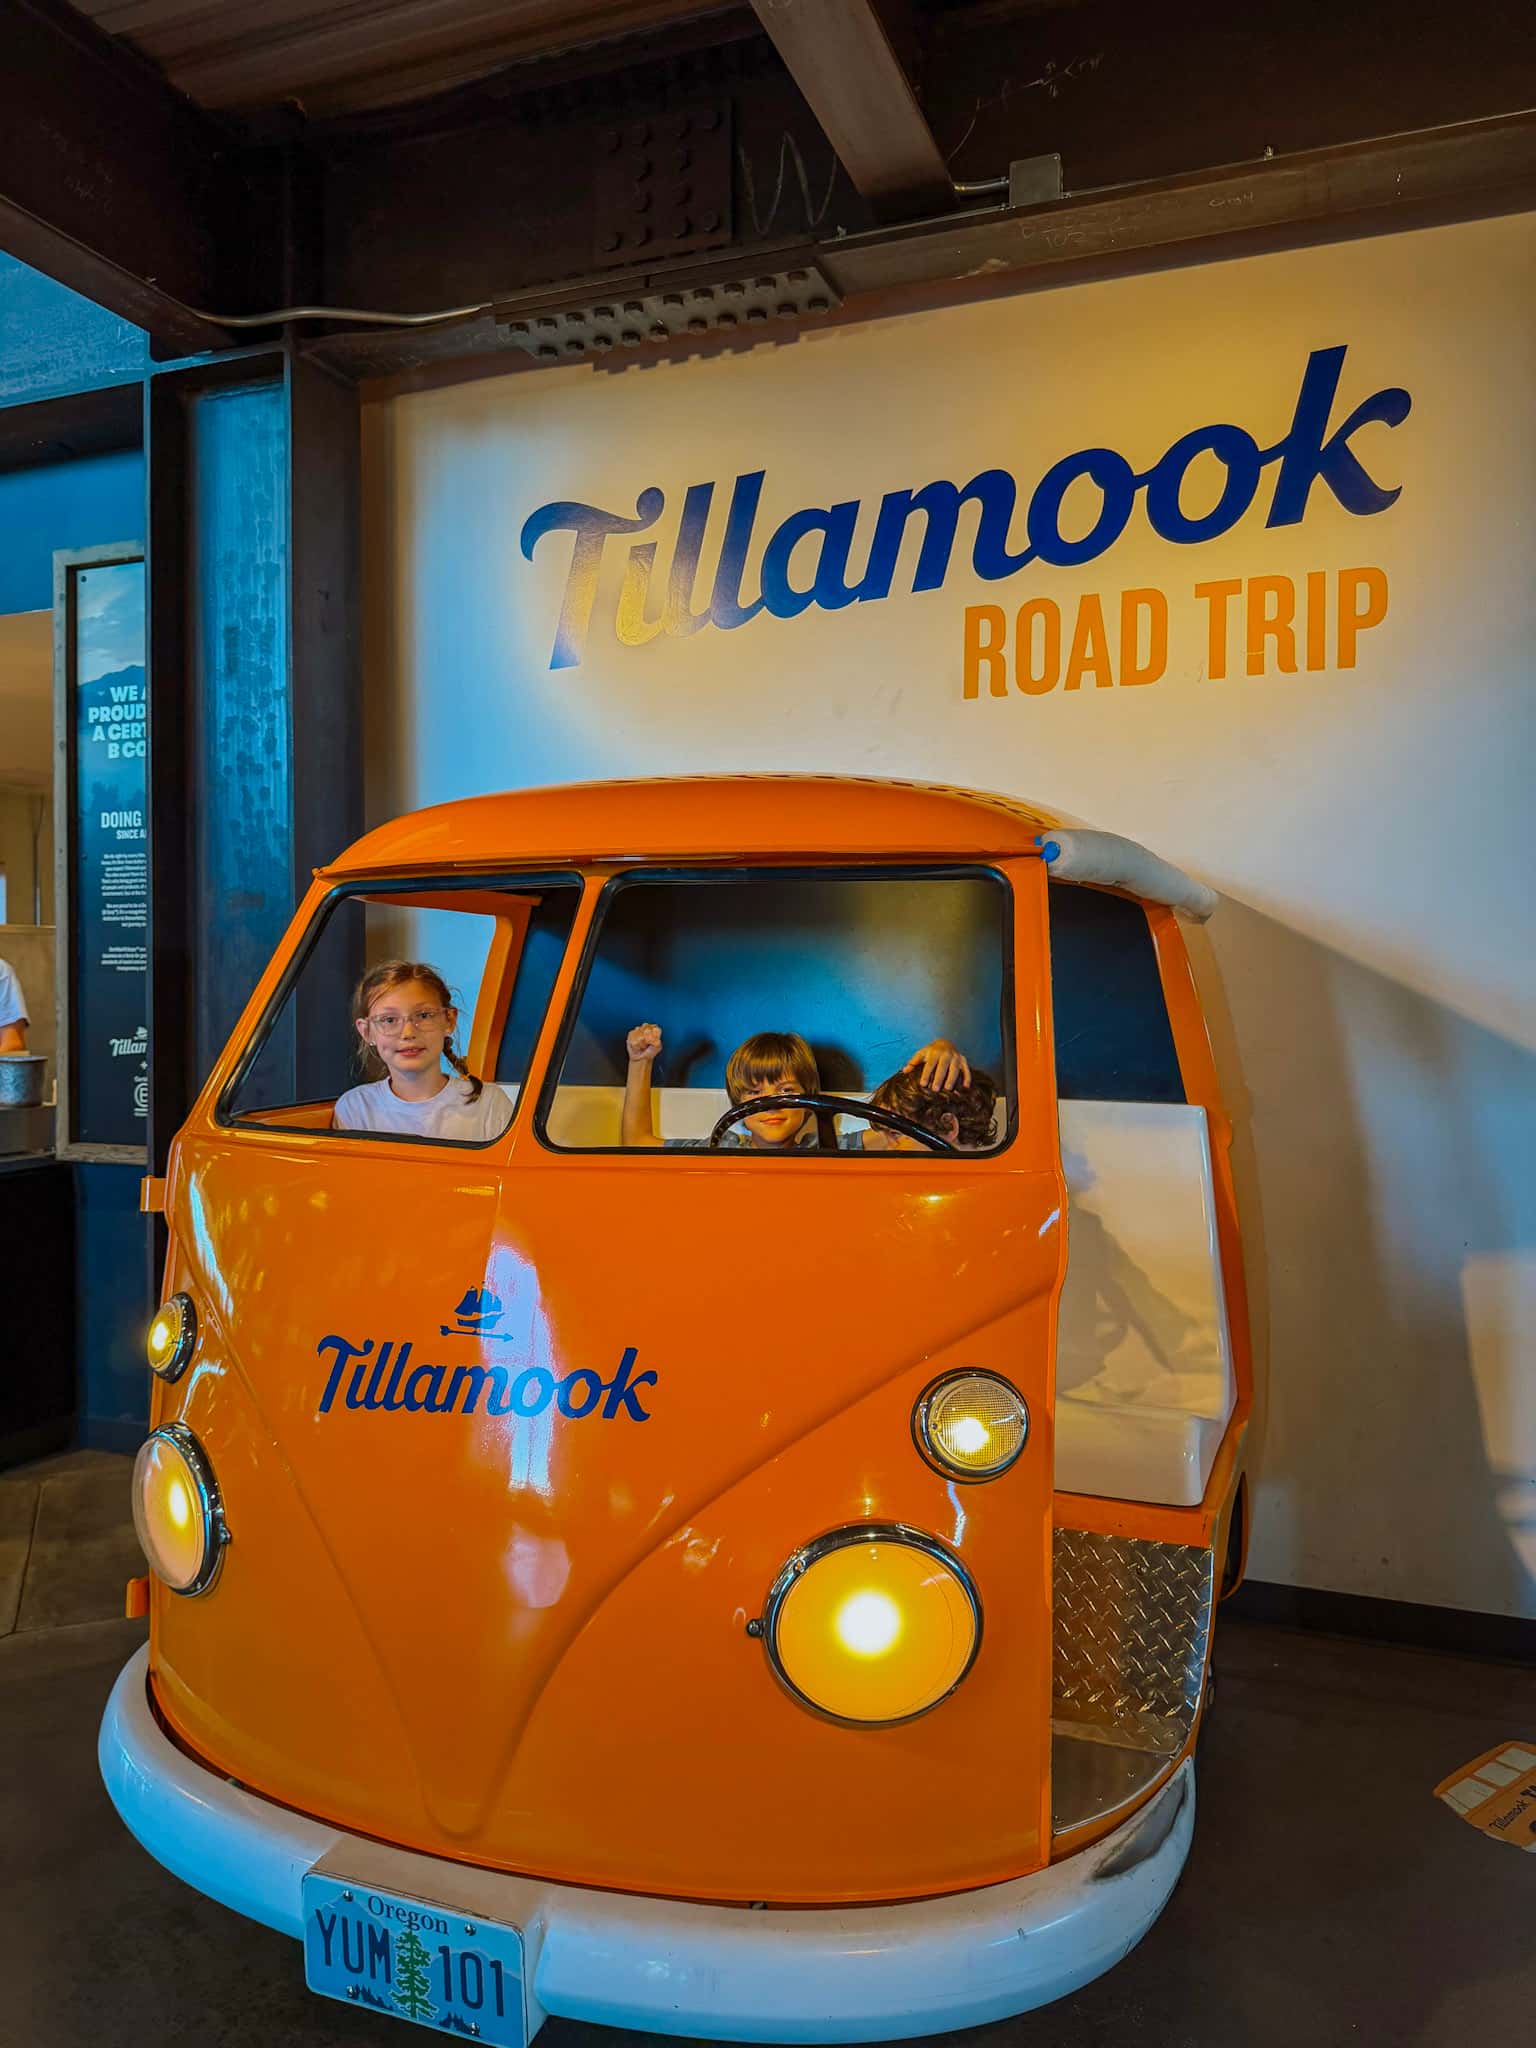
Tillamook Creamery
After your train ride, backtrack just a bit to the Tillamook Creamery.
We did the free, self-guided tour, which gives you a behind-the-scenes look at how Tillamook dairy products are made, some yummy cheese samples, and of course, ice cream.

This is also a convenient stop for grabbing something to eat before continuing your drive, as they have a restaurant with a full menu.
If you are interested in learning more about the Tillamook process and have some extra time, you can book a guided tour for a more premium experience.

Cannon Beach
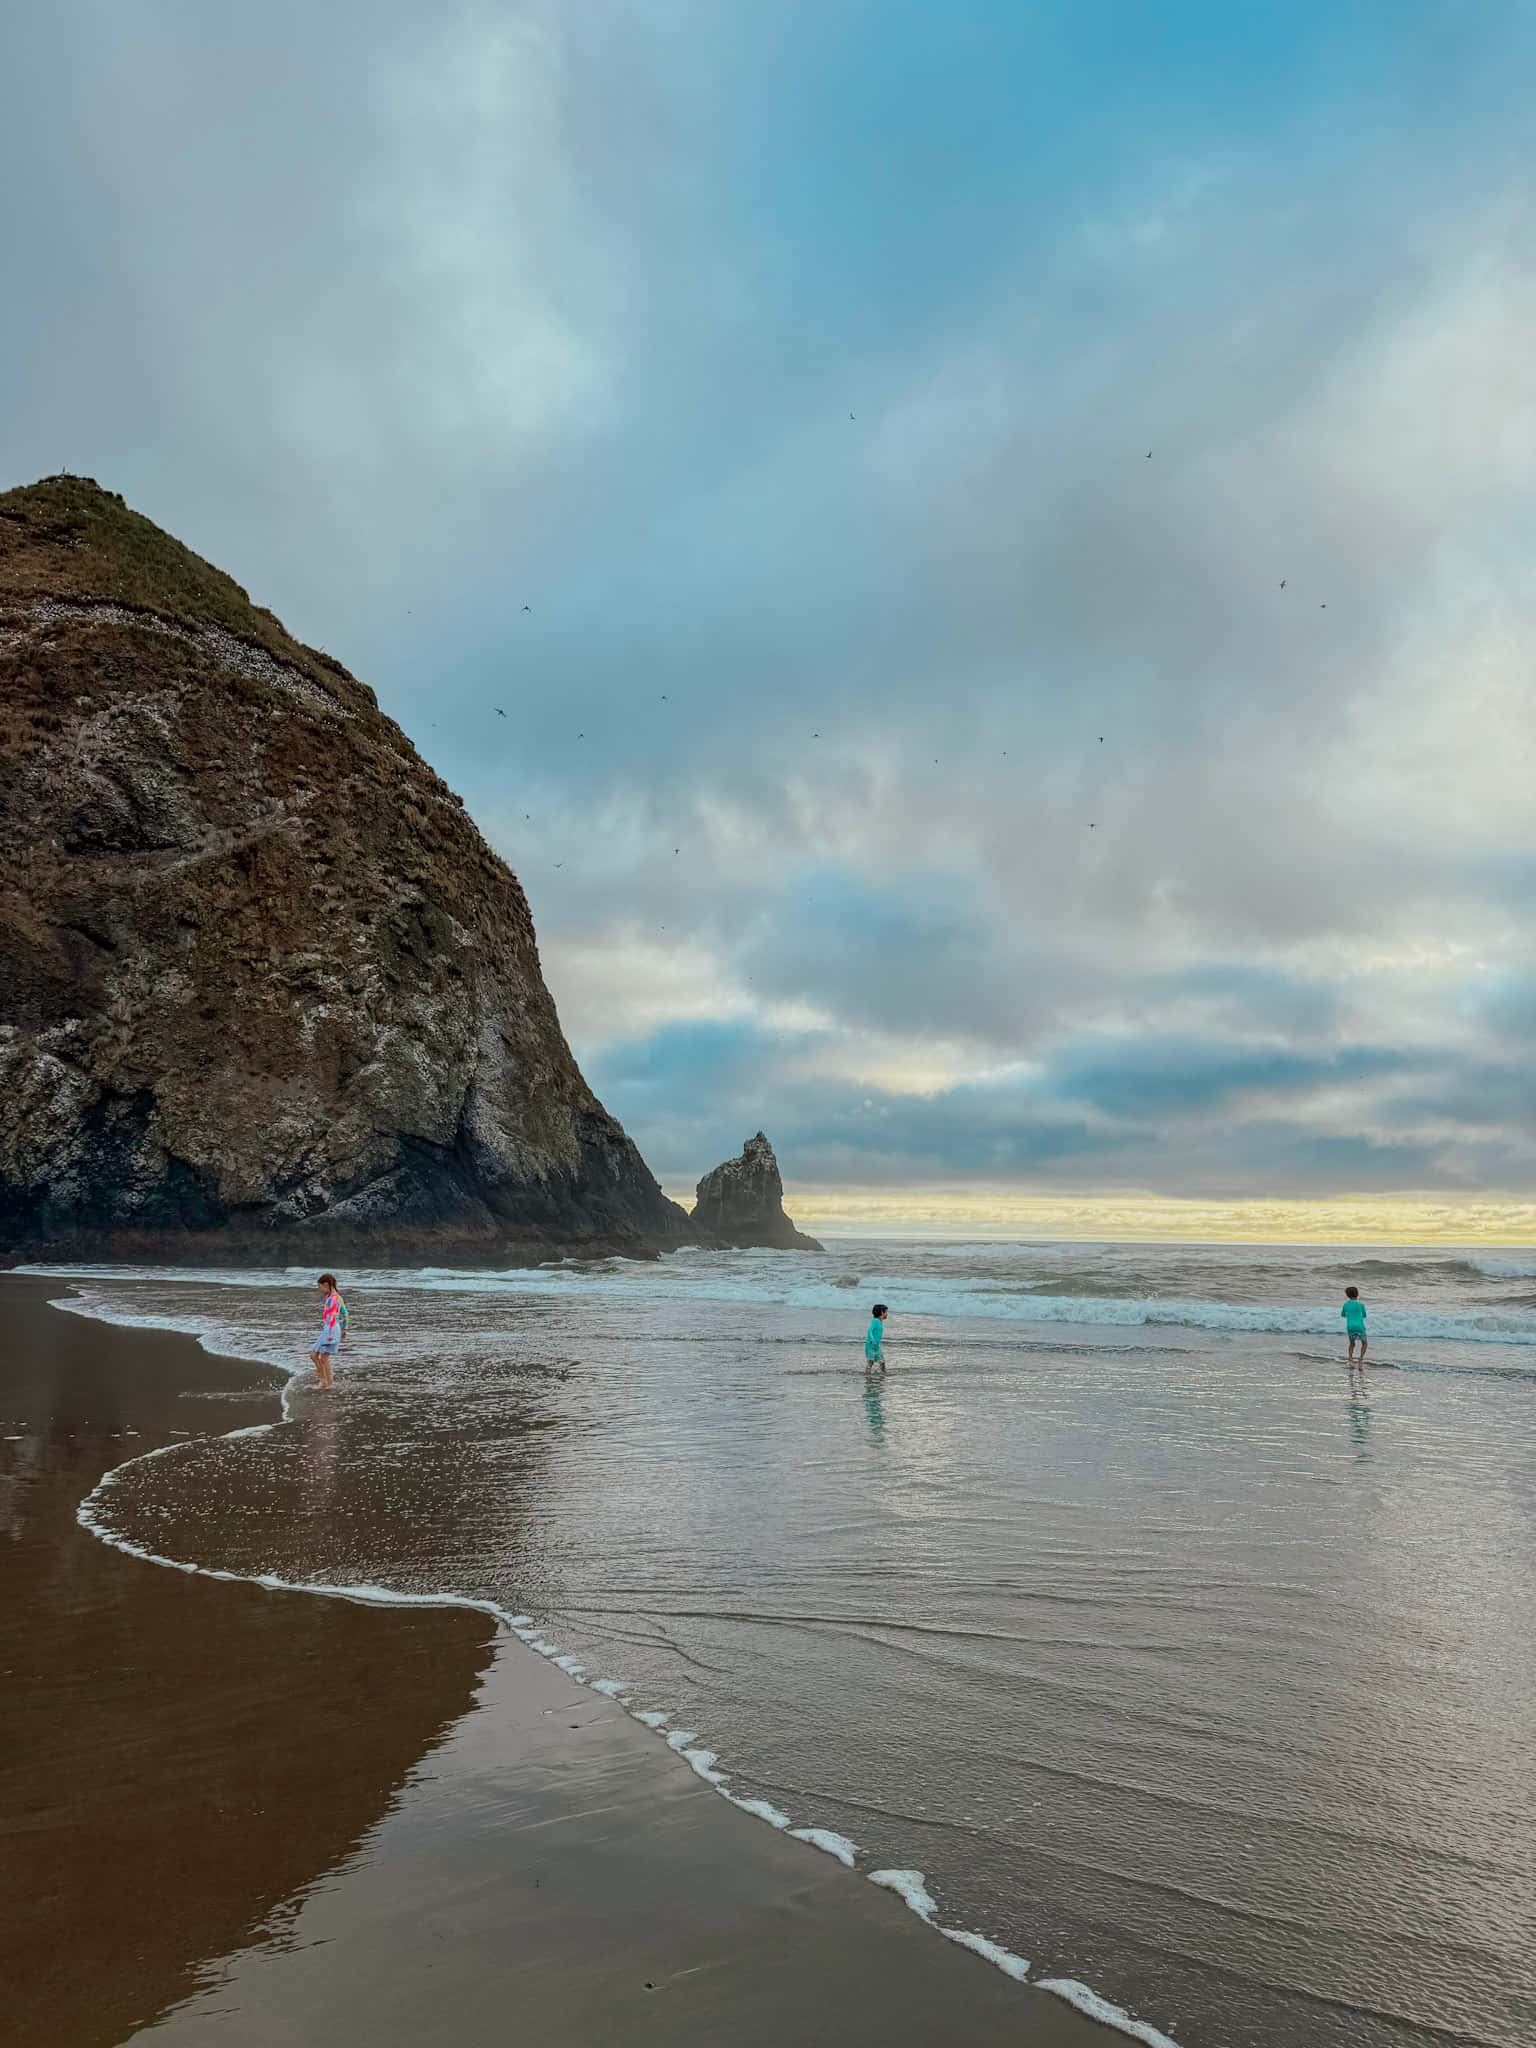
After you have a belly full of cheese and ice cream, head north to Cannon Beach, one of the most recognizable destinations along the Oregon Coast to end your day.
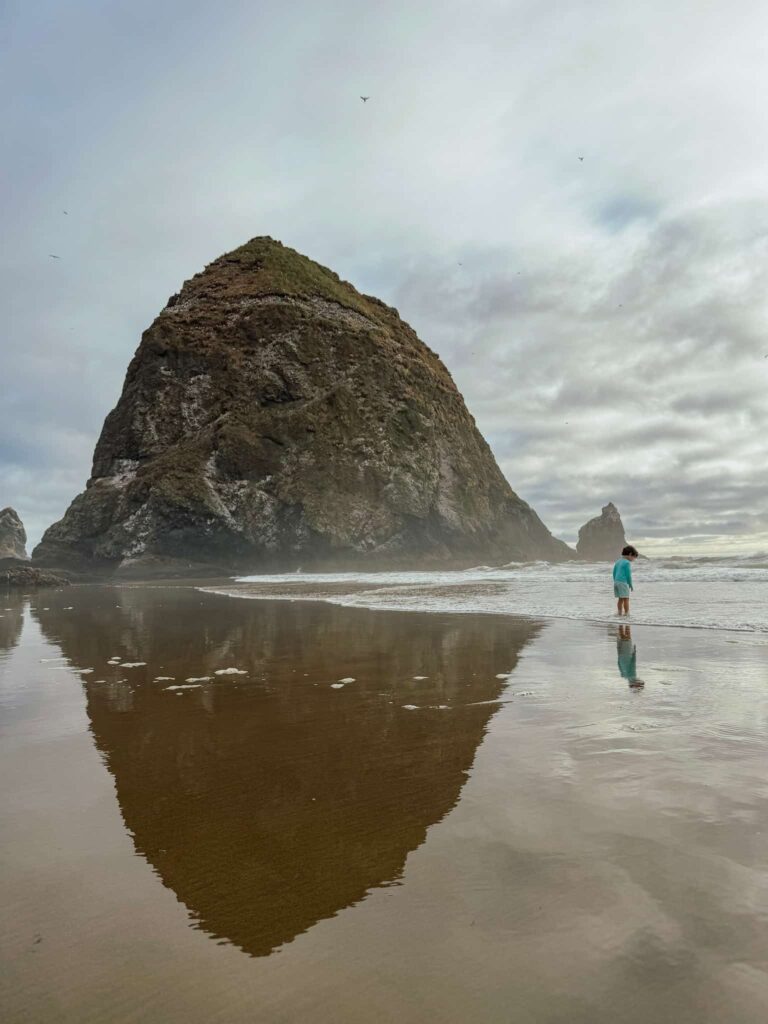
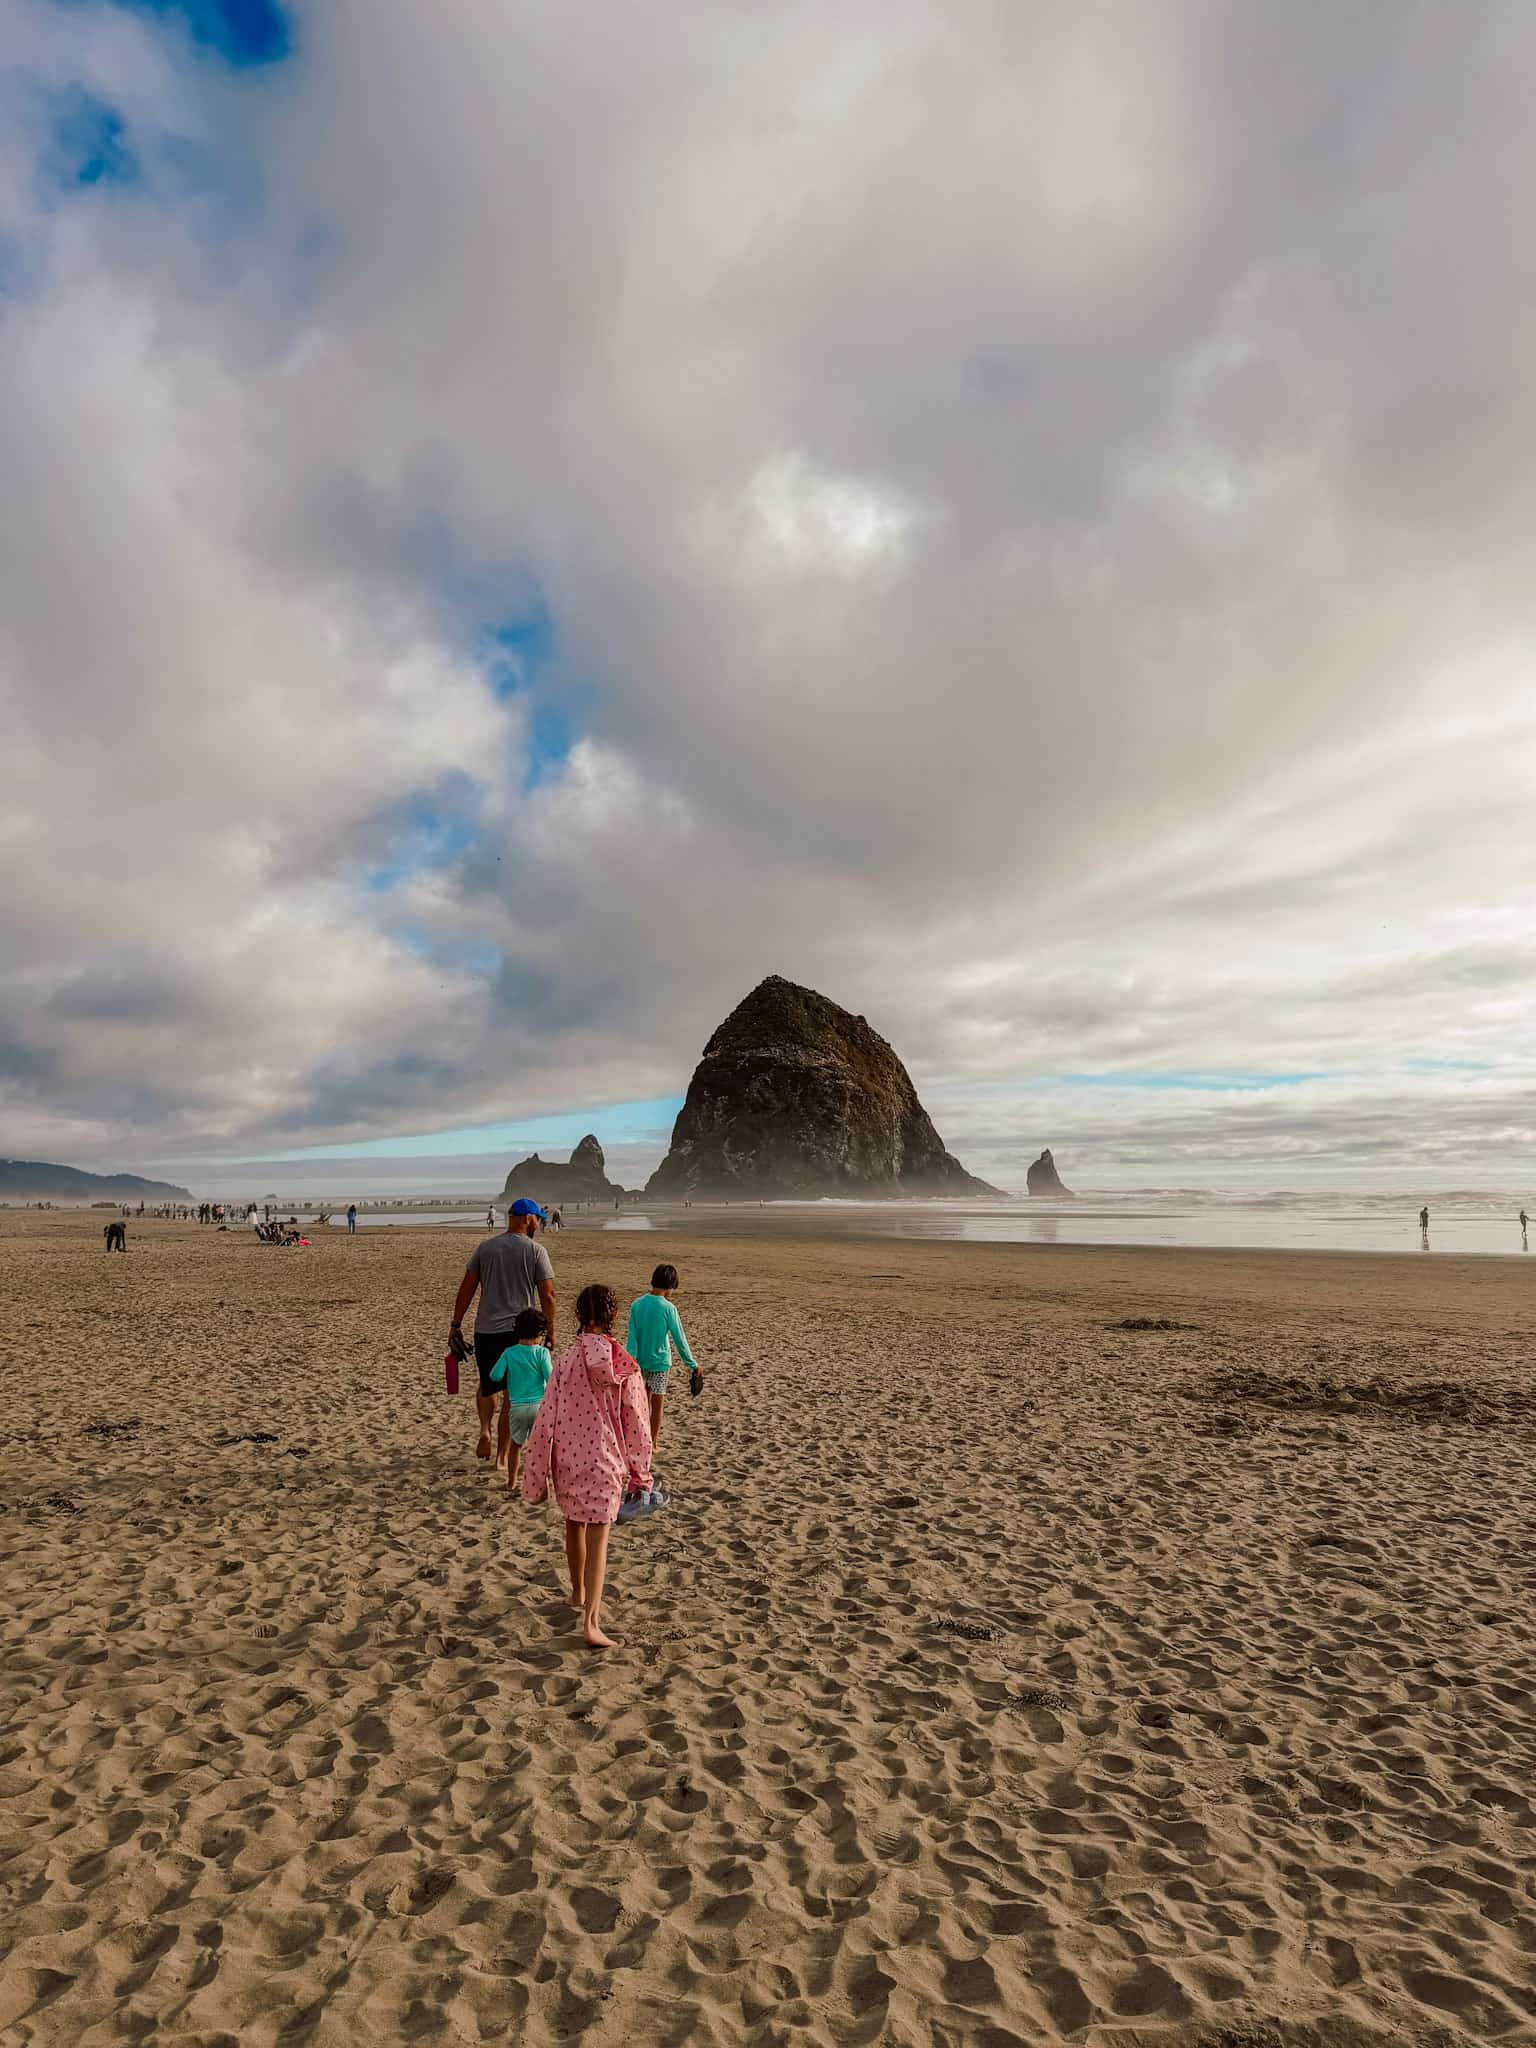
Haystack Rock dominates the shoreline and makes a beautiful place to watch the sunset, explore the beach, and let the kids burn off some energy. There is also some really amazing tide pools here, and we loved watching the puffins fly overhead and the fat sea stars clinging to the rocks as the tide came back in.
Camp at Fort Stevens State Park
We spent the night at Fort Stevens State Park, which was a convenient base for more Oregon coast adventures tomorrow.
If you’re traveling in a camper van or RV, I highly recommend reserving your campsite well ahead of time during the summer.
If camping isn’t your thing, you can reserve one of the cabins in Fort Stevens State Park, or head on into Astoria for the night.
Here’s where I would recommend staying:
- Holiday Inn Express Astoria – free breakfast + rooms that sleep 6
- Cannery Pier Hotel & Spa – epic river views, free breakfast + onsite spa
- Hampton Inn Astoria – free breakfast + river views
Looking for more information on what to see/do on the Oregon coast with kids? Read my Oregon Coast Road Trip with Kids guide here.
Day 2: Astoria, the Oregon Coast & Olympic National Park
Fort Stevens → Astoria → Quinault → Kalaloch → Hoh Rainforest
Where we stayed: Hoh Rainforest Campground
Fort Stevens Shipwreck + Astoria
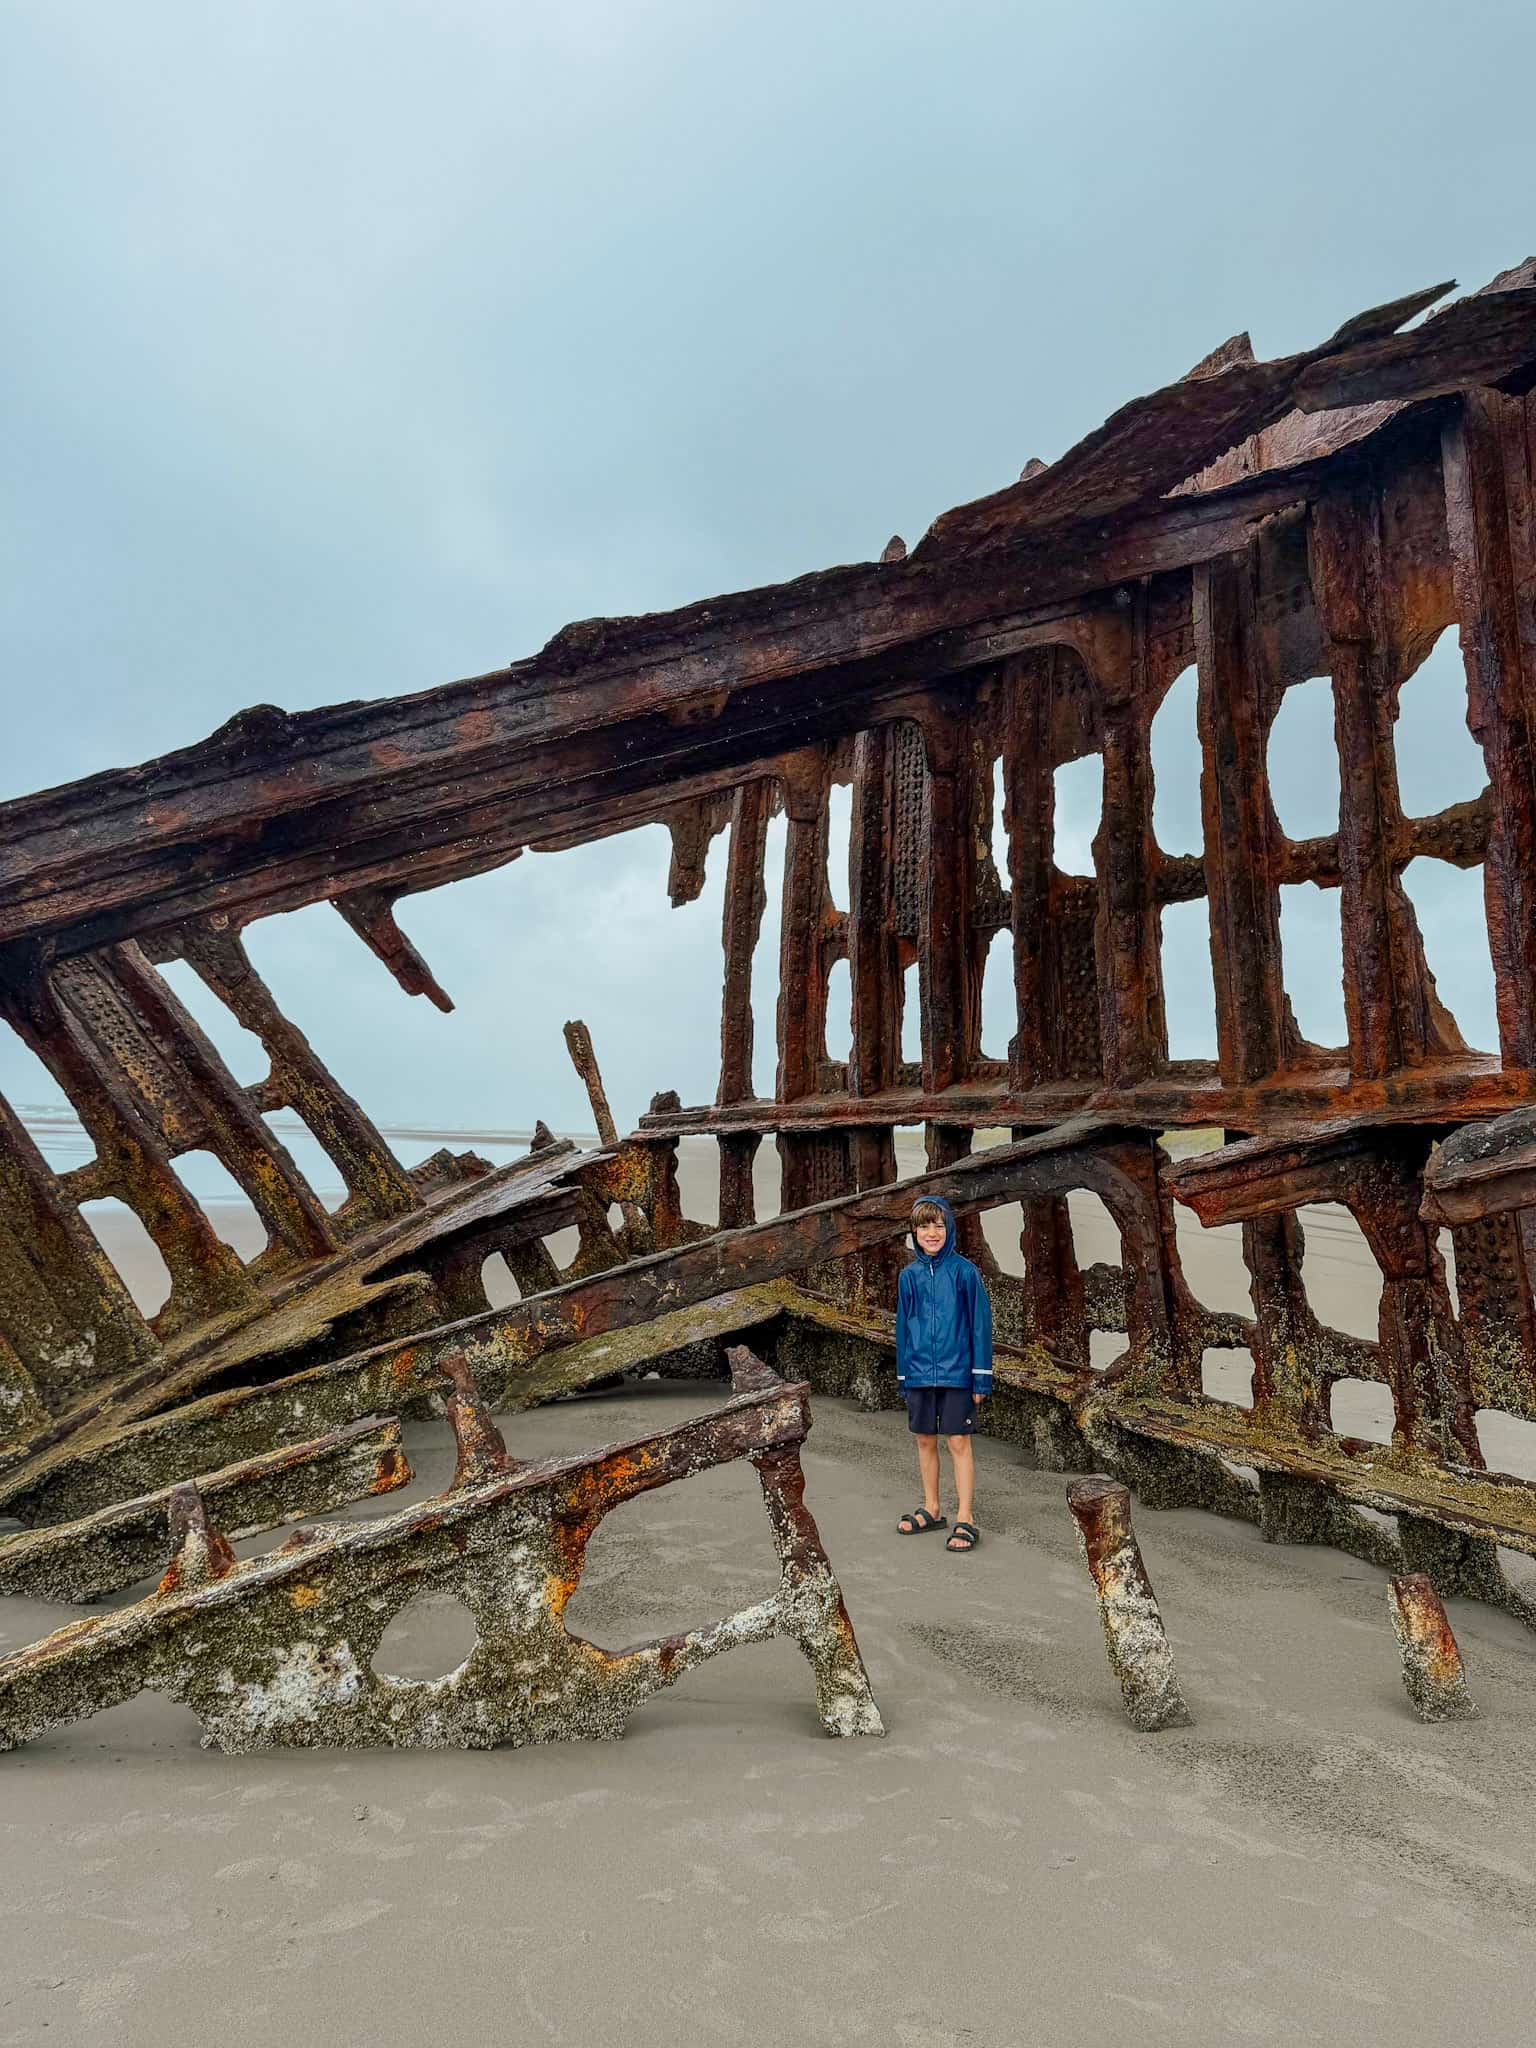
Start your morning by exploring Fort Stevens State Park and its famous shipwreck.
The Peter Iredale wrecked here in 1906, and the remains of the ship are still visible along the beach. The beach is beautiful for exploring – we found so many sand dollars here!
From there, continue to Astoria, one of the most charming towns along the Oregon Coast.
Grab coffee and pastries and spend some time wandering the waterfront – there are tons of little shops, plus great views of the river, perfect for watching the barges or spotting wildlife.
I highly recommend taking a ride on the Astoria Riverfront Trolley, a one-hour ride that offers a great introduction to the city’s history. It only costs $1 to ride, which makes it a really affordable activity for a family.
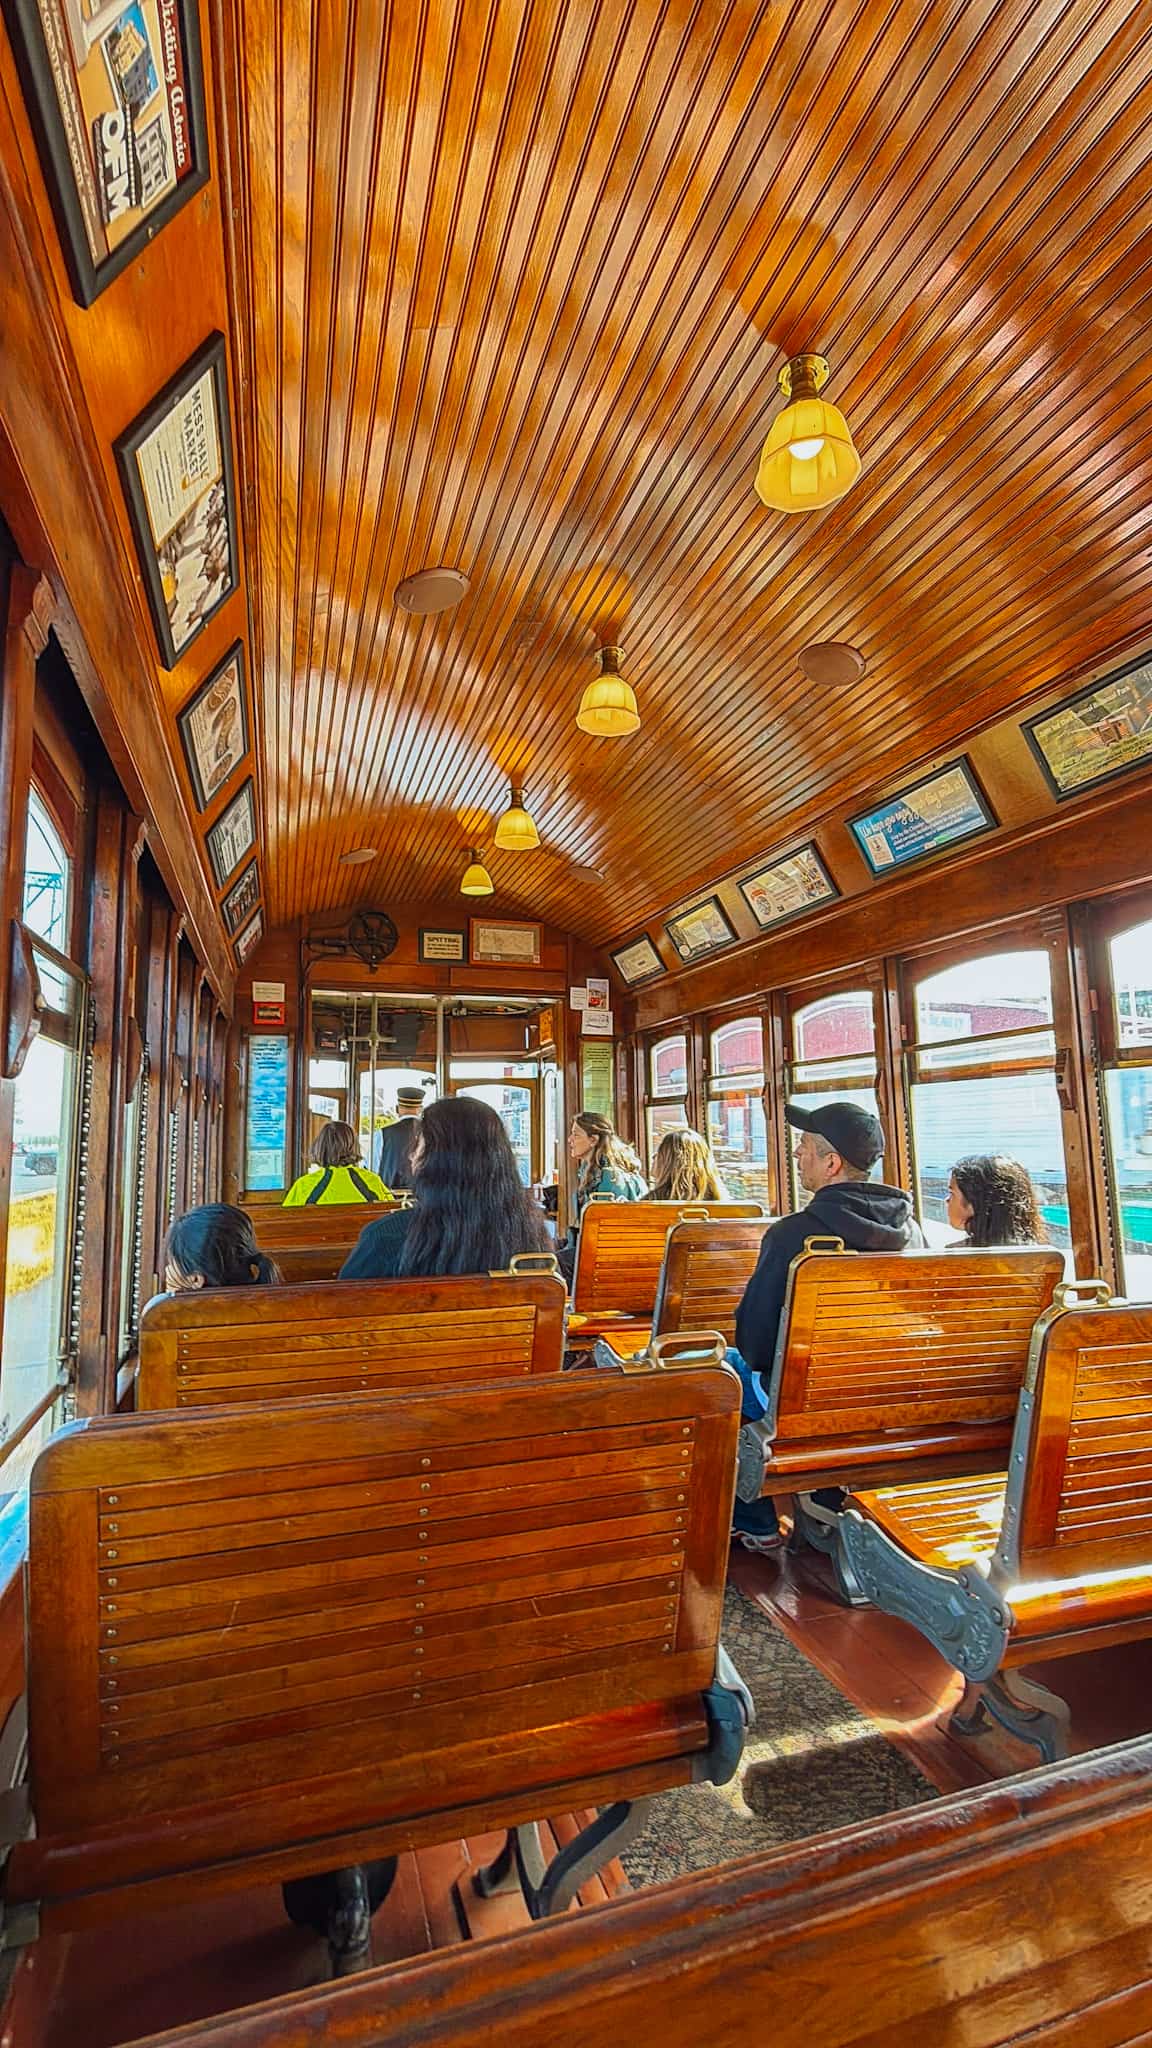
After a quick lunch in Astoria, it’s time to cross into Washington and begin your Olympic National Park adventure.
Quinault Rainforest
Your first stop in Olympic National Park should be the Quinault rainforest.
Before you get too far into the national park, I highly suggest downloading the Guide Along app for your own personal tour guide!
If you’ve done much research on Olympic National Park, you have most definitely heard of the popular Hoh Rainforest, but may be less familiar with Quinault.
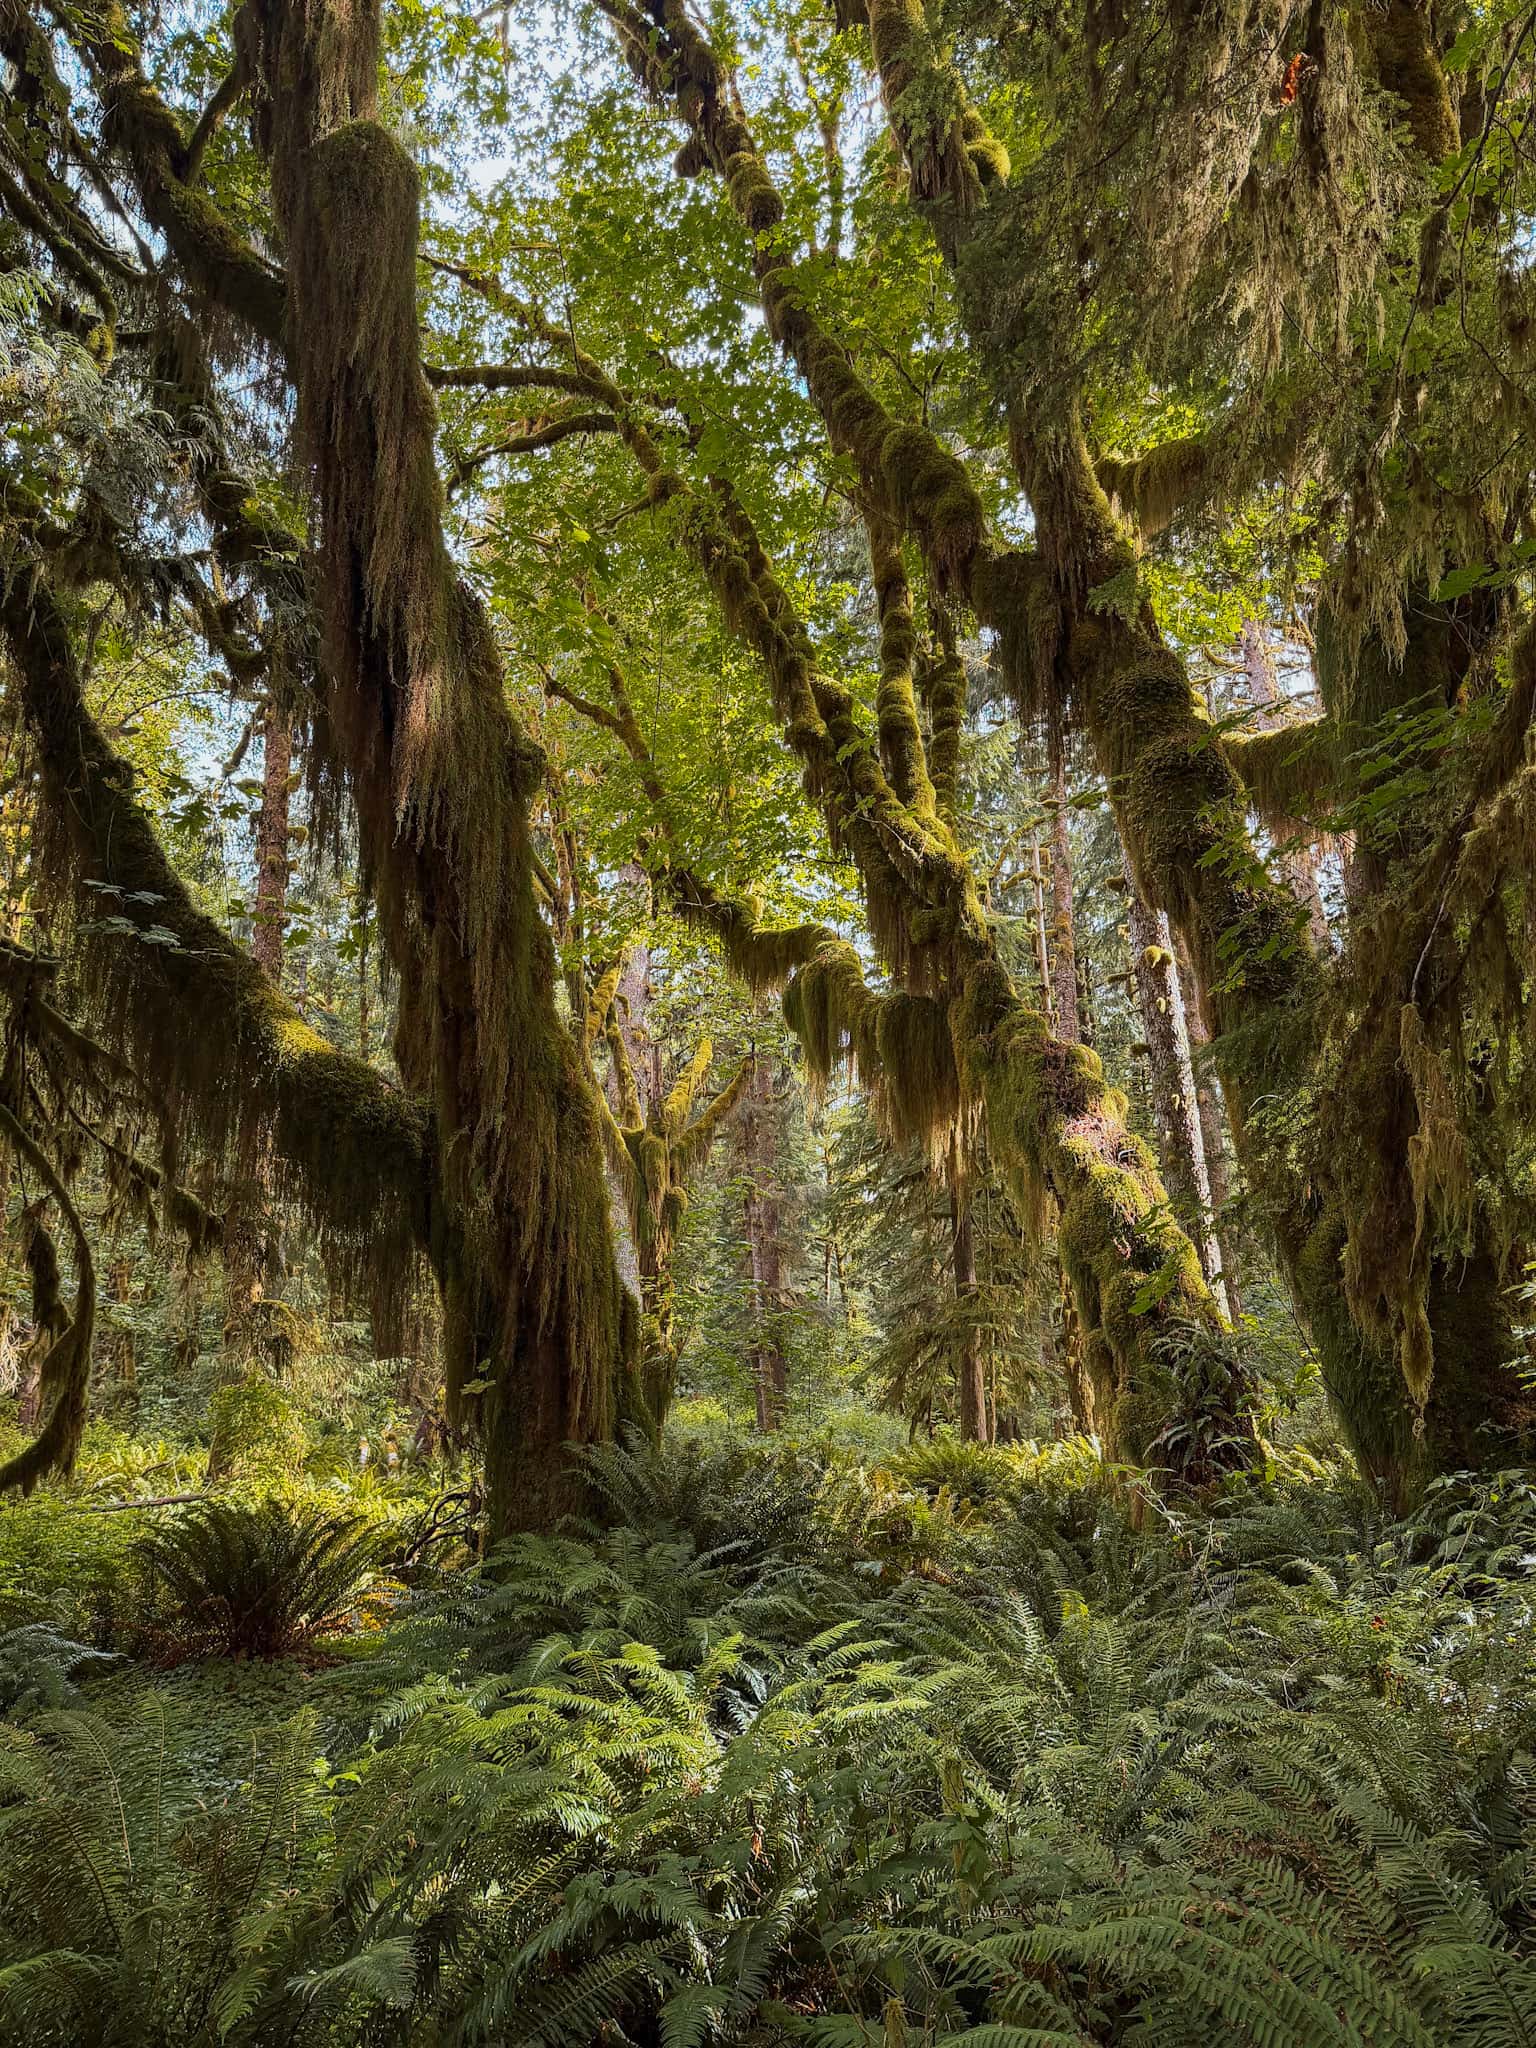
I highly suggest taking the time to explore Quinault as well – truly a magical place with much fewer crowds than Hoh!
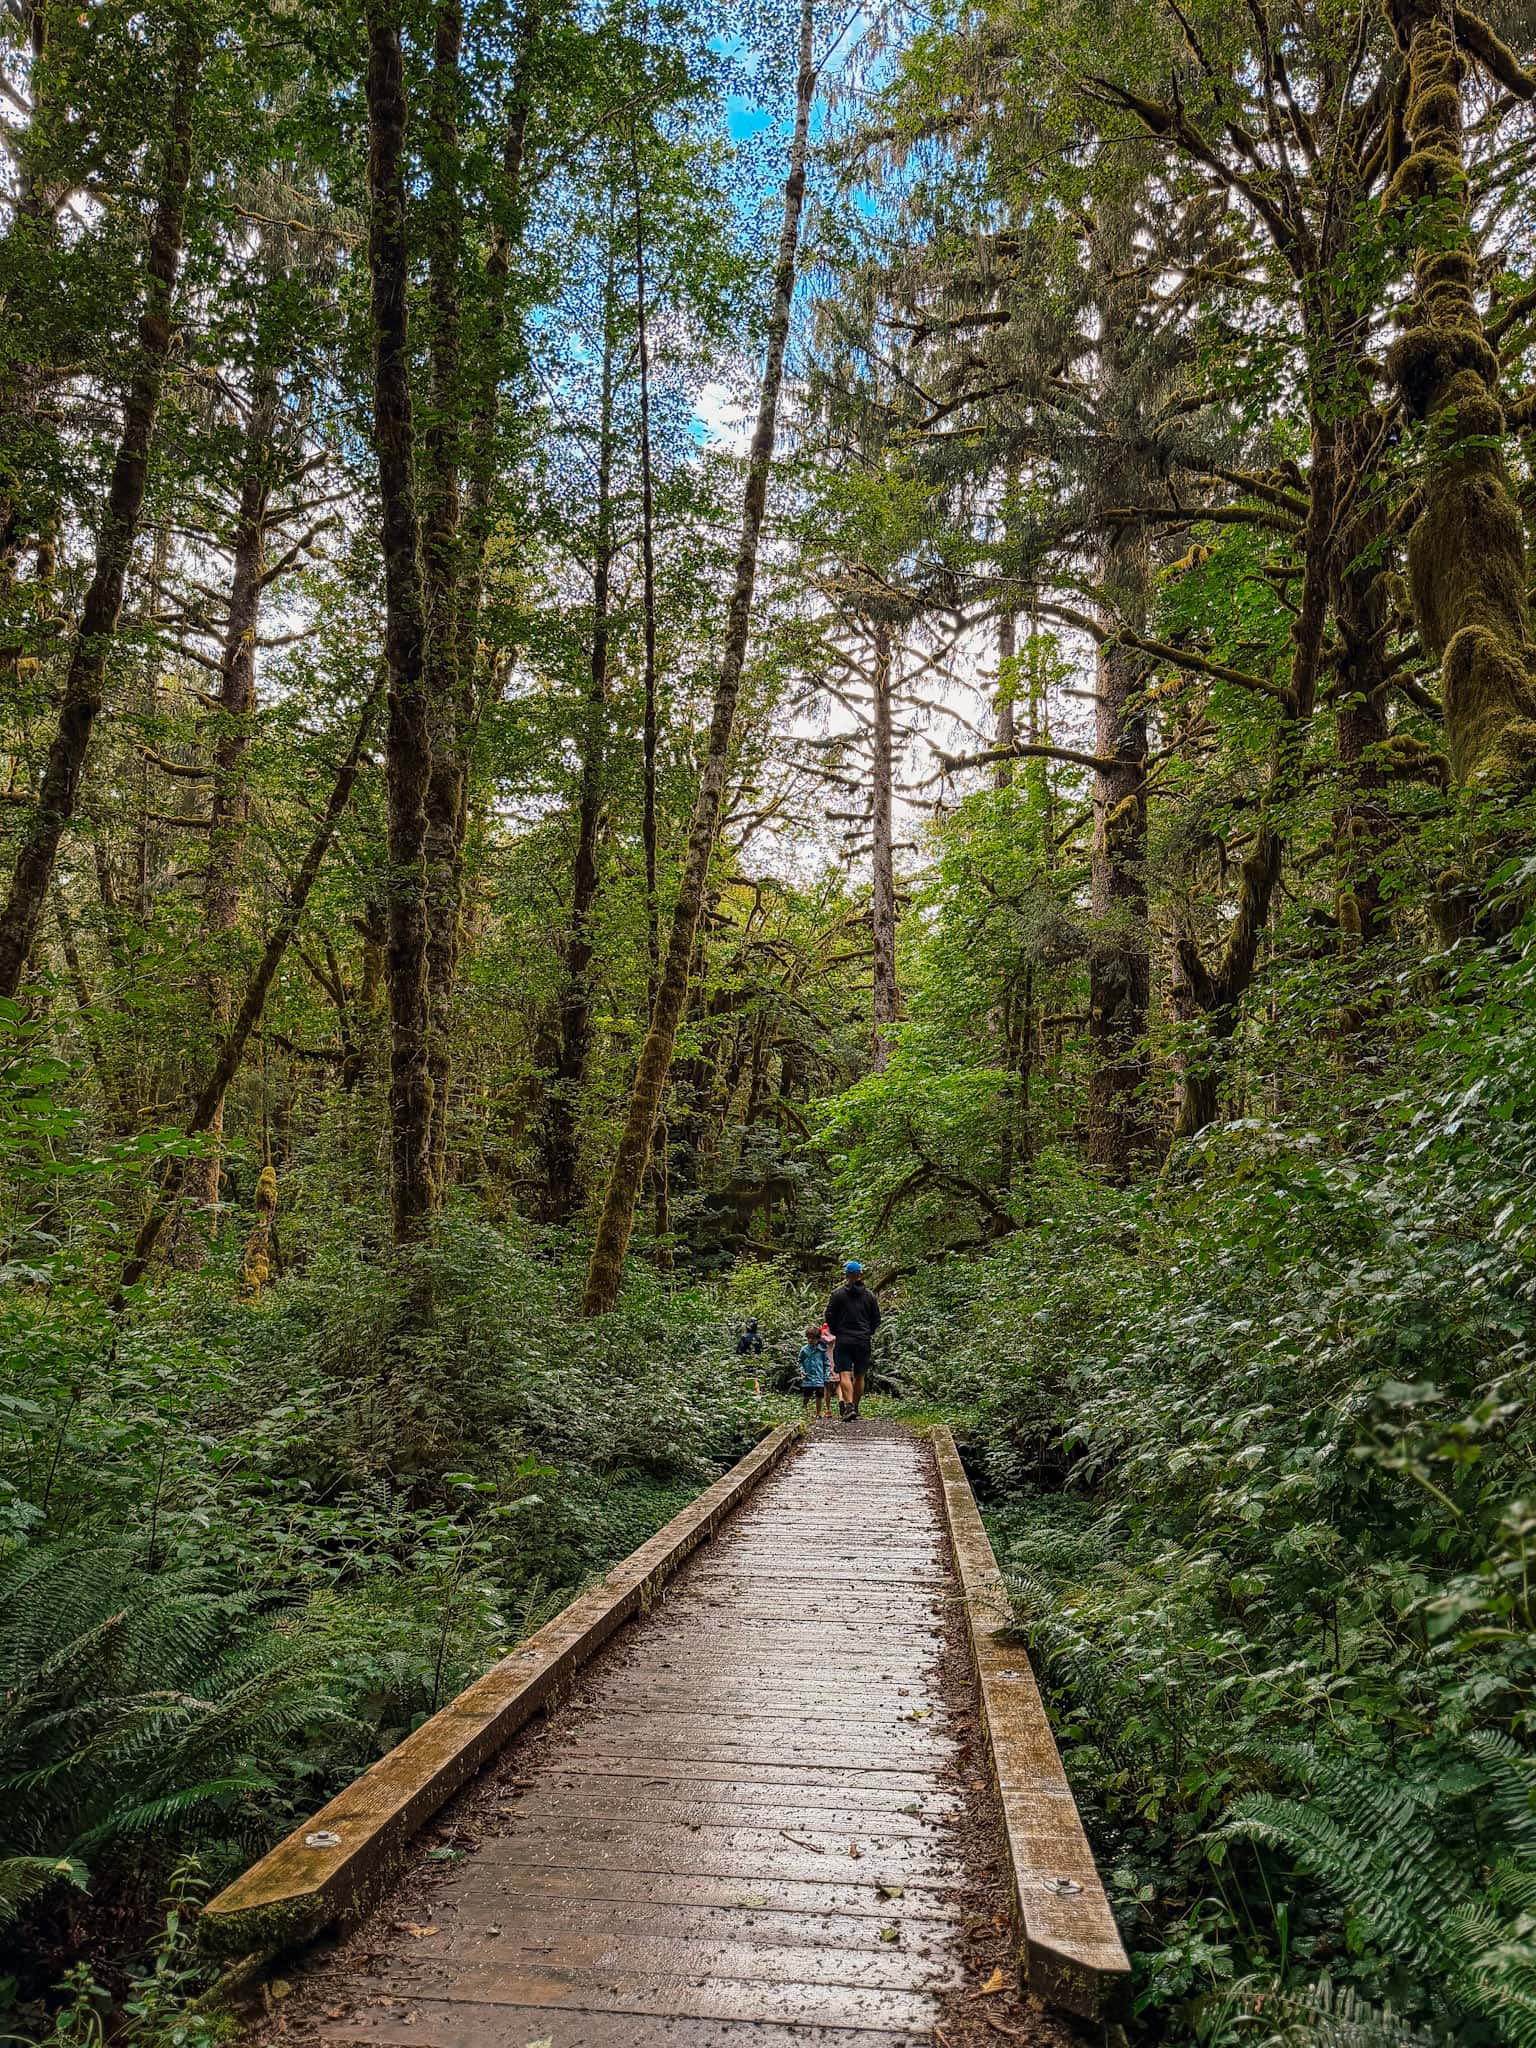
Pop in the Visitor’s Center to grab your Junior Ranger books, then hit the trail to explore the forest. We hiked the Kestner Homestead Loop – a 1.3 mile trail that takes you through the stunning rainforest past an 1800’s barn.
Kalaloch Beach & the Tree of Life
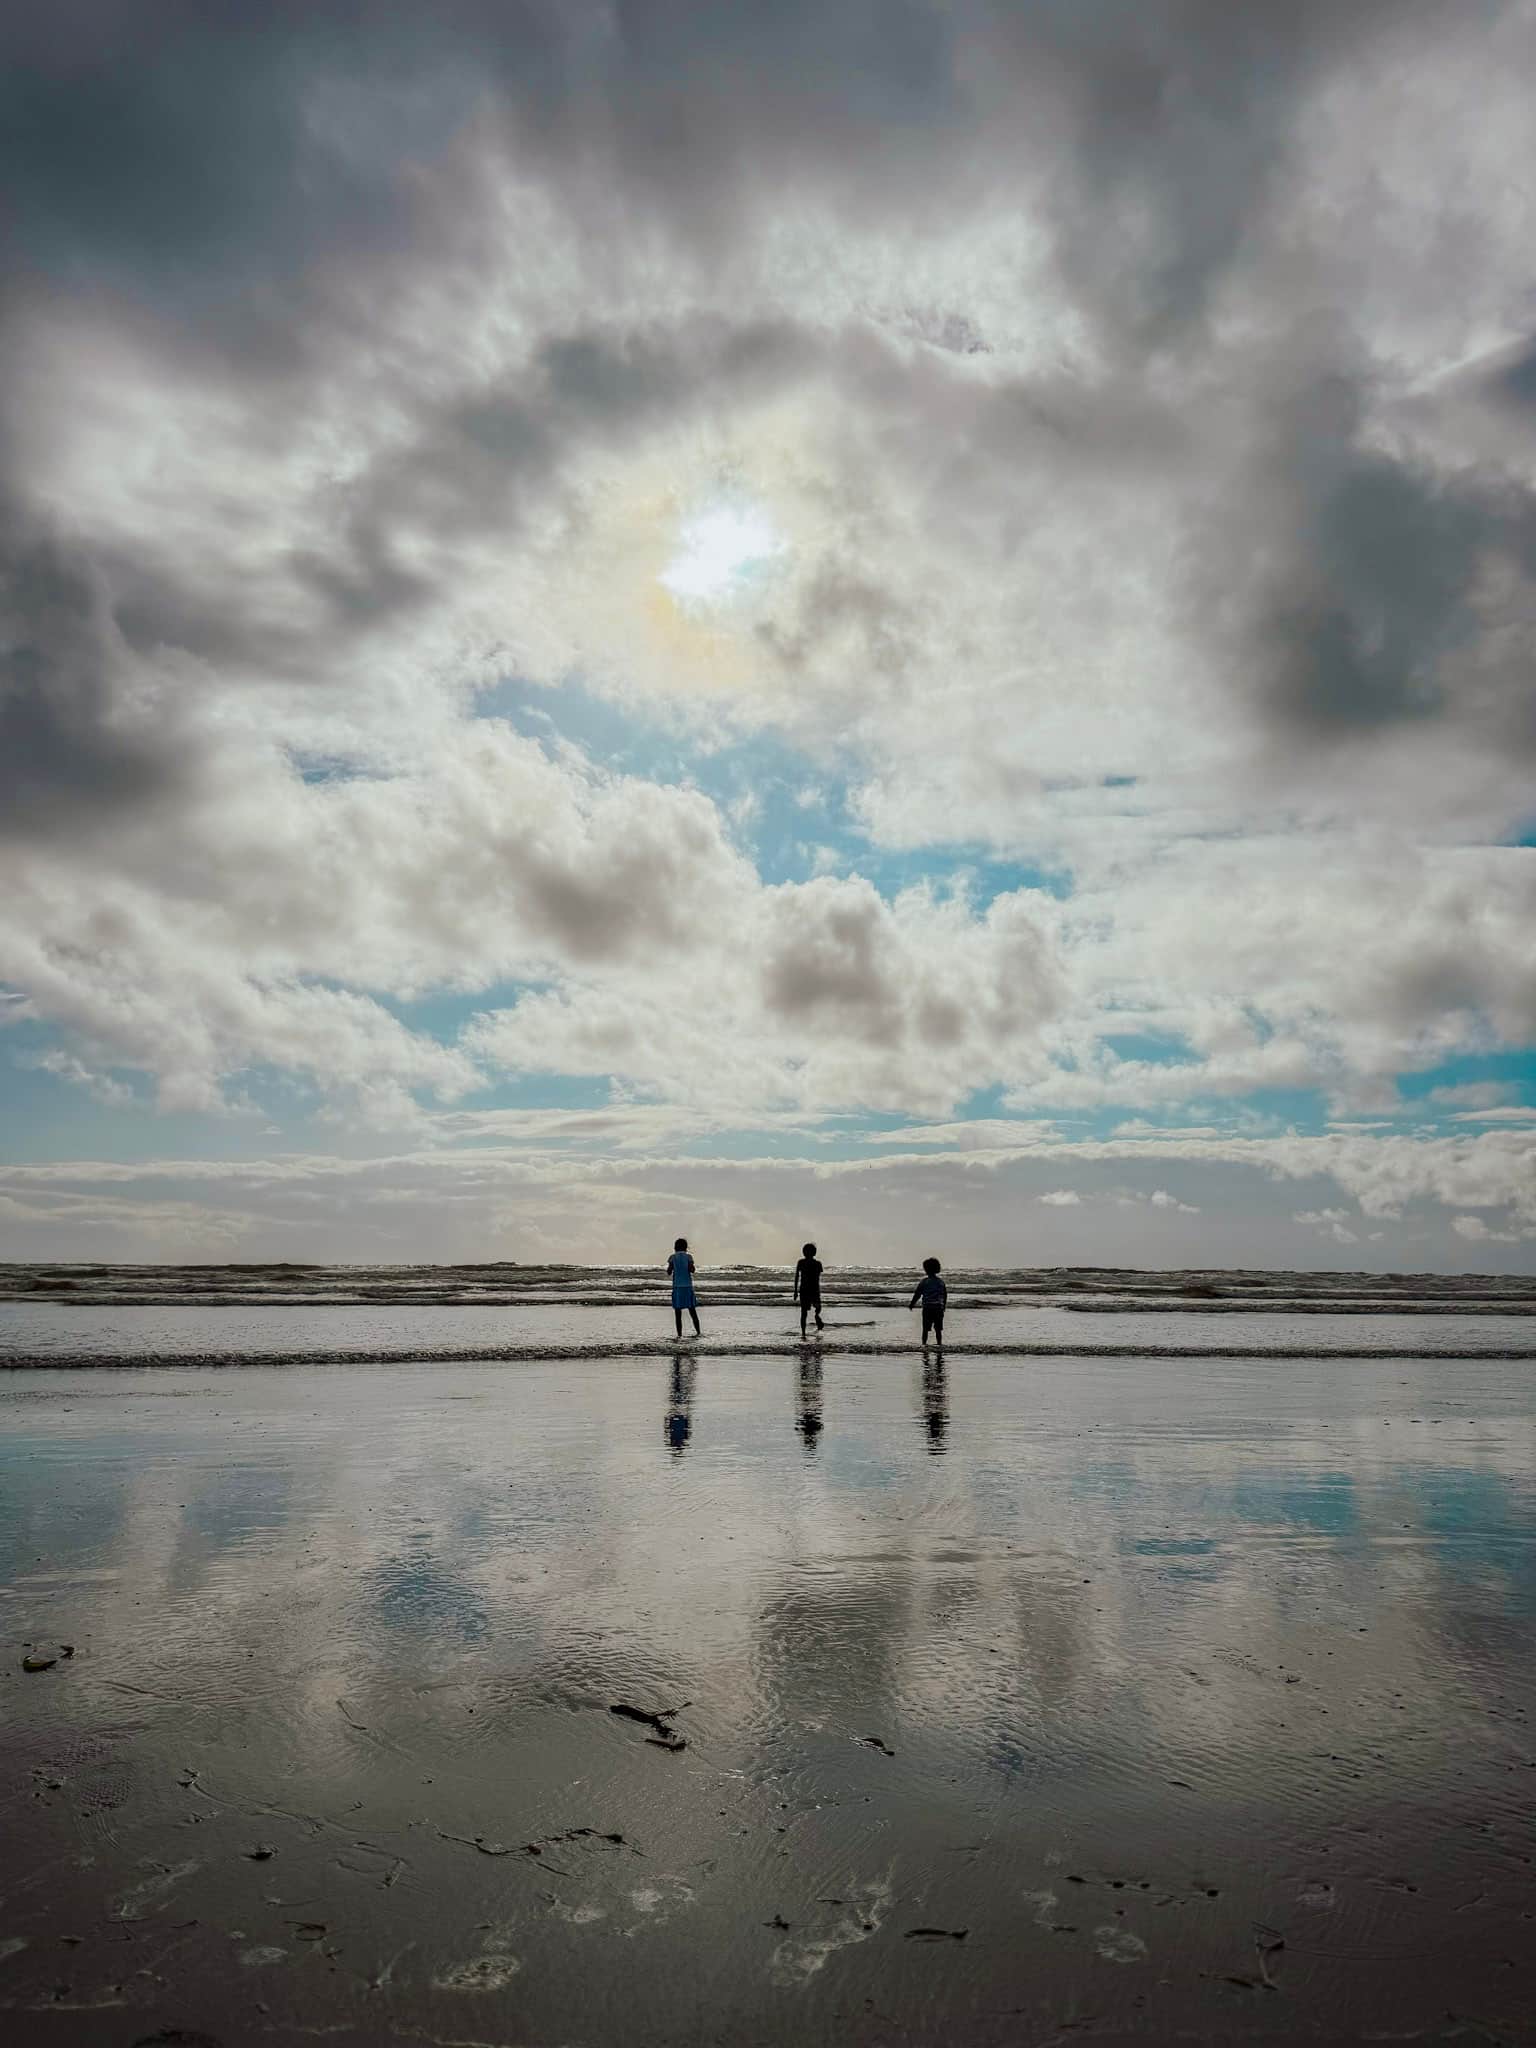
After exploring Quinault, continue north to Kalaloch Beach to see one of the most iconic trees along the Washington Coast—the Tree of Life.
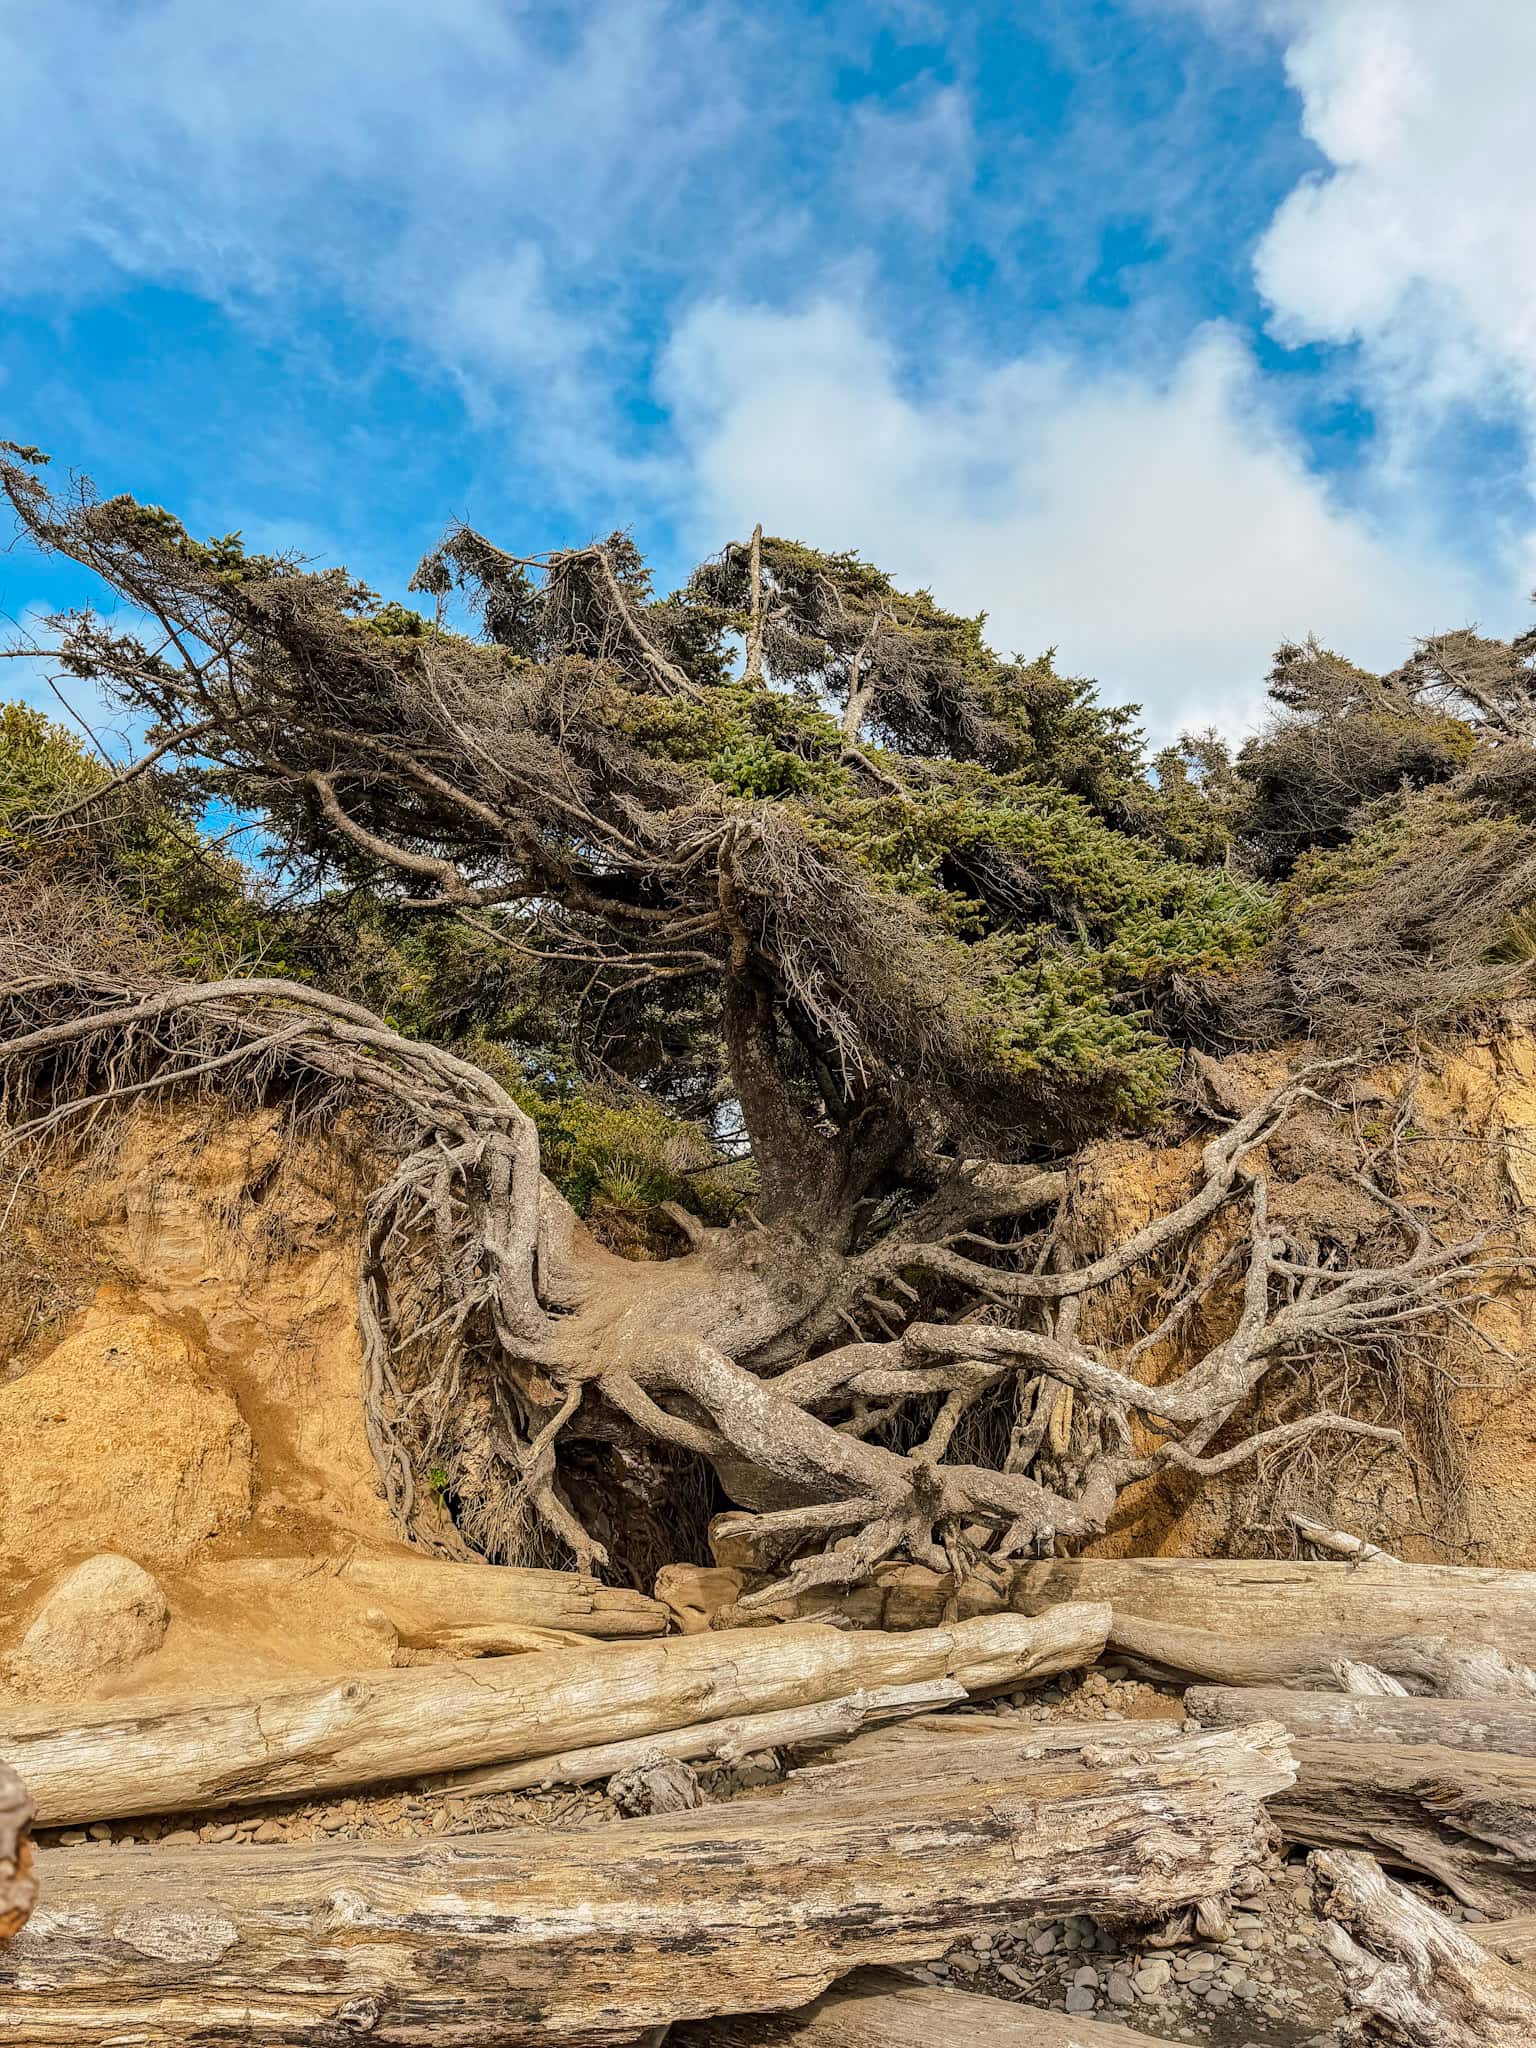
Thanks to the erosion of the soil beneath its roots, the tree appears to be growing almost completely suspended over a rocky ravine.
Make sure to spend some time walking the beach here as well – we found several shells and sand dollars, and there is some huge driftwood that is fun for kids to climb and explore.
Camp at Hoh Rainforest
Finish your day by heading inland toward the Hoh Rainforest campground.
The reason I suggest staying here is for easy access to the Hoh Rainforest the following morning. As one of the most popular areas of the park, the line to enter gets very long, very early in the morning. By camping here the night before, you get to bypass the line and parking lot and head straight to the trail.
If you aren’t interested in camping, here’s where I would recommend staying:
- Hoh Valley Cabins – a cabin with a full kitchen, with close proximity to Hoh
- Far West Tiny Cabins – cabins that sleep 6; partial kitchen
- Quileute Oceanside Resort – stunning ocean views, full kitchen + living area
- Pacific Inn Motel – basic, affordable motel in nearby Forks
Note that if you do not stay in the Hoh campground, be prepared to enter the parking lot by 7:30 am or after 5:00 pm to avoid a long wait
Day 3: Hoh Rainforest, Cape Flattery & Sol Duc
Hoh Rainforest → Second Beach → Cape Flattery → Sol Duc
Where we stayed: Sol Duc Campground
If you are not staying in the Hoh campground, I highly recommend getting an early start to this morning. Even if you are, I would still try and get on the trail as early as you can for a quieter experience, as the crowds were already picking up by 8 a.m. on the day we visited.
Hall of Mosses
The Hall of Mosses Trail is only 1.1 miles, but it truly feels like you’ve stepped into another world.
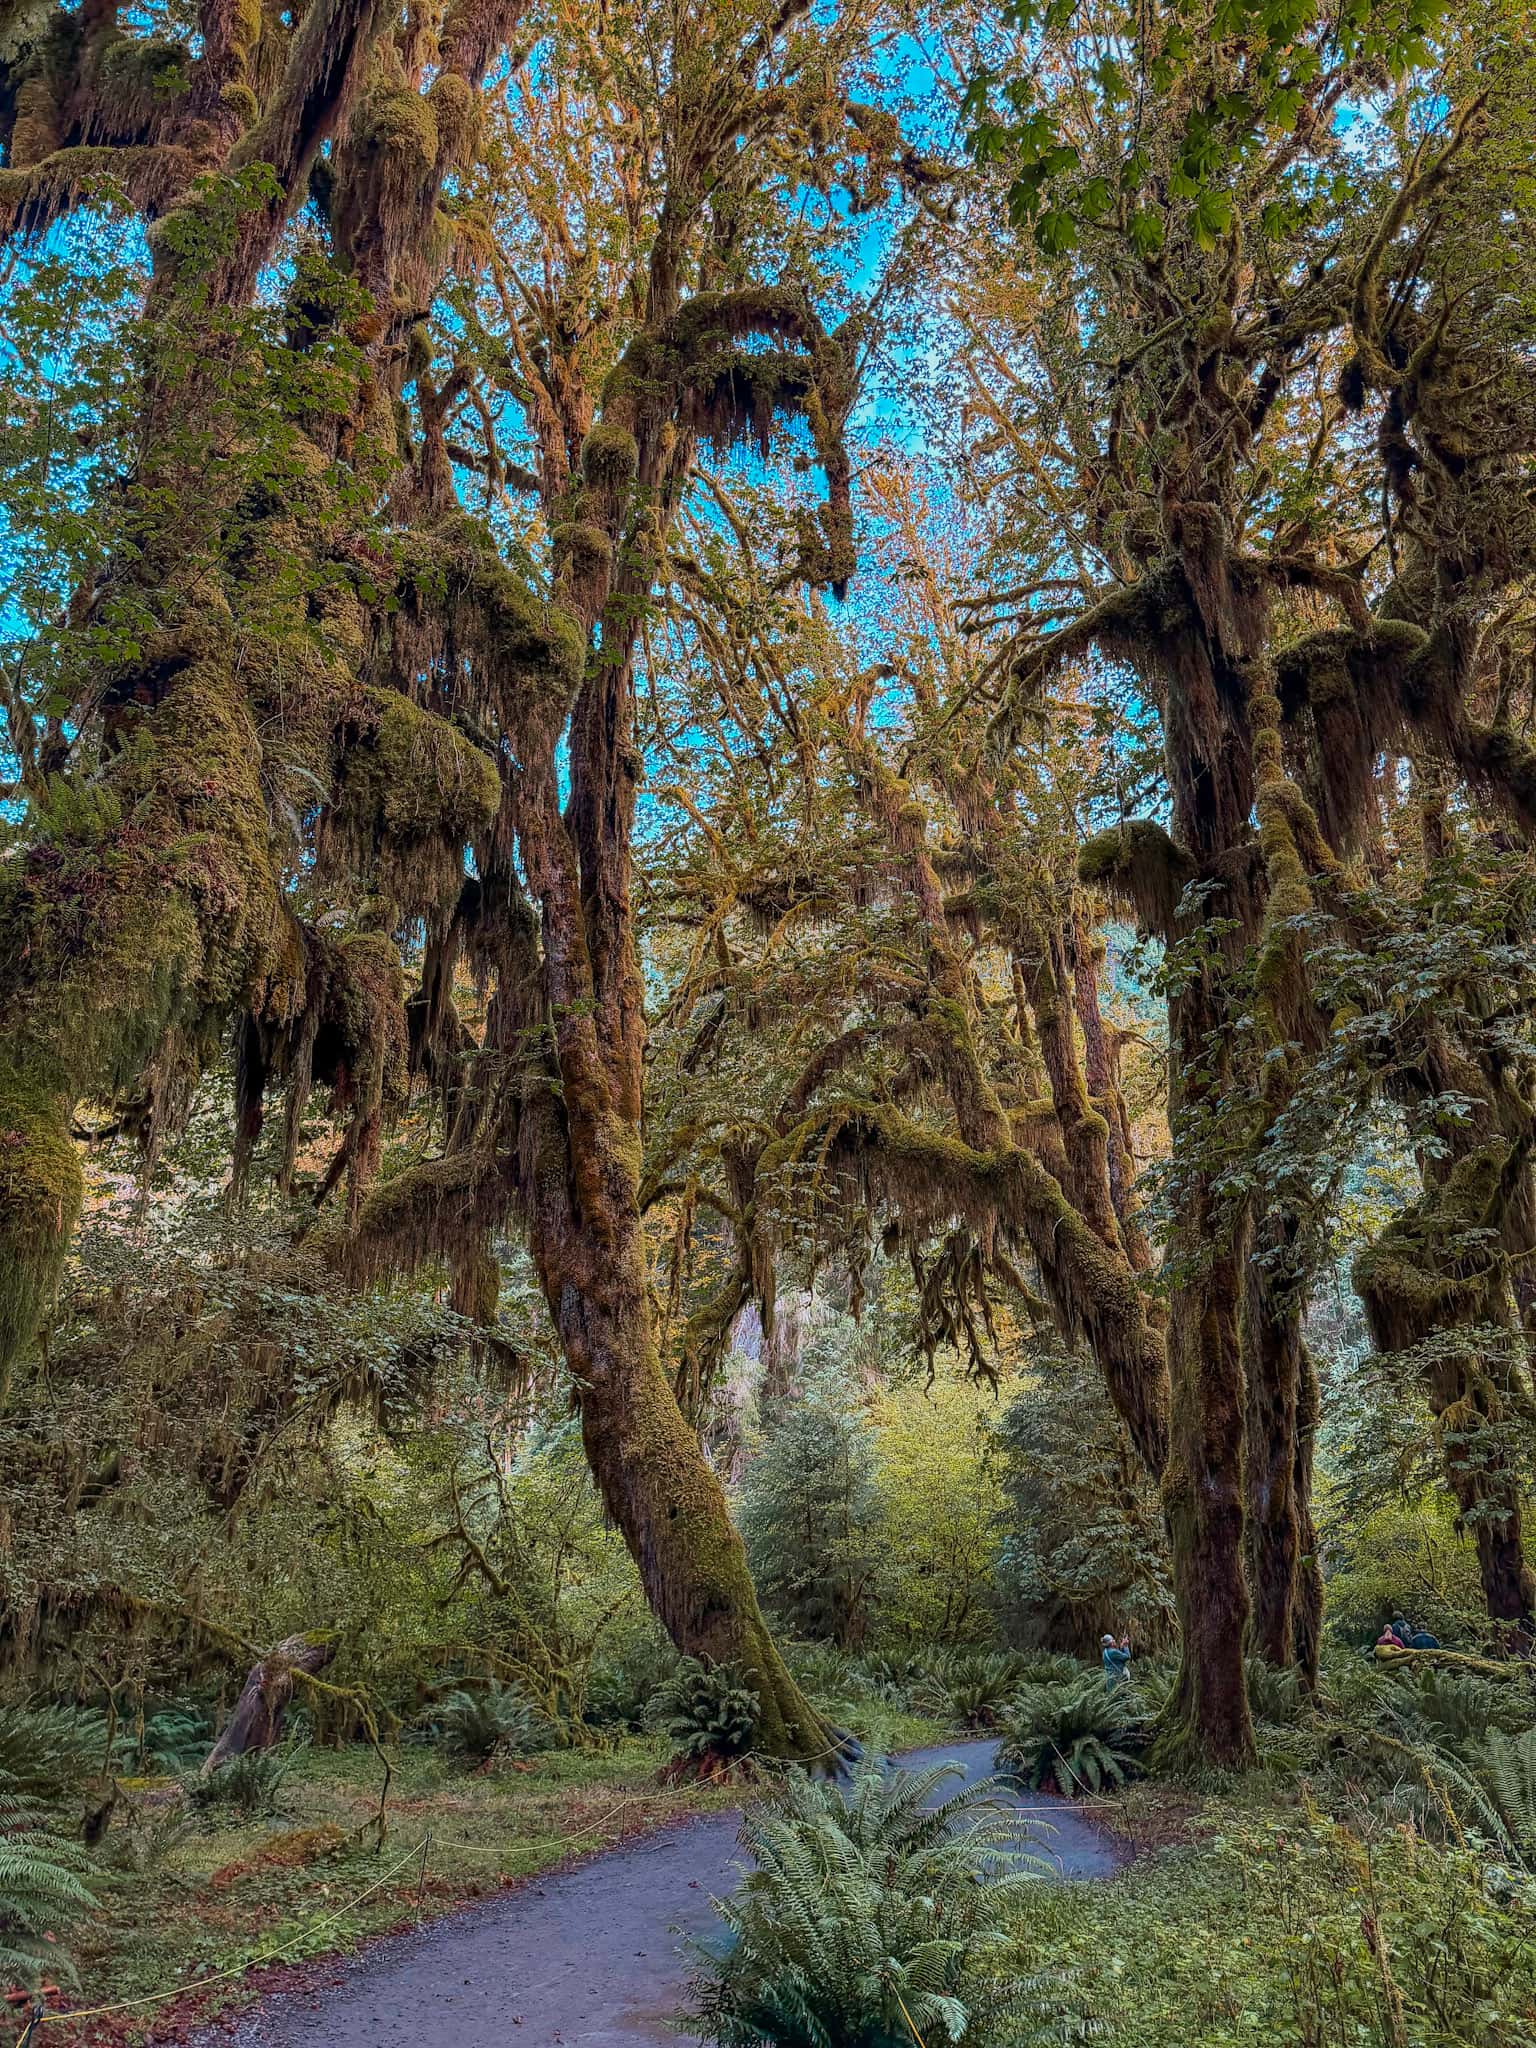
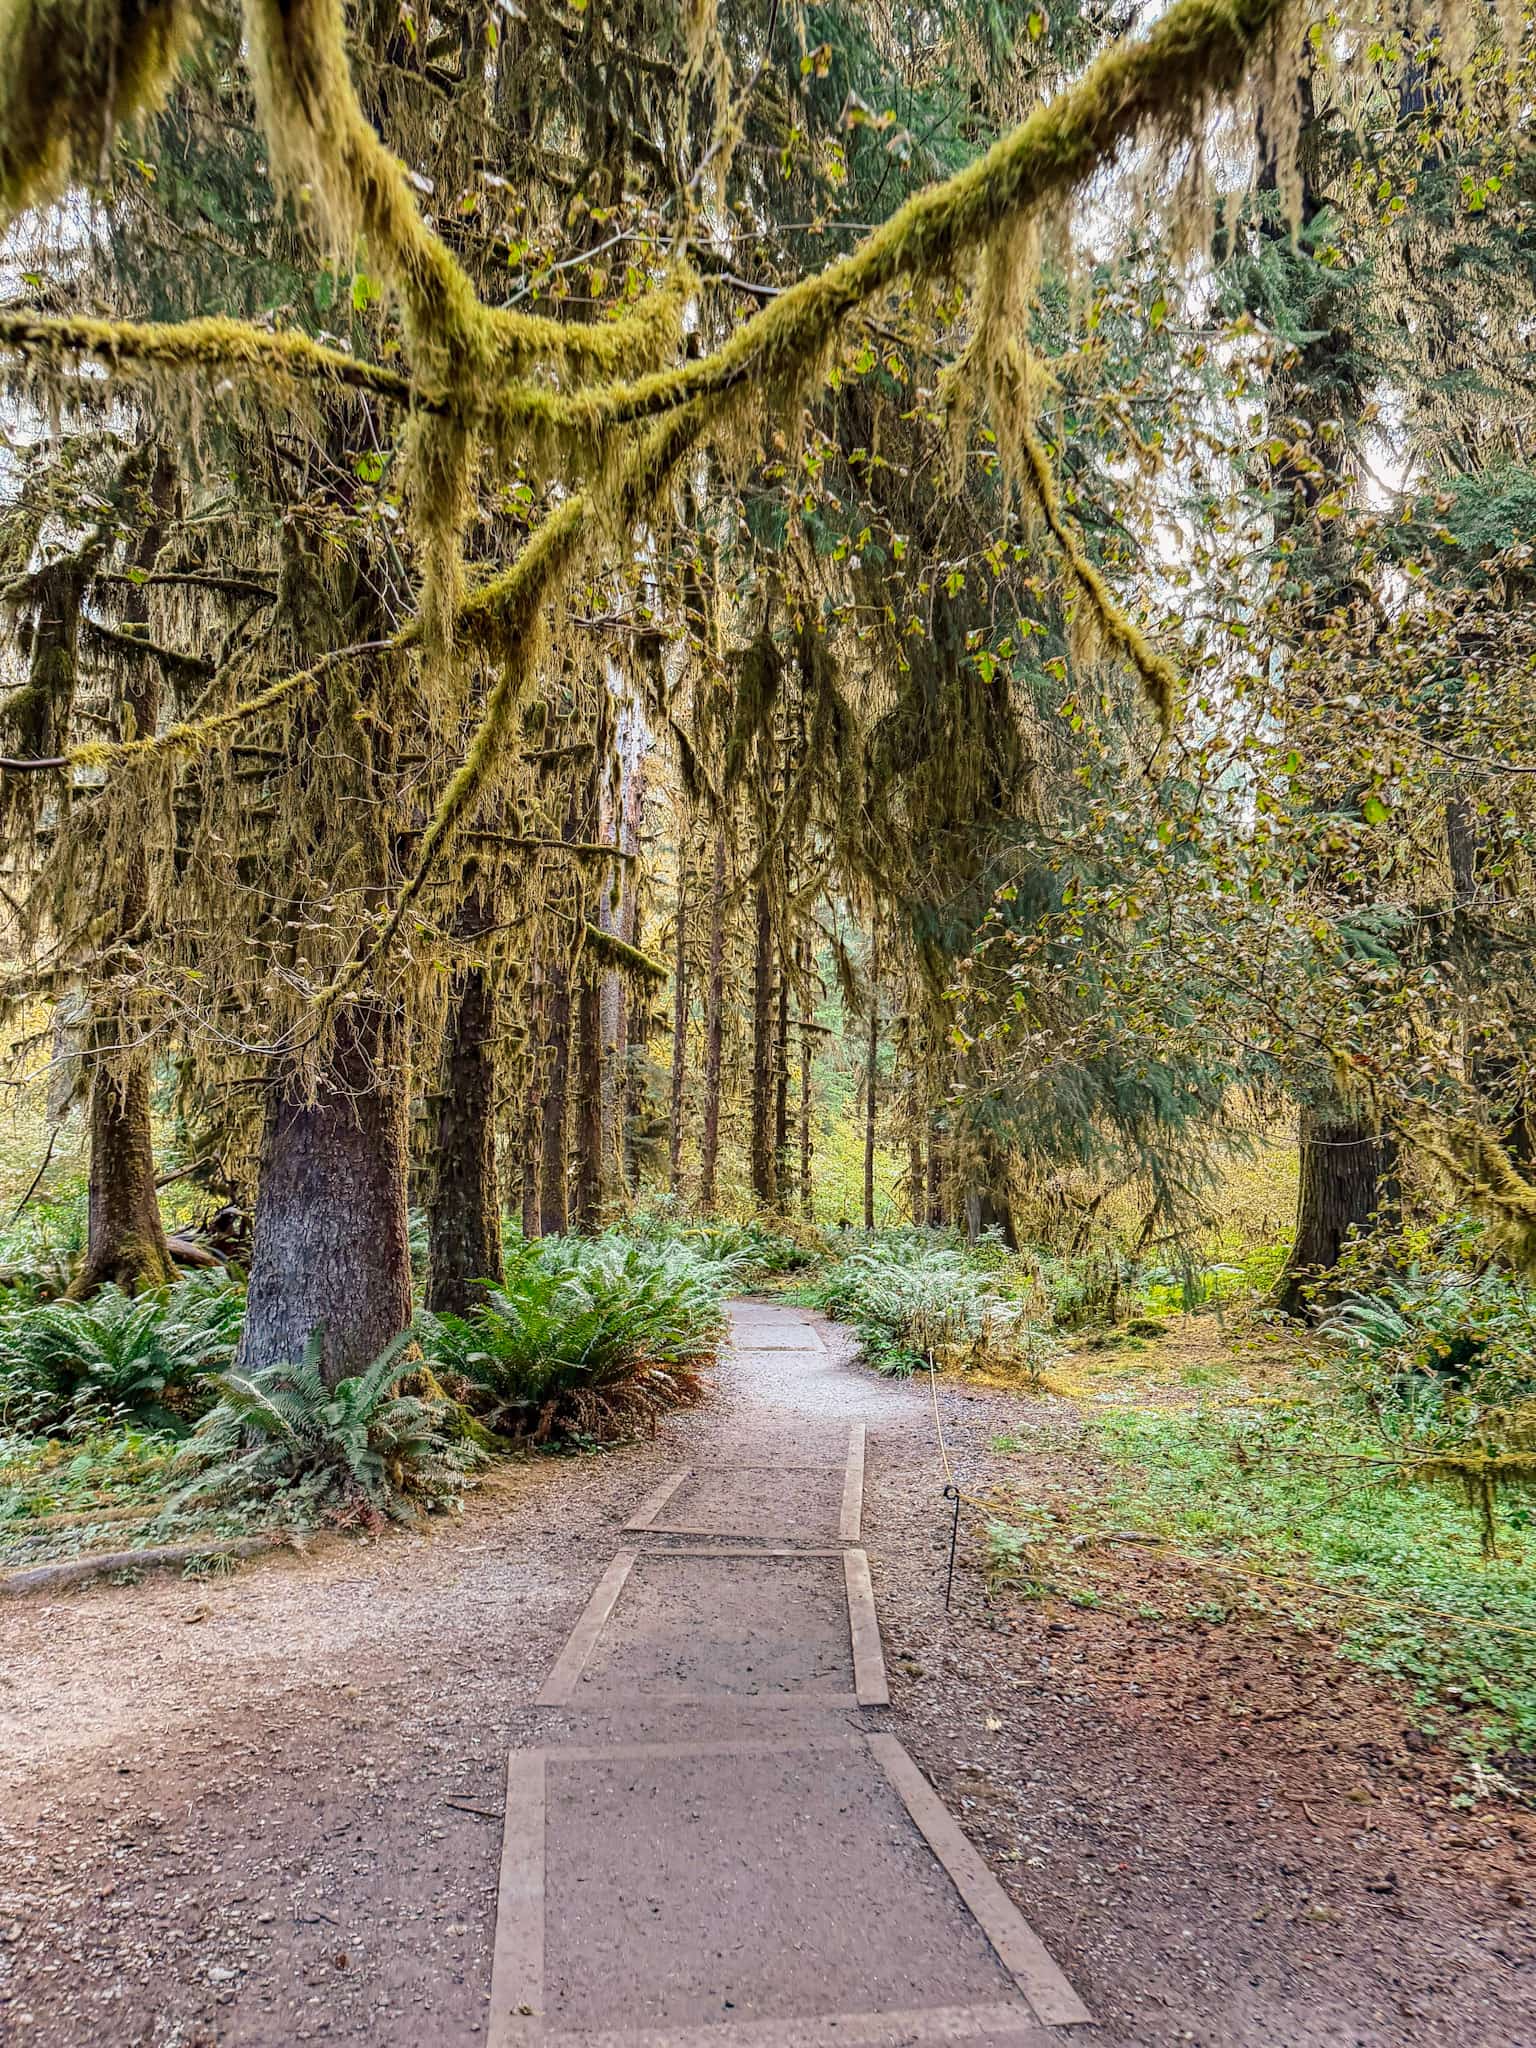
Towering trees covered in moss create a landscape that looks almost prehistoric, and its short distance and flat terrain makes it a truly perfect trail for families.
You can also hike the nearby Spruce Nature Trail, another great option for a short, family friendly hike to take in the unique scenery.
Second Beach
Next, head toward Second Beach, one of the most beautiful beaches in Olympic National Park.
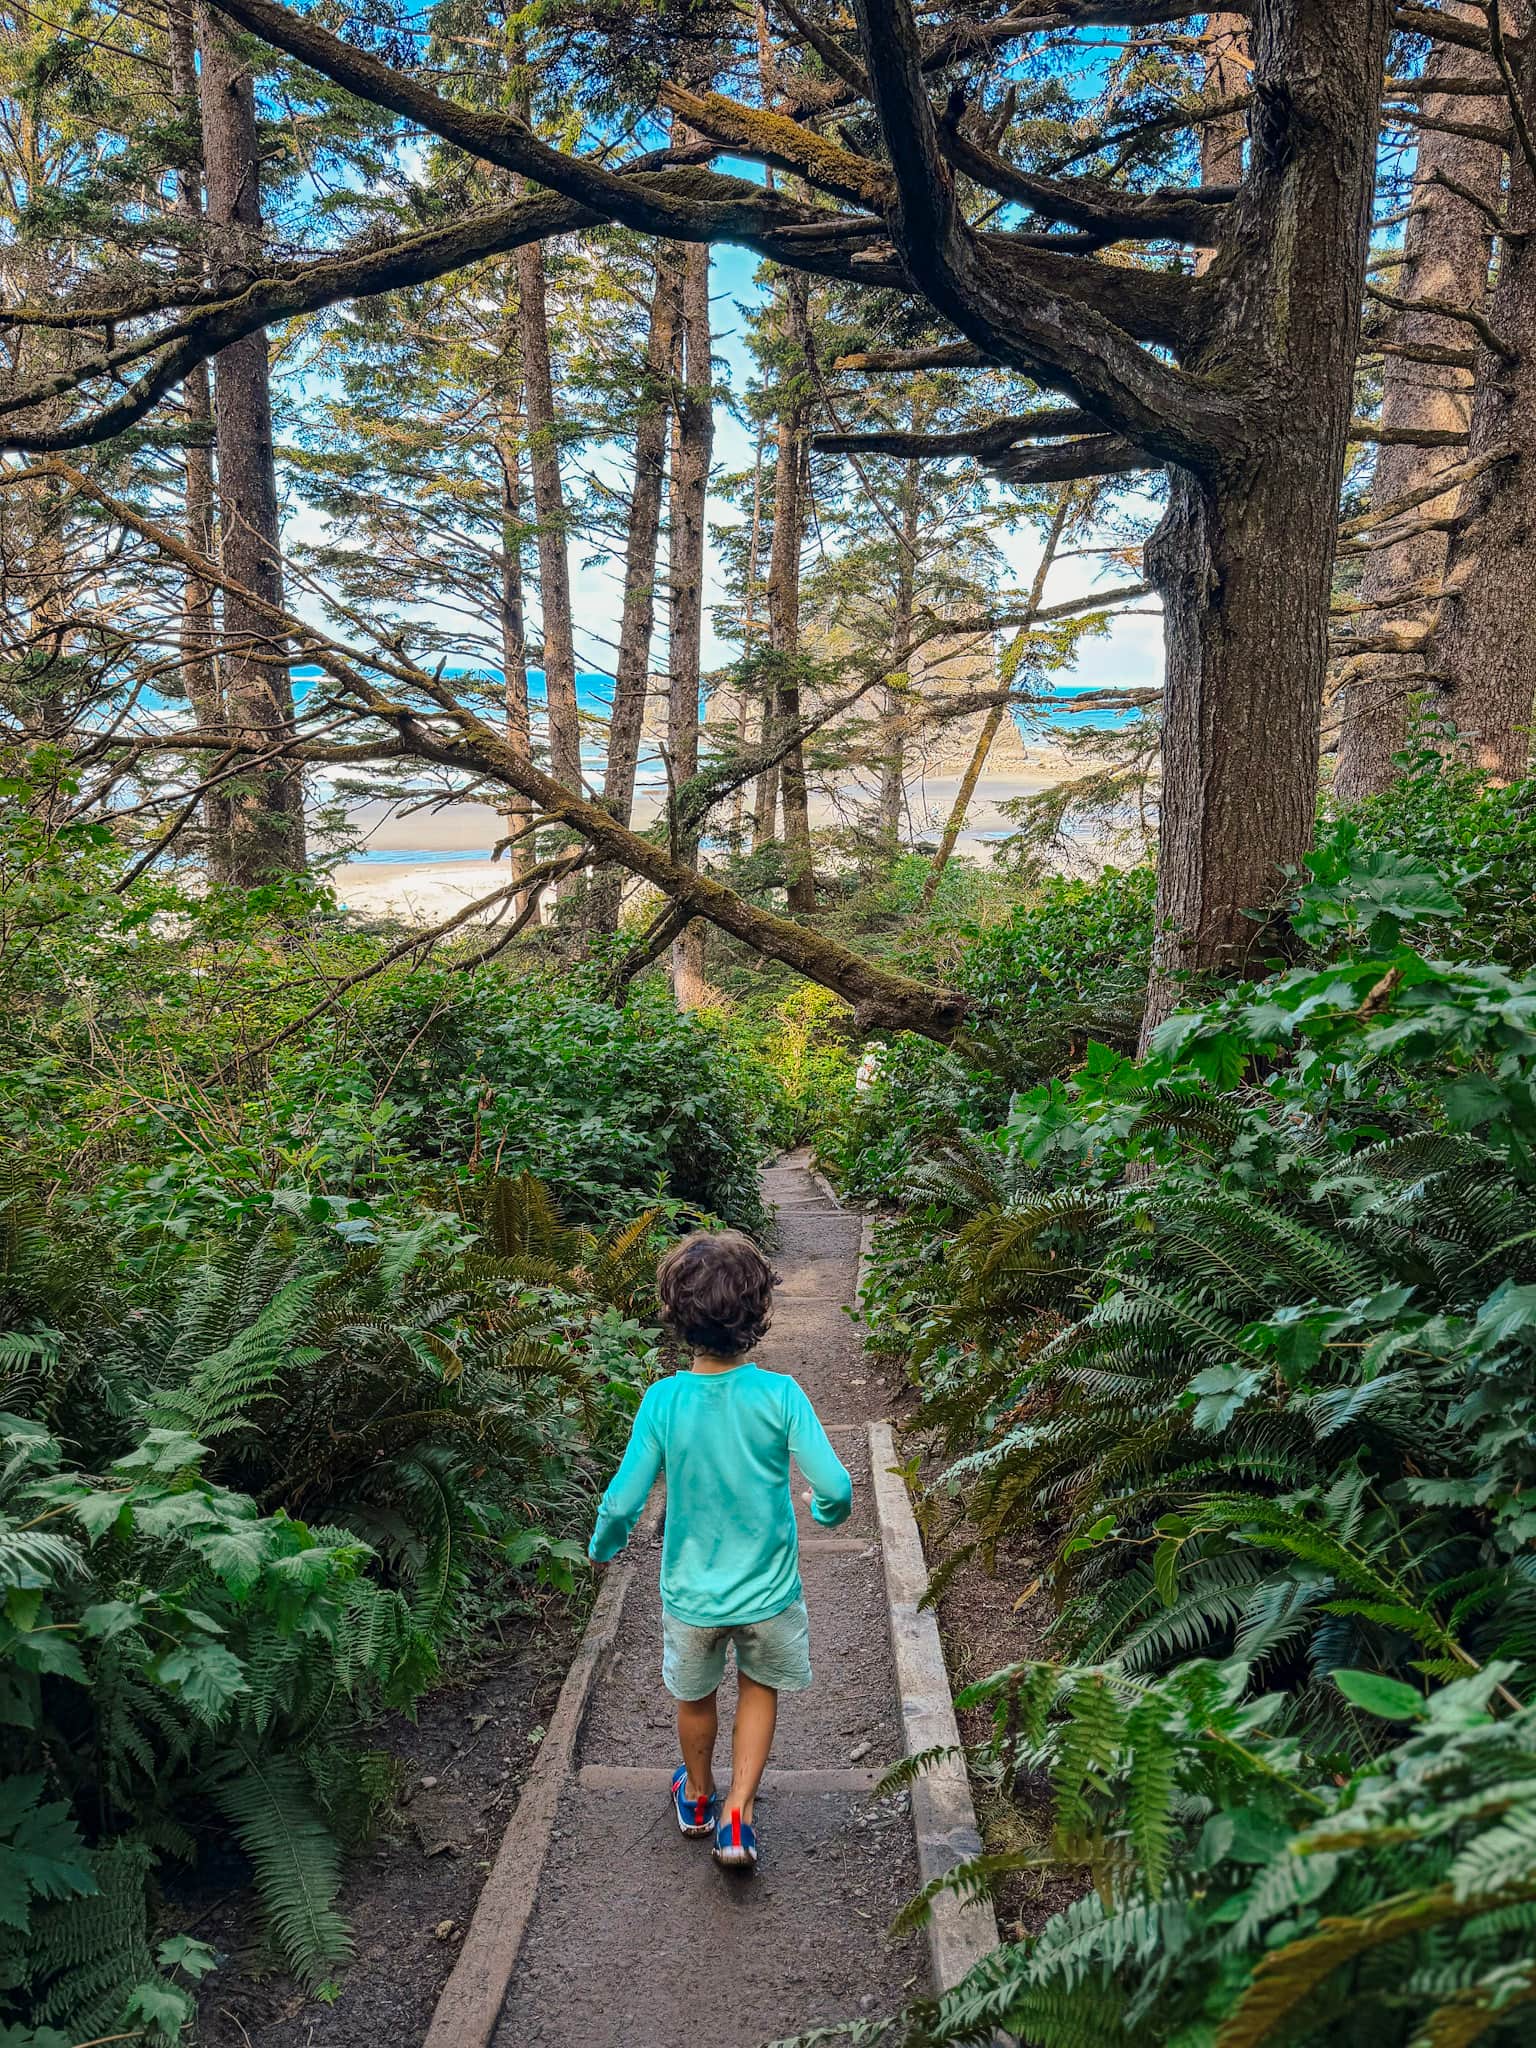
It does require a short 0.8 mile forest hike to access the dramatic coastline with sea stacks rising from the Pacific, but I promise you that it’s worth every step.
Put your kids in water sandals or play sneakers, as this trail is fully shaded and is always muddy.
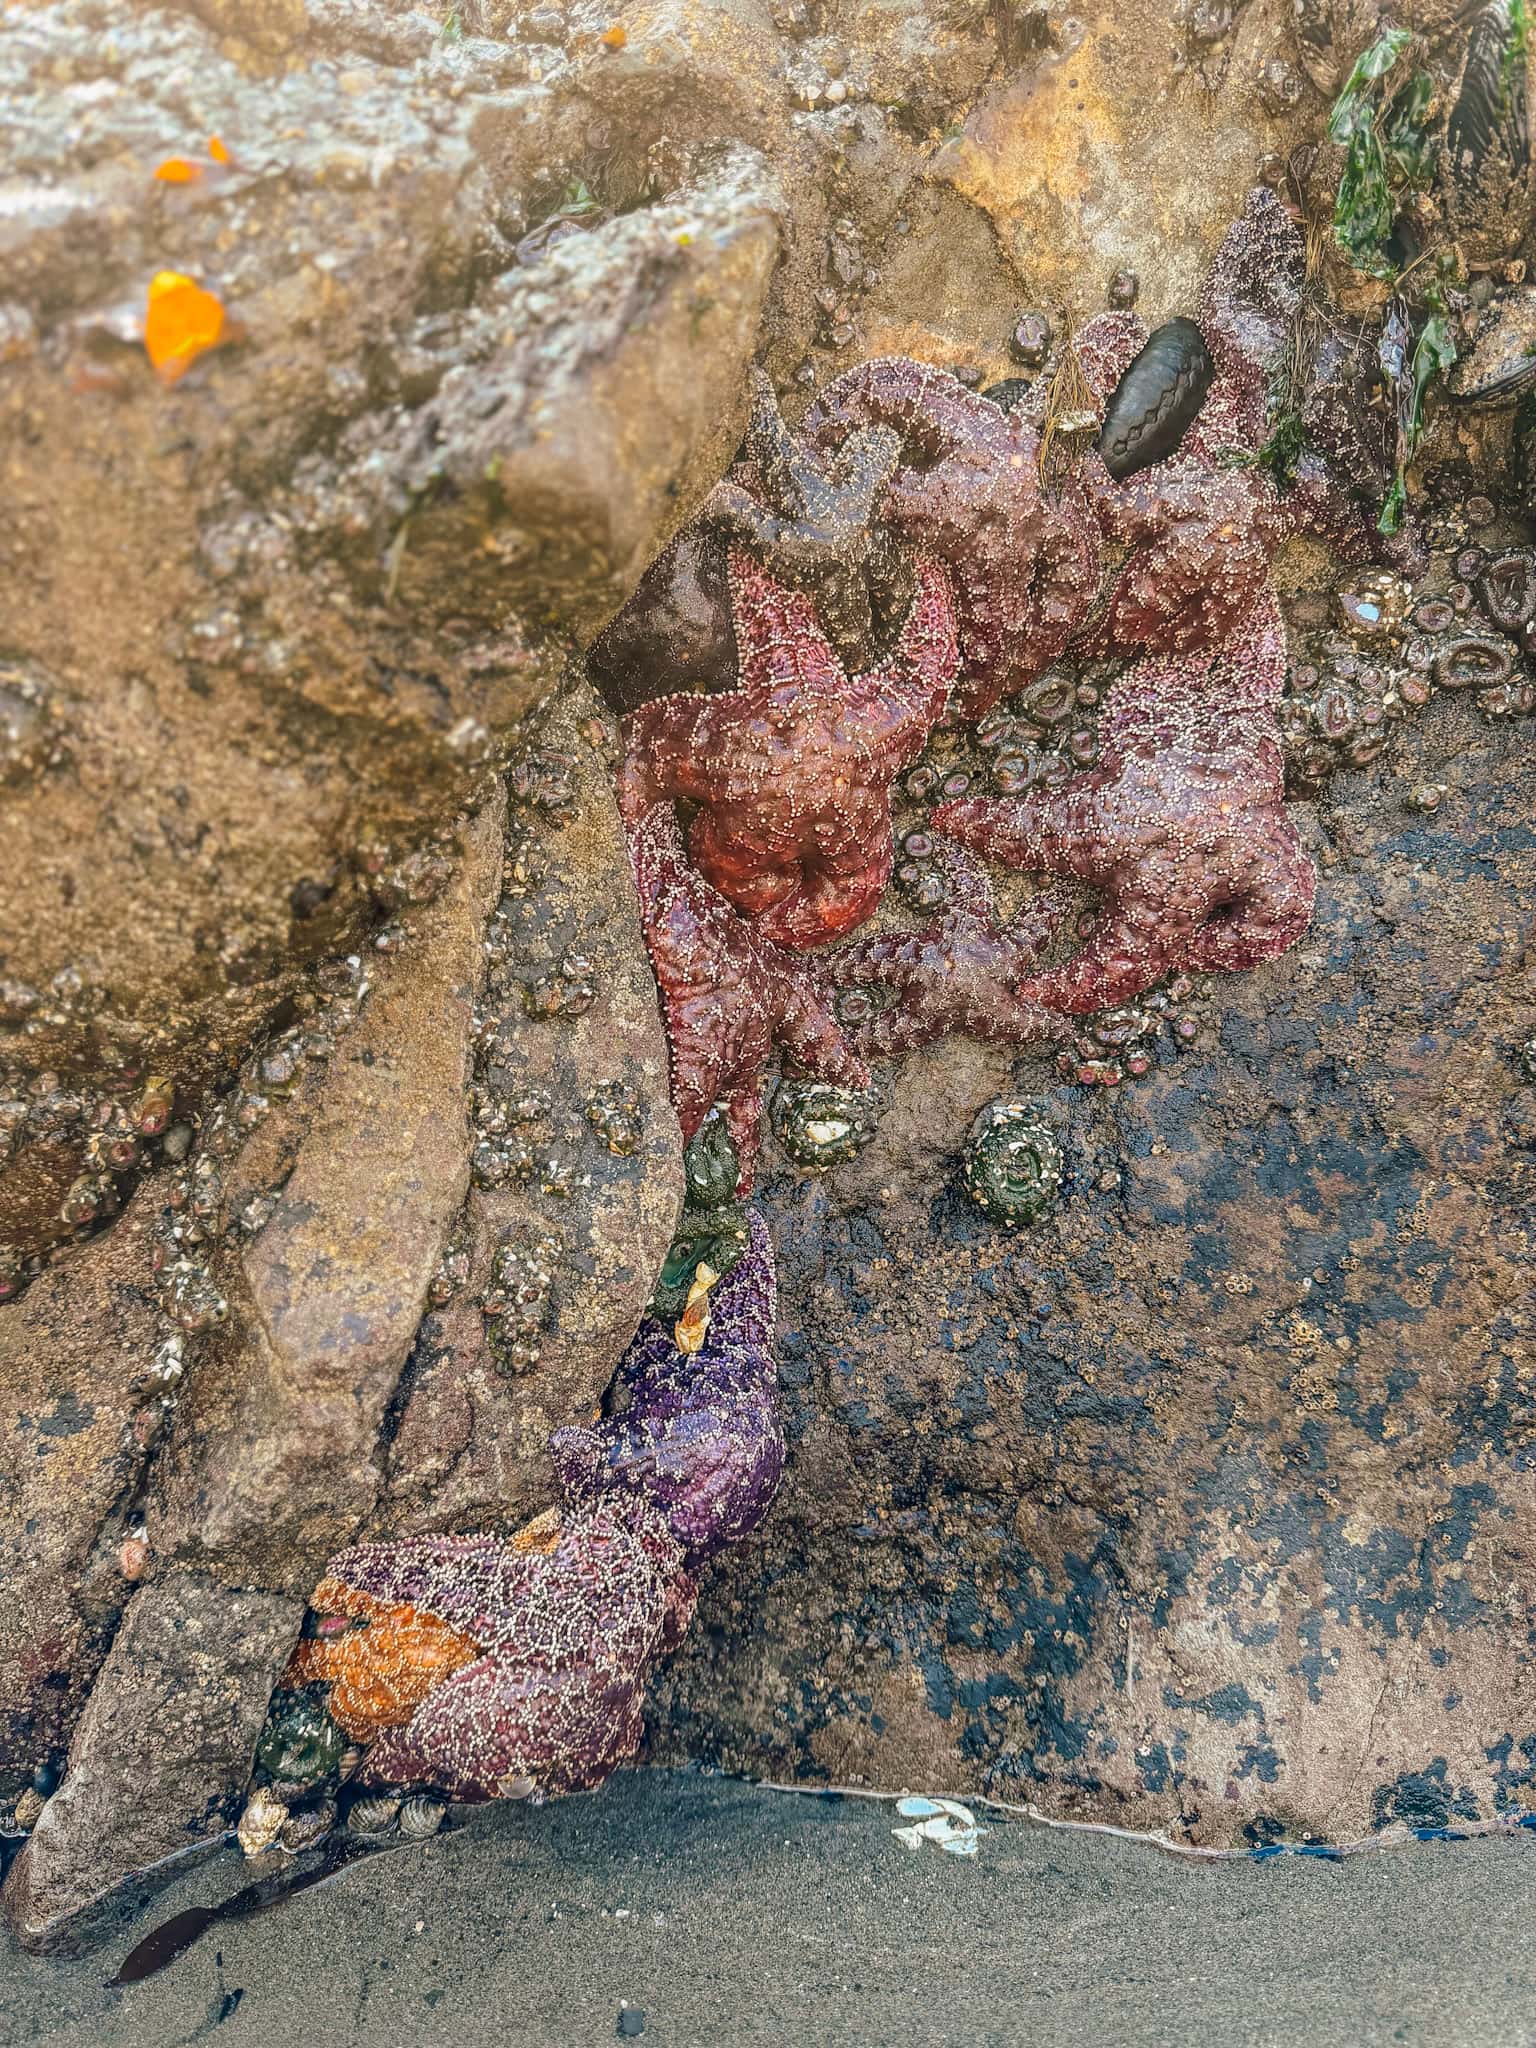
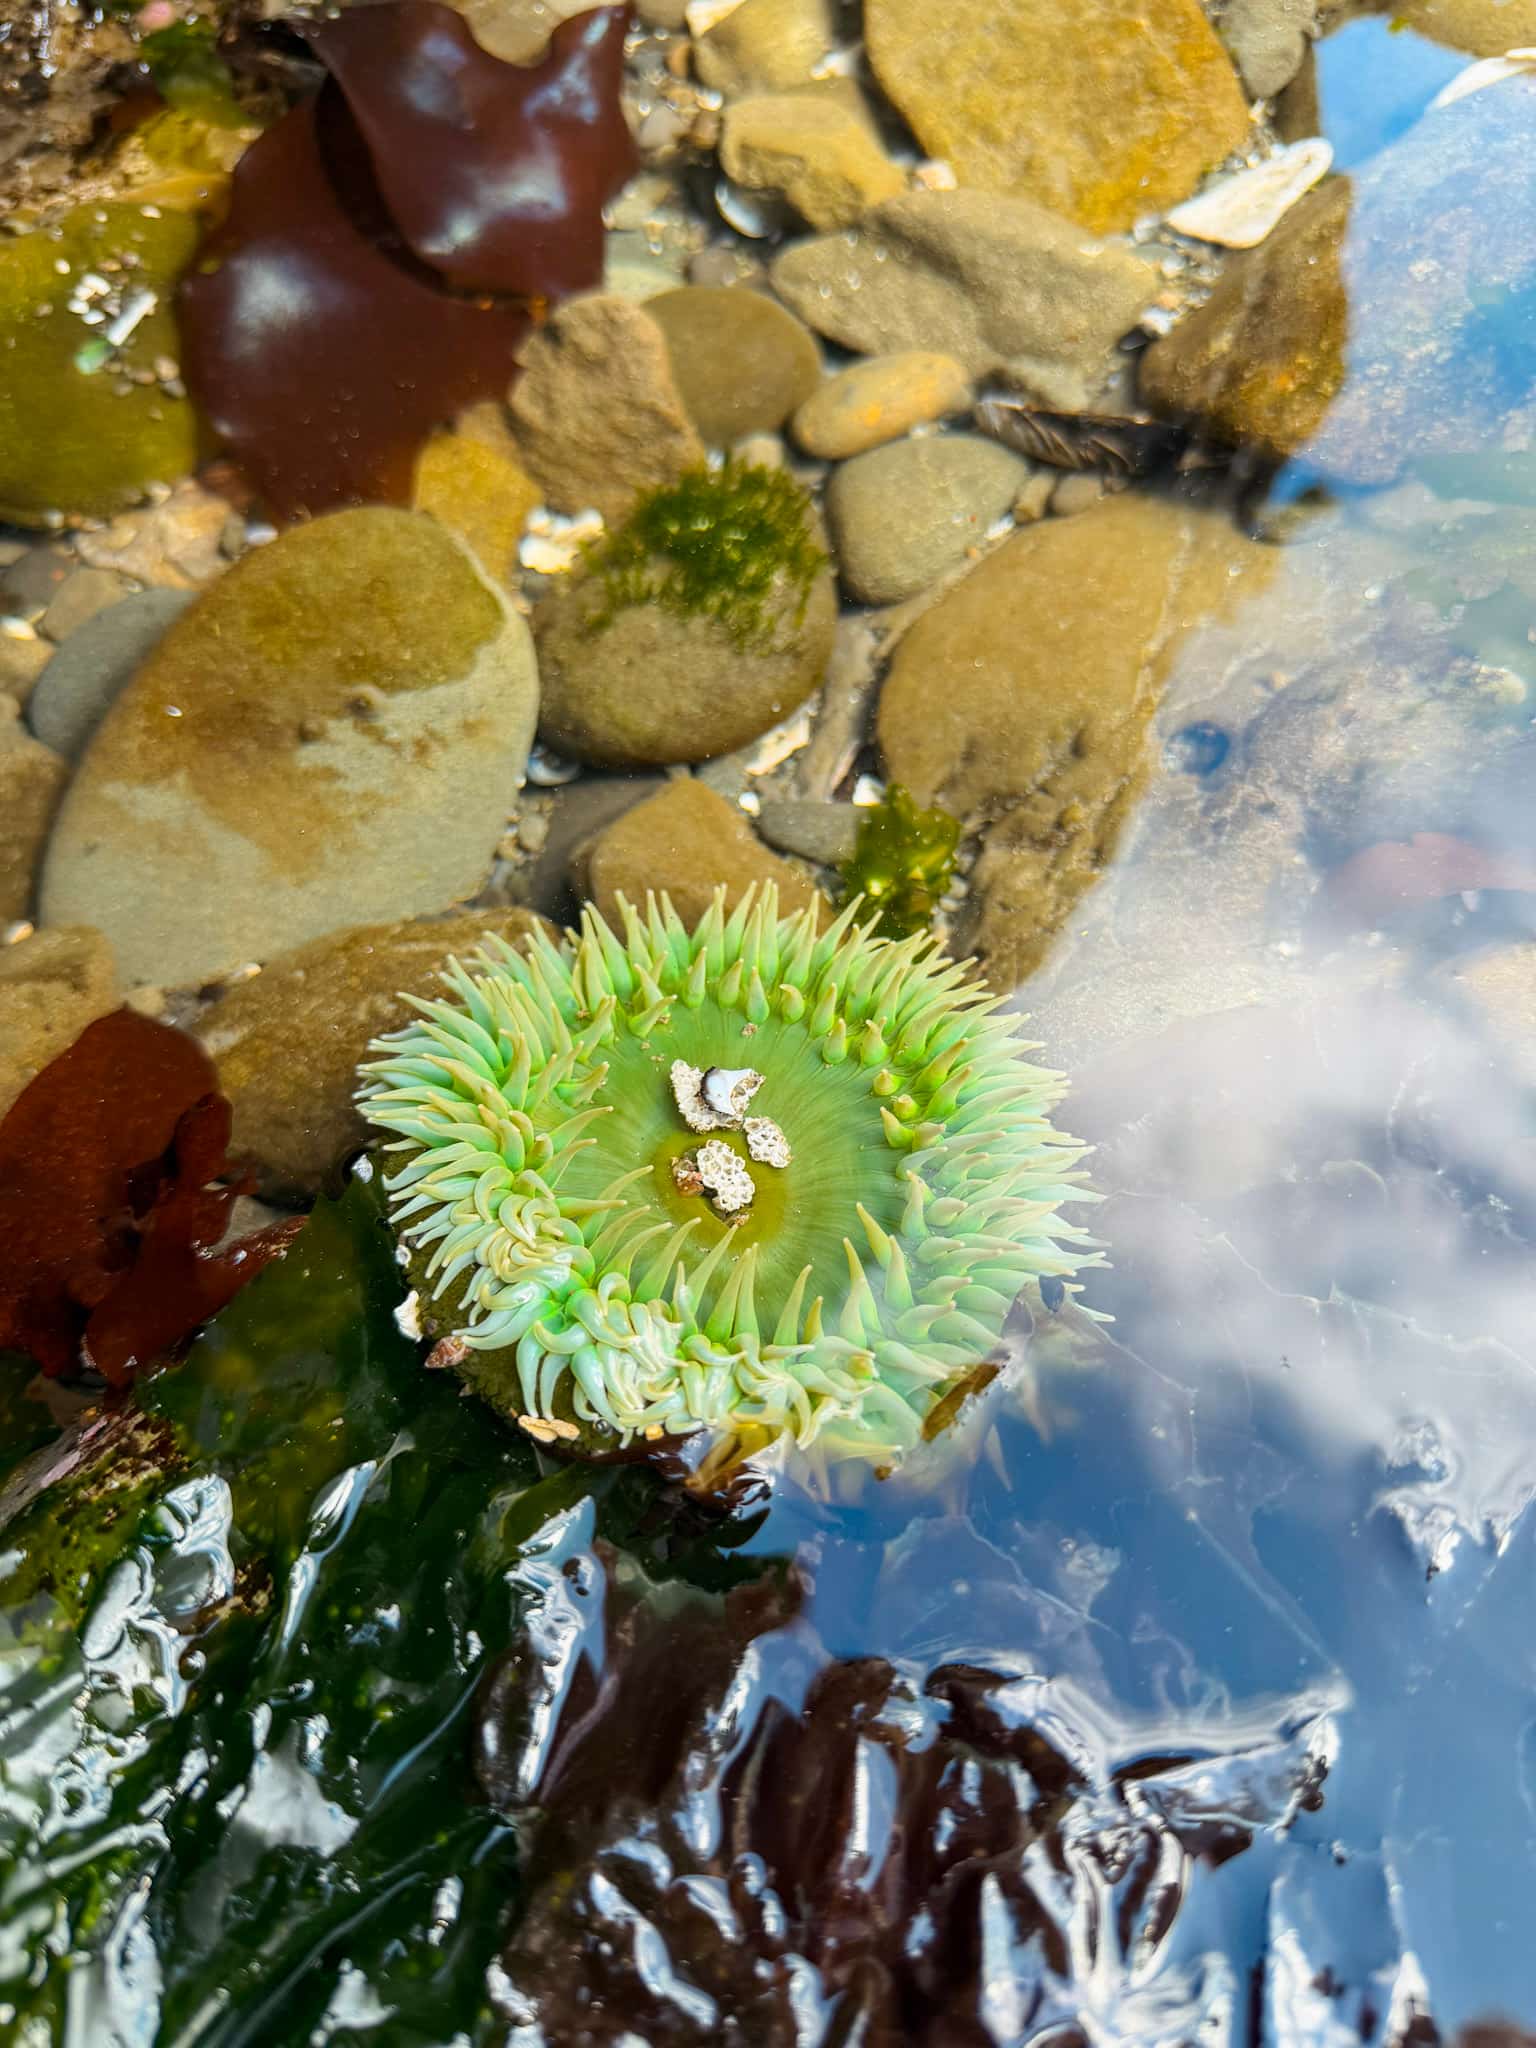
I highly recommend timing your visiting during low tide, as this is a fantastic place for tide pooling.
Cape Flattery
If you have extra time in your day, I highly recommend that you continue north toward Cape Flattery, the northwesternmost point in the contiguous United States.
The 1.2-mile round-trip trail winds through dense forest before reaching several viewpoints overlooking the Pacific Ocean and Strait of Juan de Fuca.
You do have to purchase a $20 Makah Recreation Pass to visit since the area is located on tribal land. You can stop at several of the stores in town, or they have a pay station on your way to the trailhead.
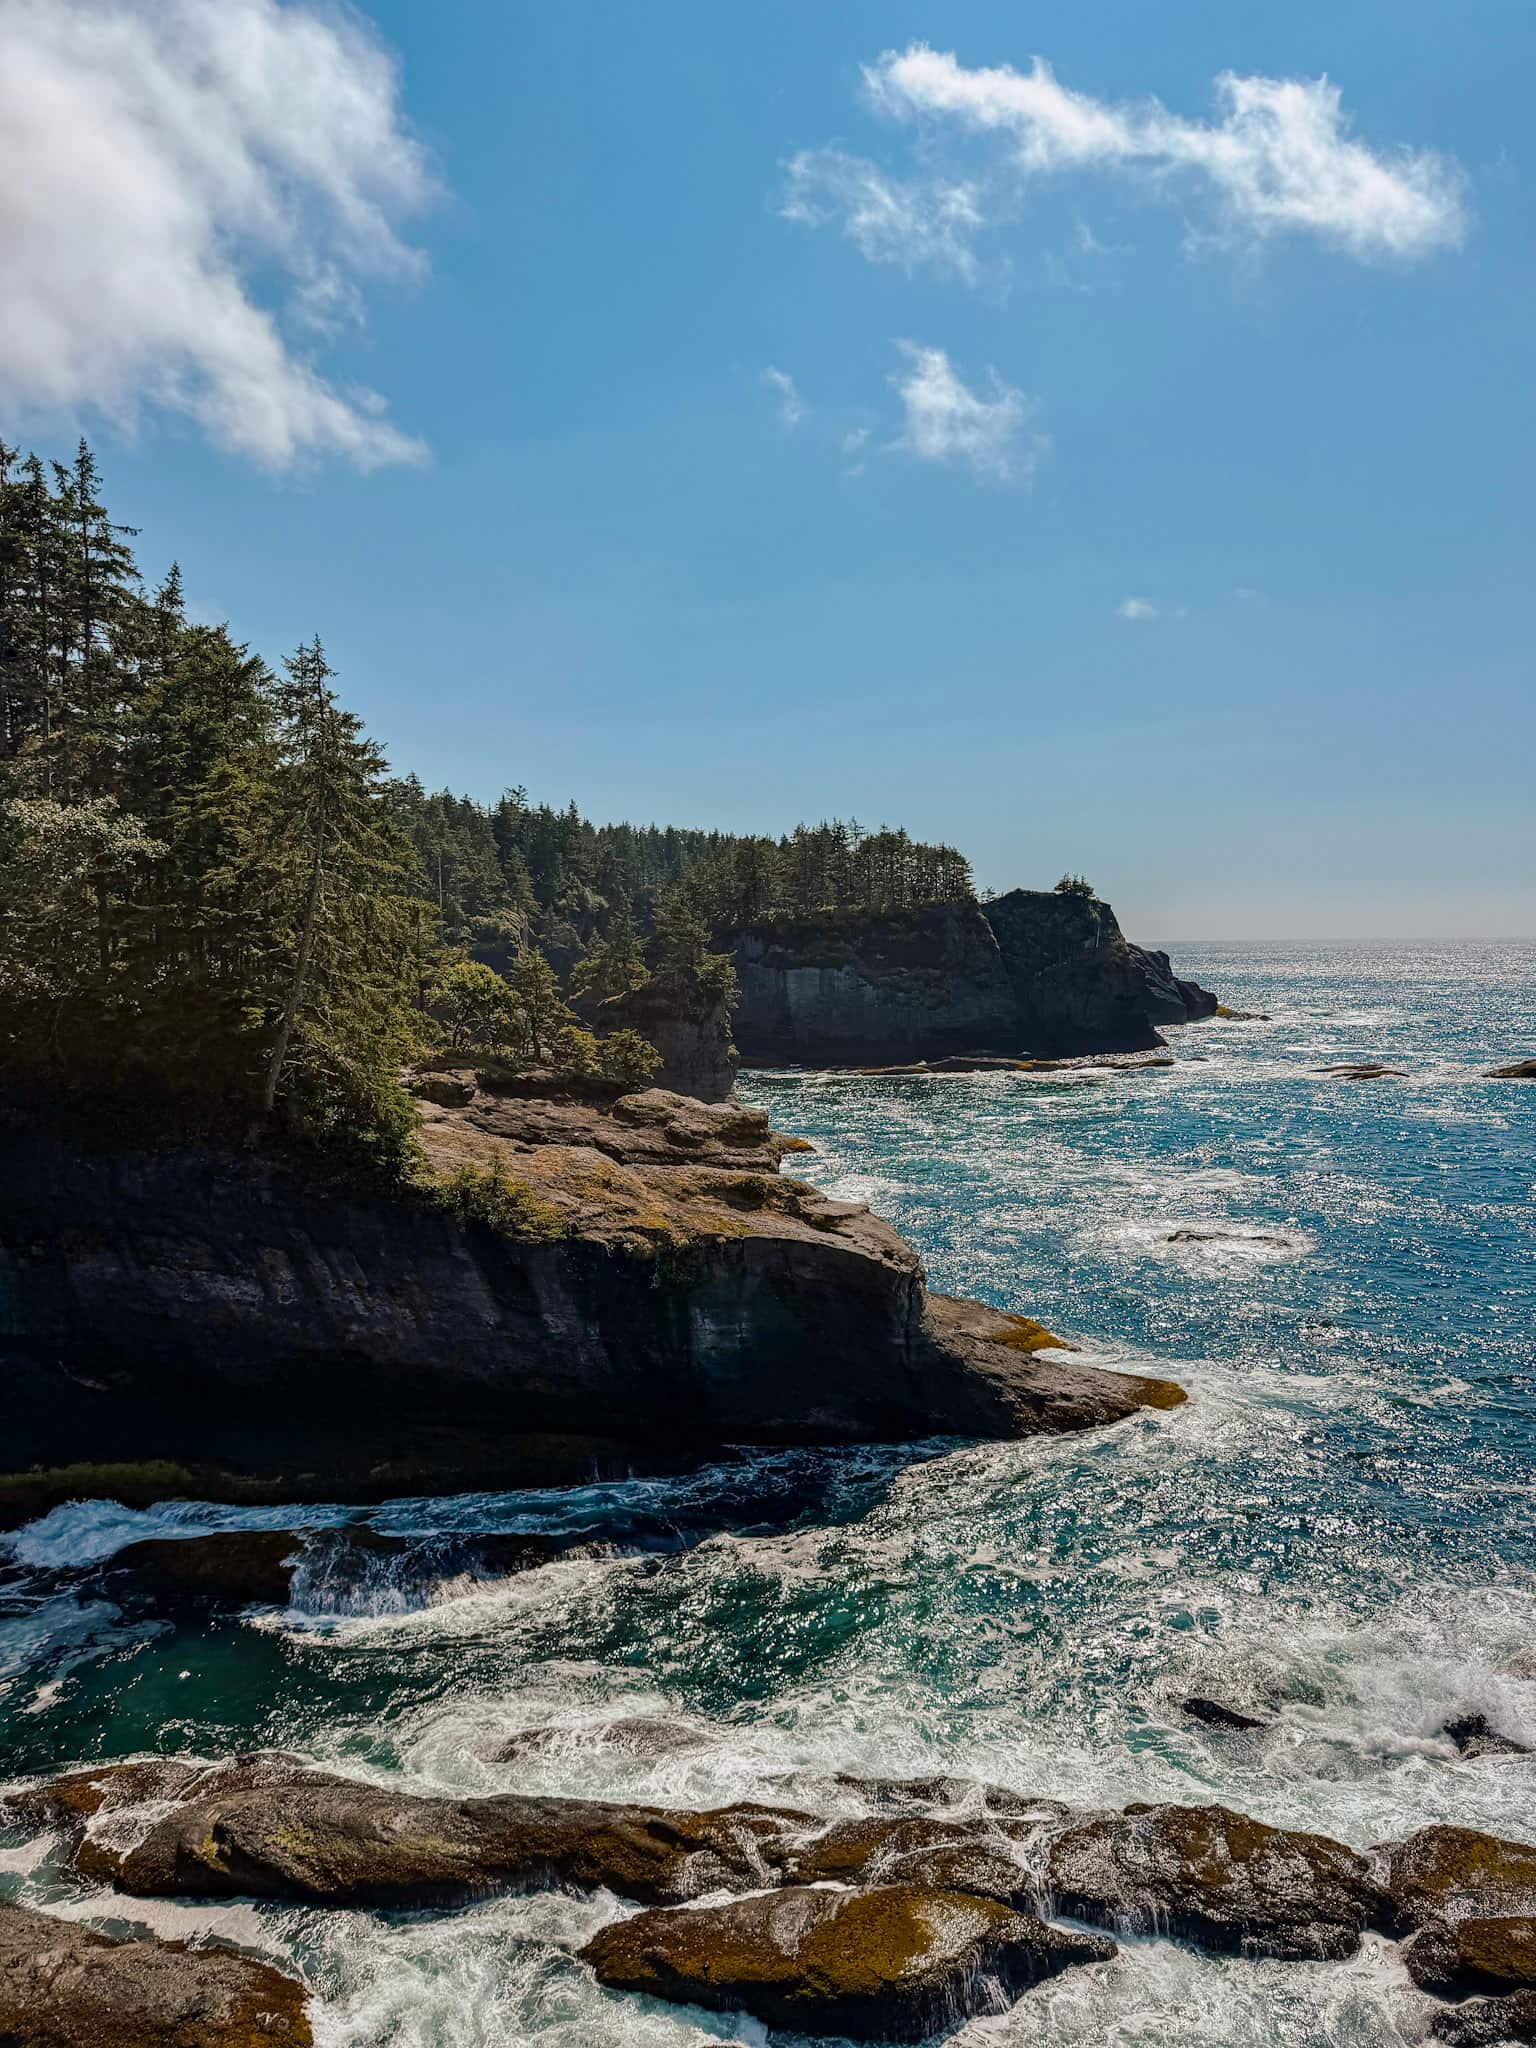
It’s a short & easy hike, but the scenery and views are amazing. It’s also a great spot to watch for wildlife – we saw a bald eagle and sea lions during our visit, but you can also spot sea otters, gray and humpback whales and puffins from the lookouts as well.
We love these self focusing binoculars for wildlife spotting!
Sol Duc Falls & Campground
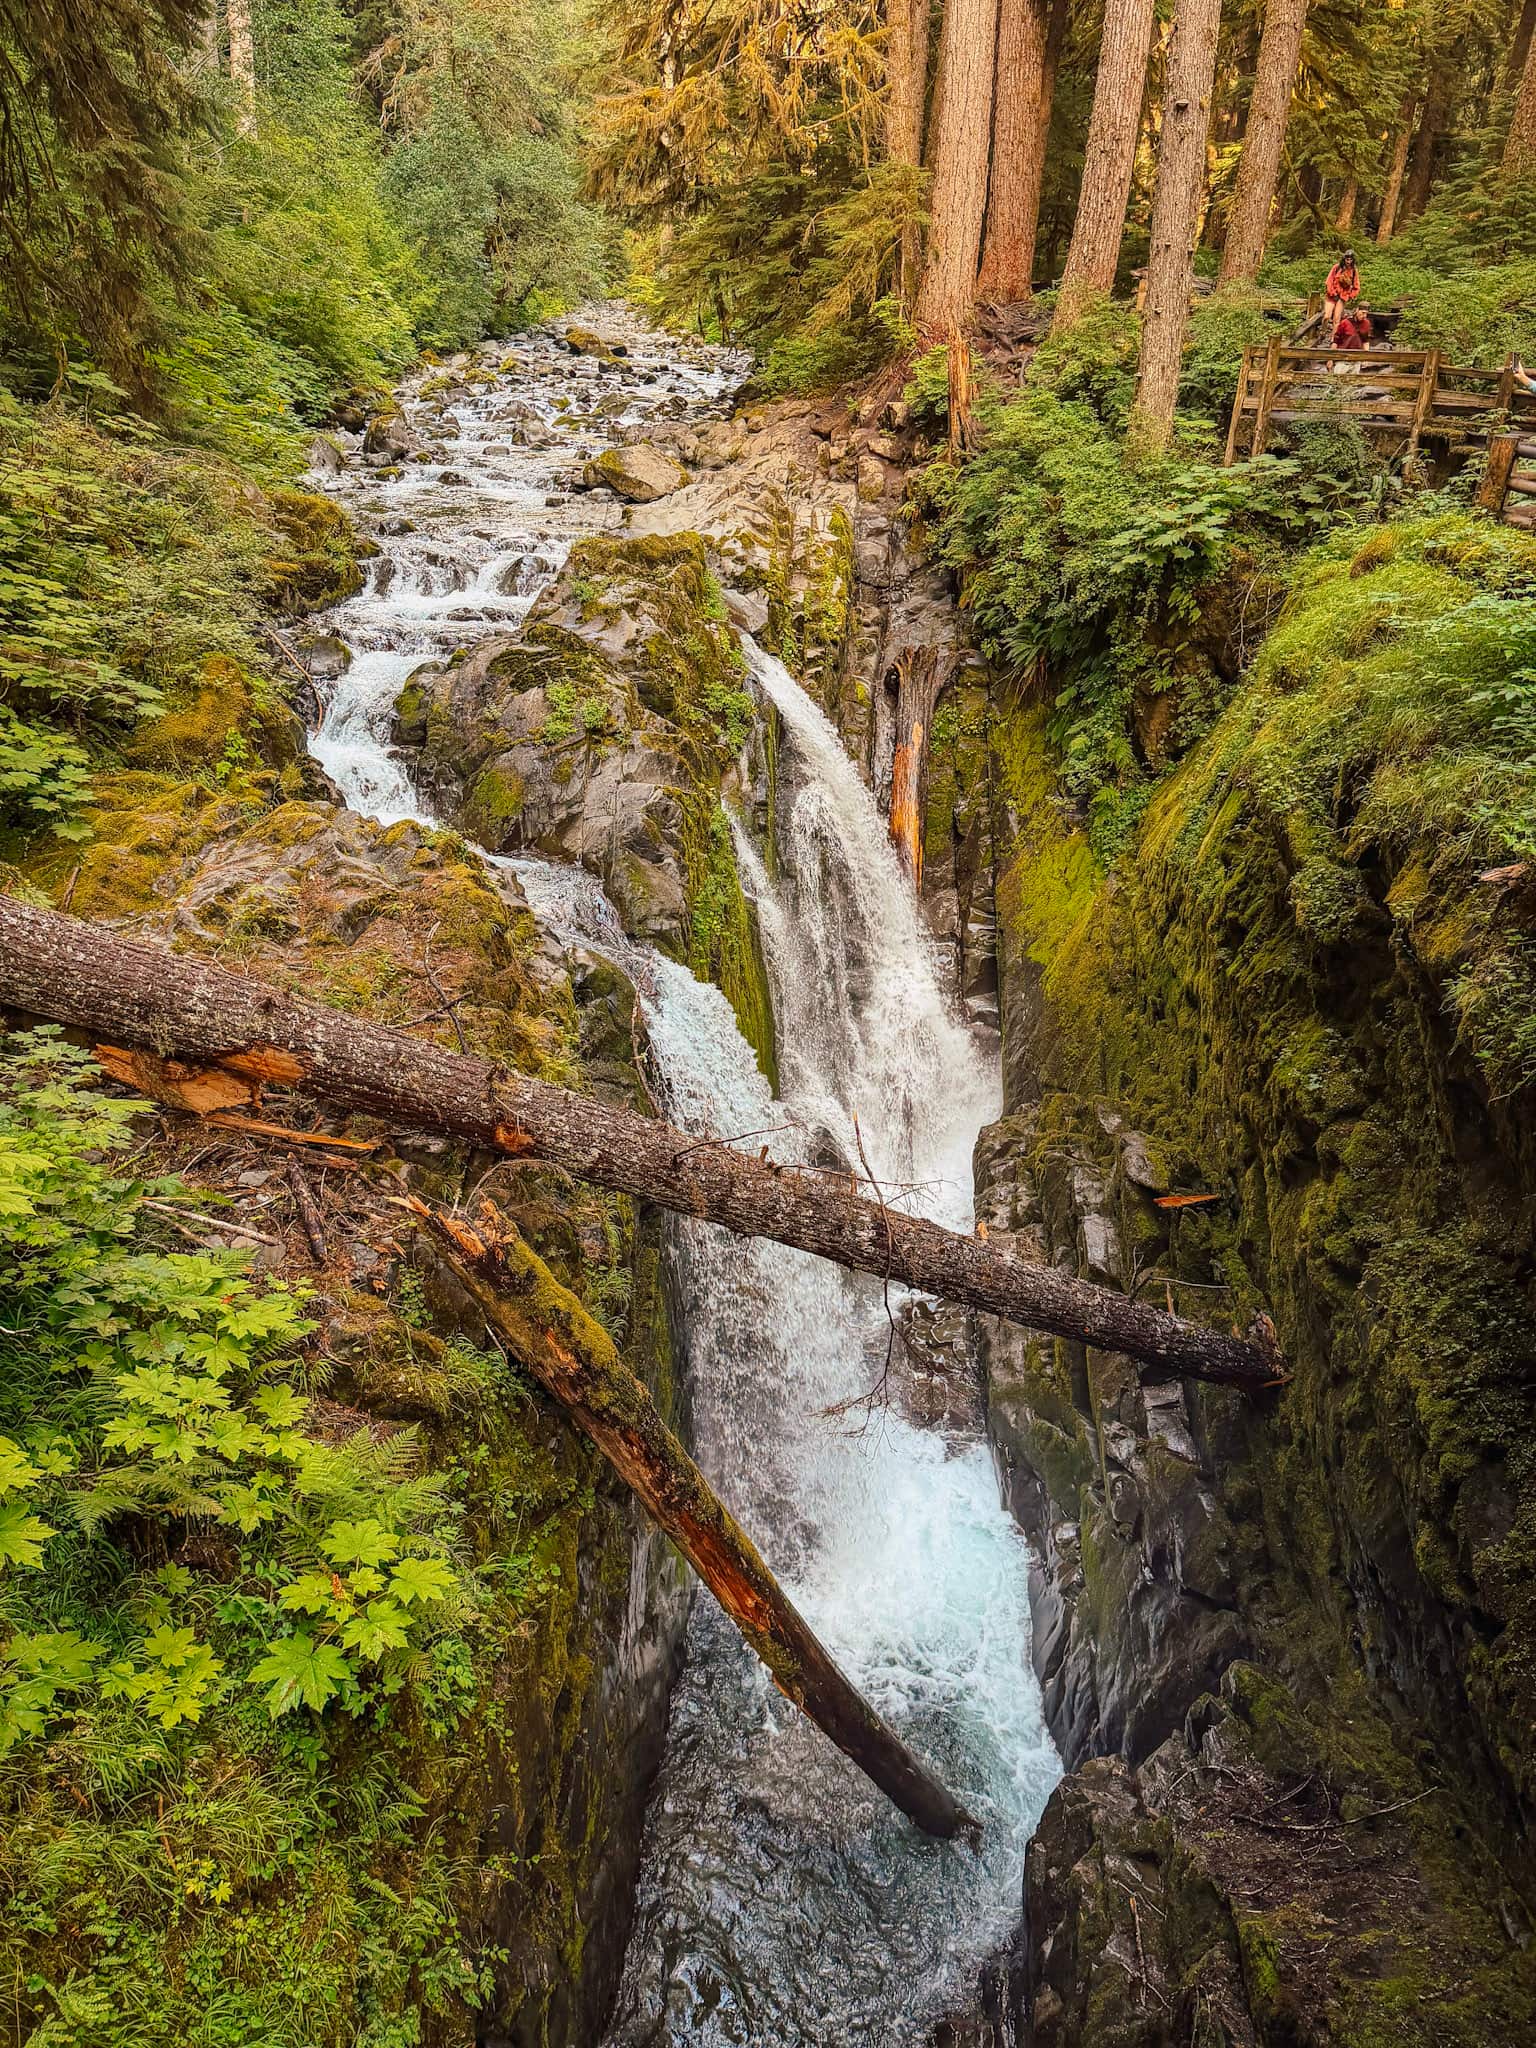
End your day at Sol Duc Falls.
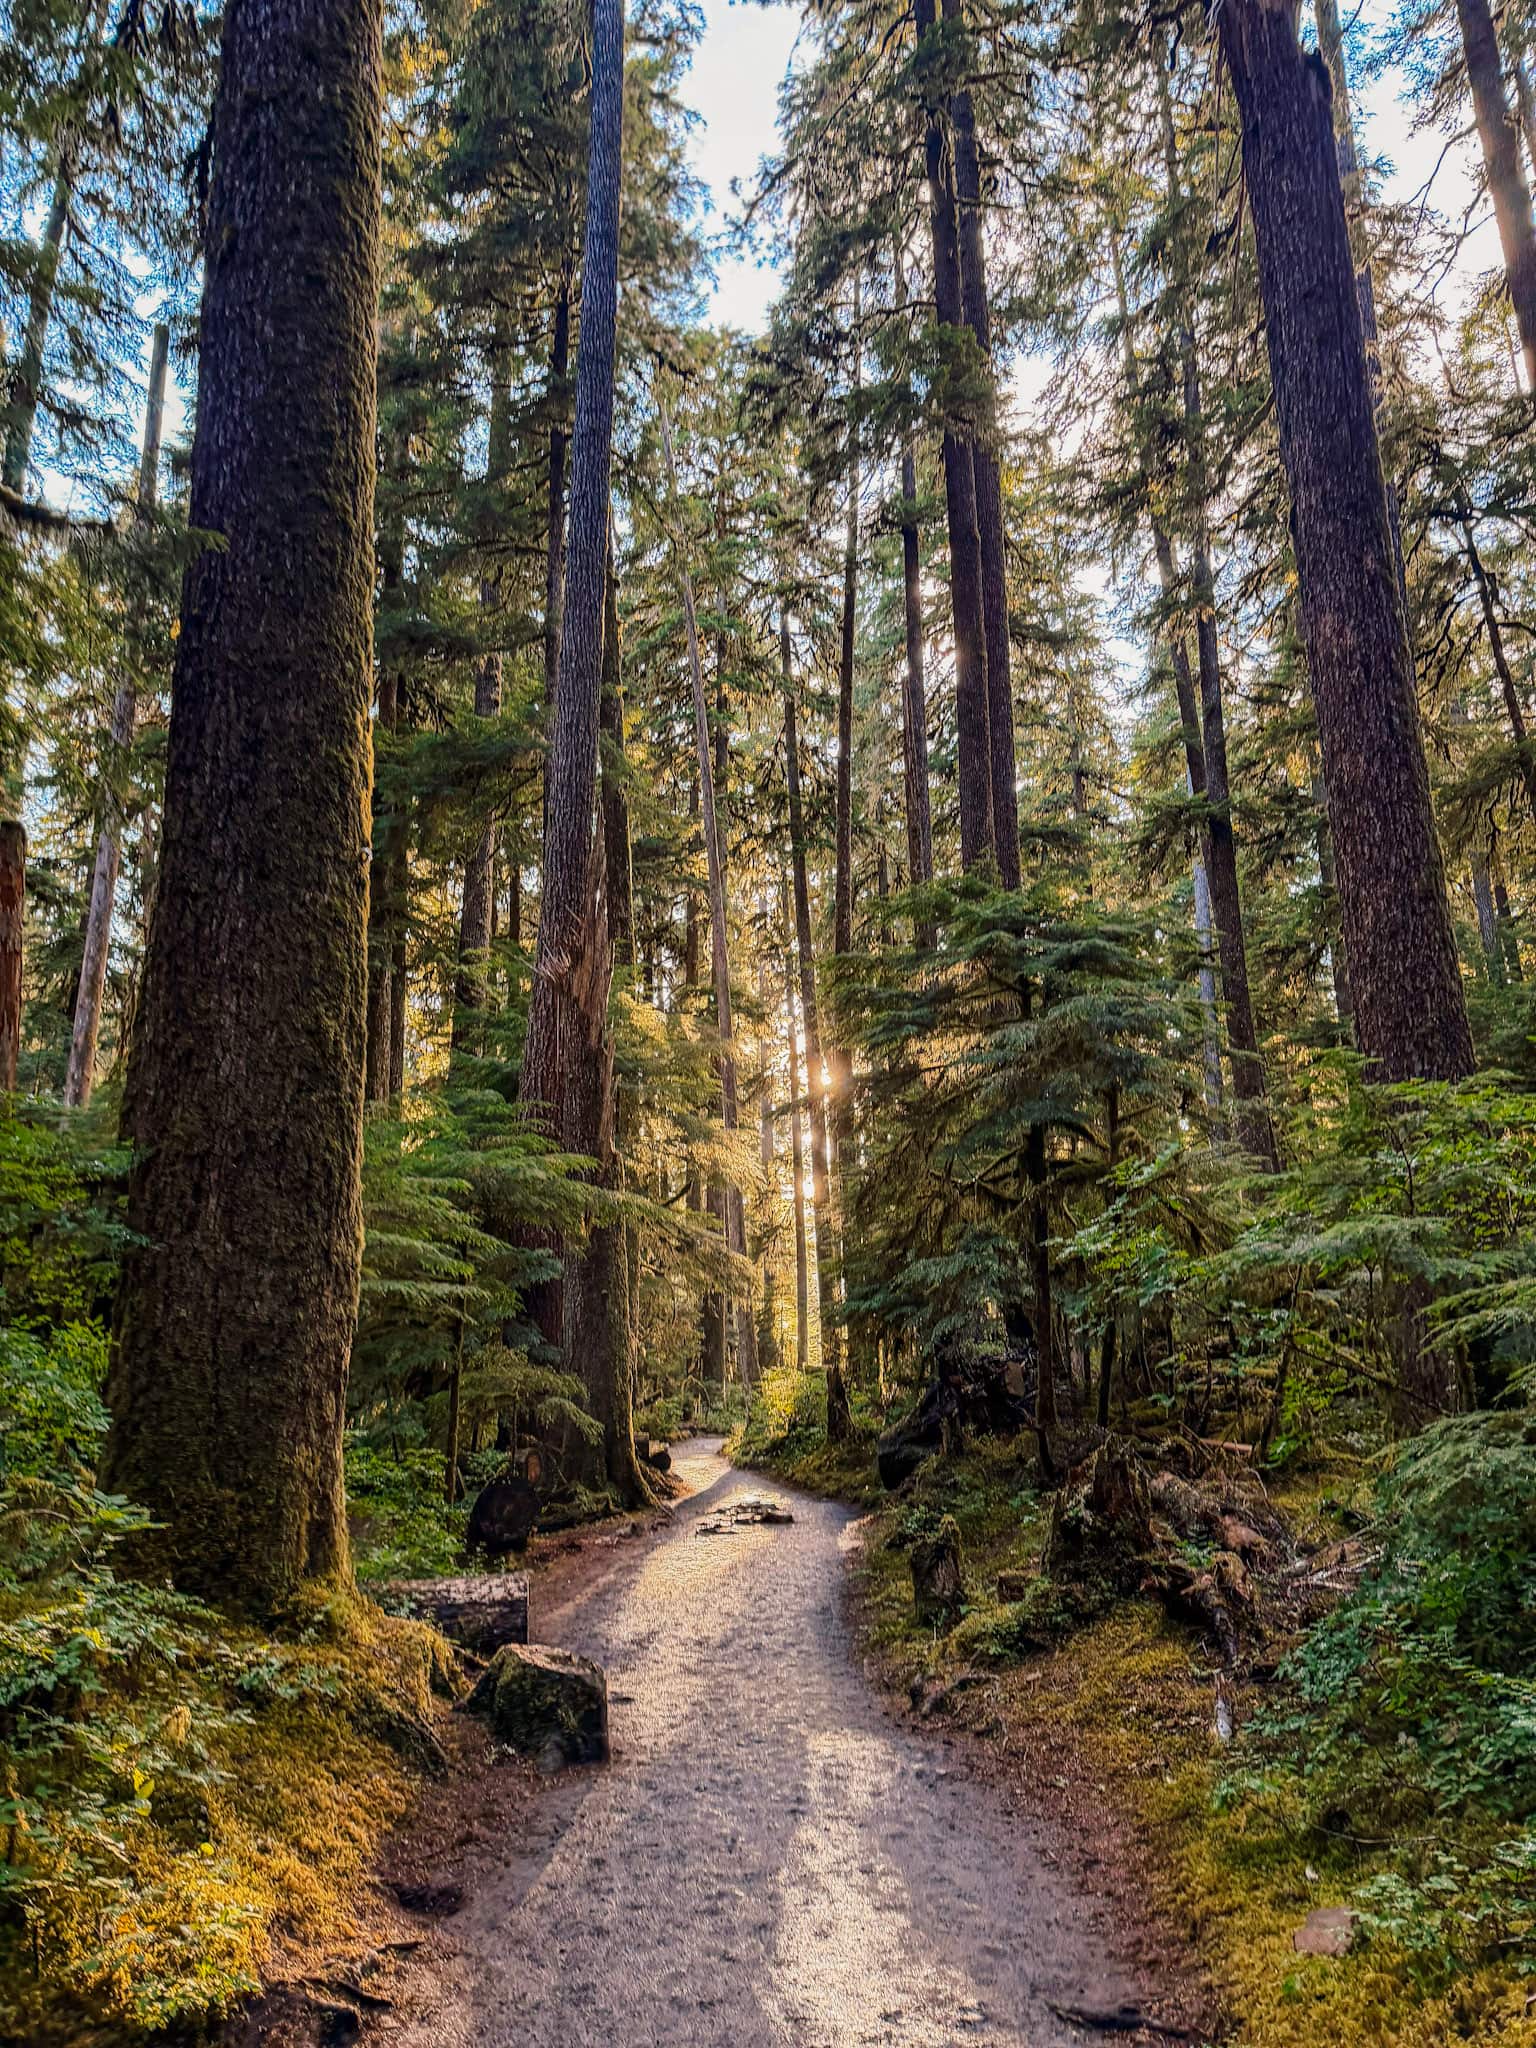
Before settling in for the night, hike the 1.8-mile round-trip Sol Duc Falls trail, which leads you through an old-growth forest to an amazing waterfall.
After your hike, head to the campground or the Sol Duc Hot Spring Resort for the night.
Day 4: Lake Crescent, Tide Pools & Hurricane Ridge
Sol Duc → Salt Creek → Lake Crescent → Marymere Falls → Hurricane Ridge
Where we stayed: Elwha RV Park
Salt Creek Recreation Area
Start your morning by heading to Salt Creek Recreation Area, where you will spend the next several hours exploring the tide pools and searching for marine life.
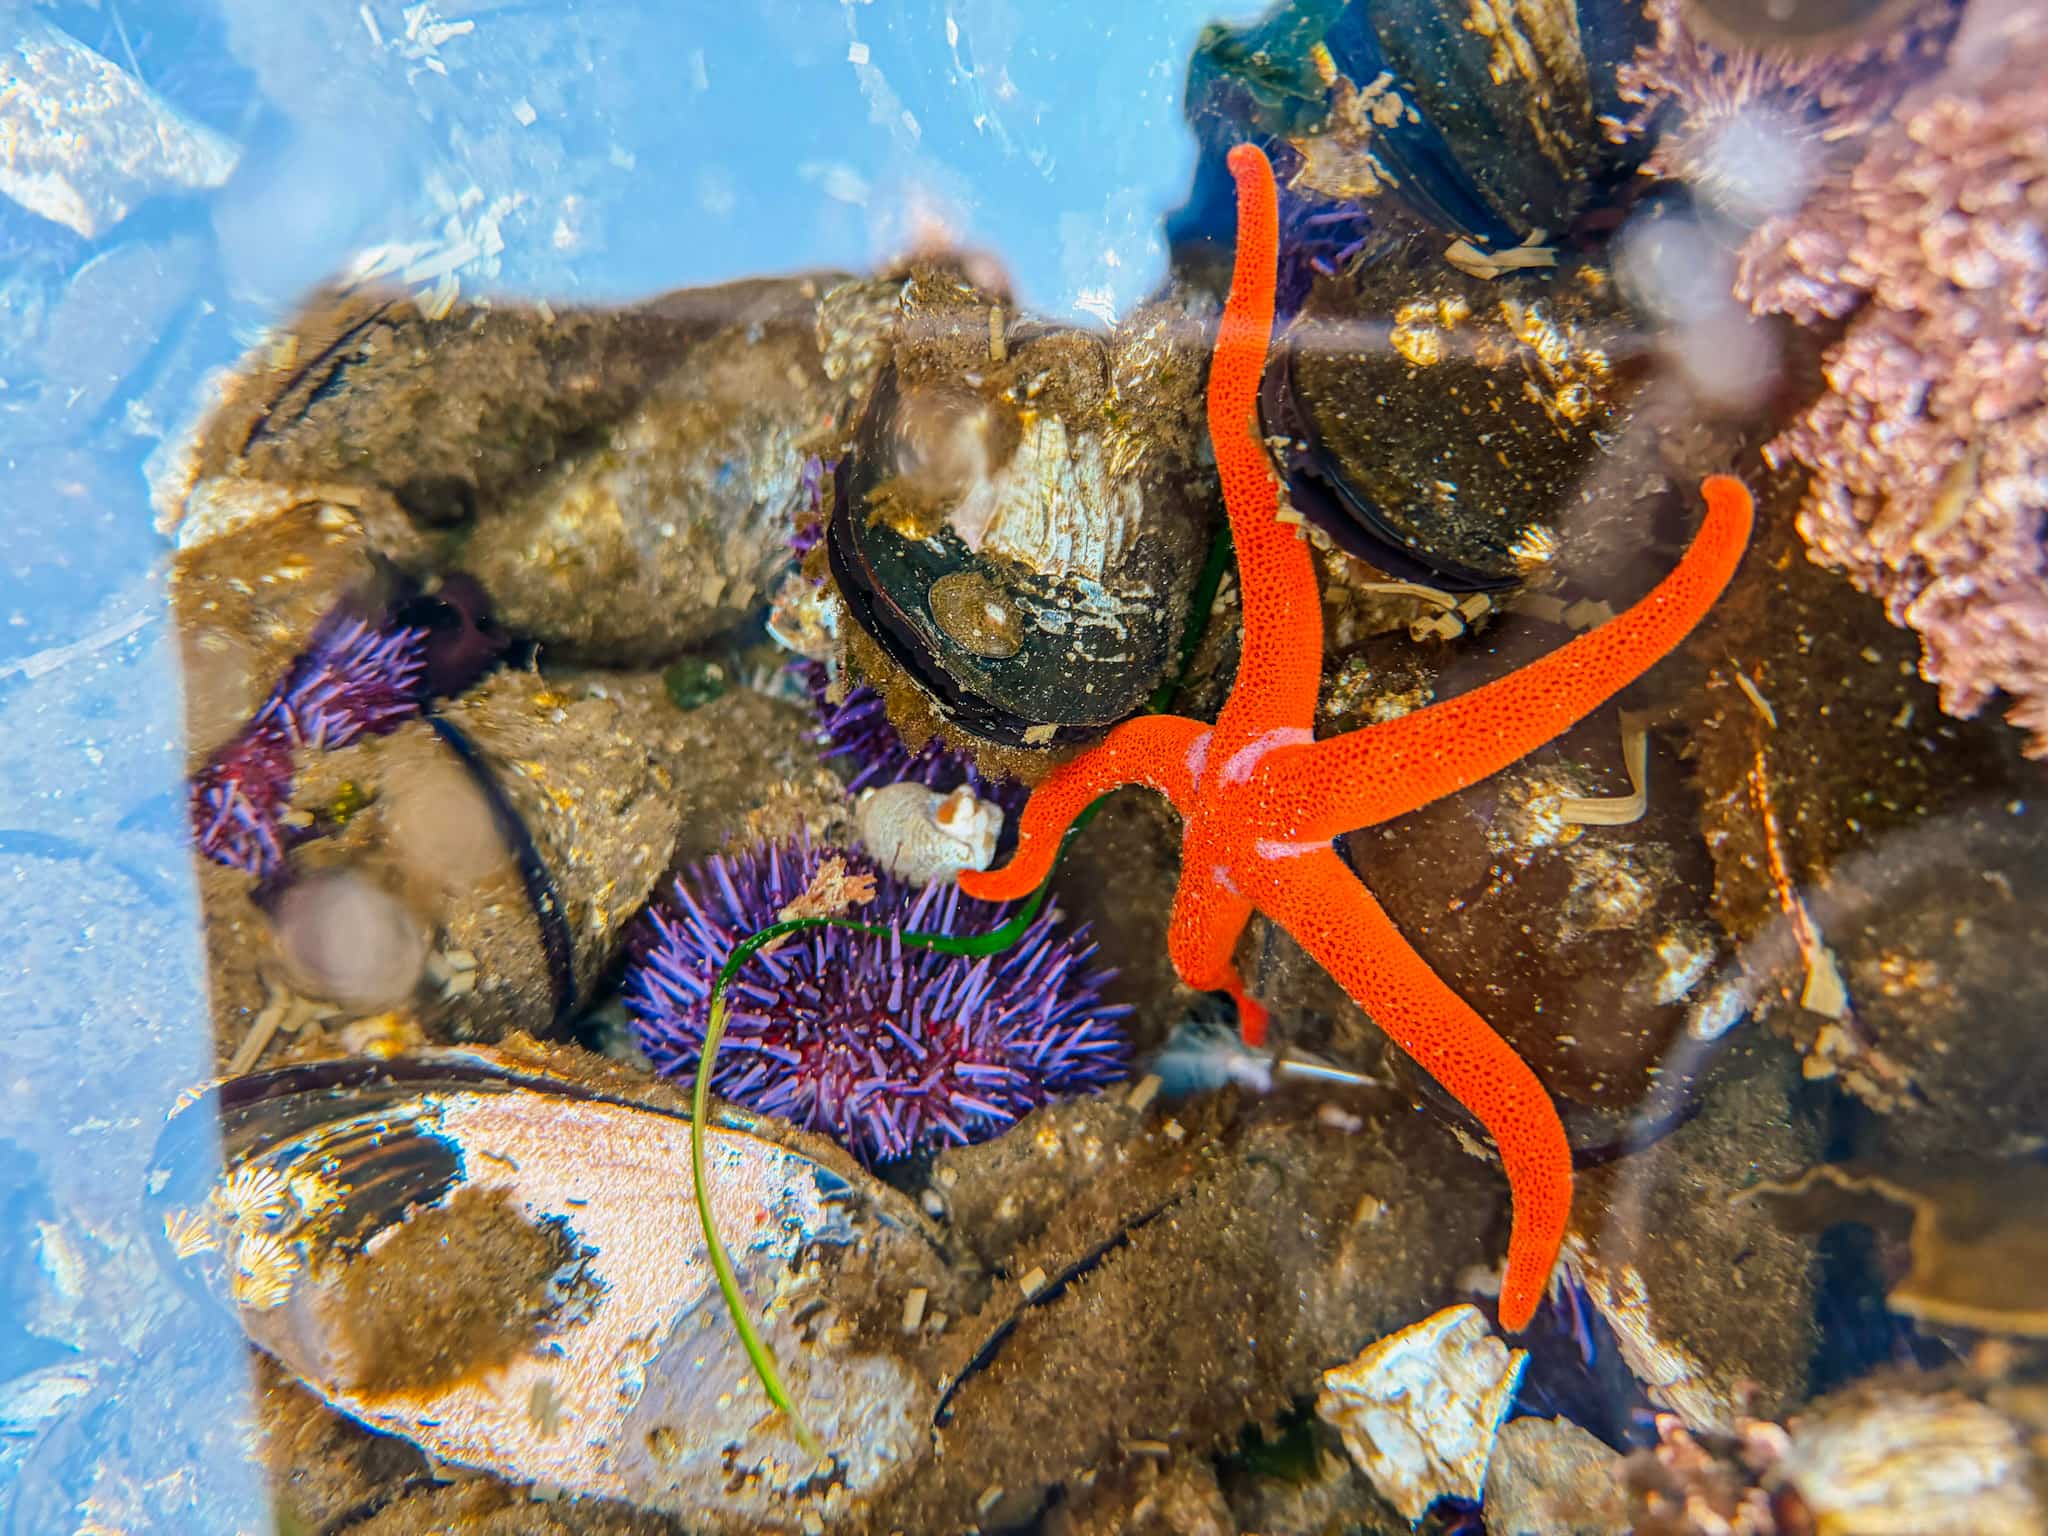
I promise you that it’s worth it to go tide pooling at more than one location! We saw such a different variety of sea creatures and marine life at each one.
* Note: Depending on when low tide is, you might want to switch the order of Salt Creek and Lake Crescent / Devil’s Punchbowl!
Devil’s Punchbowl
Next, head to Lake Crescent and stroll along the Spruce Railroad Trail. This paved path will lead you to a short side trail that leads to the famous Devil’s Punchbowl – a historic bridge that offers beautiful views over Lake Crescent and a crystal blue swimming hole.
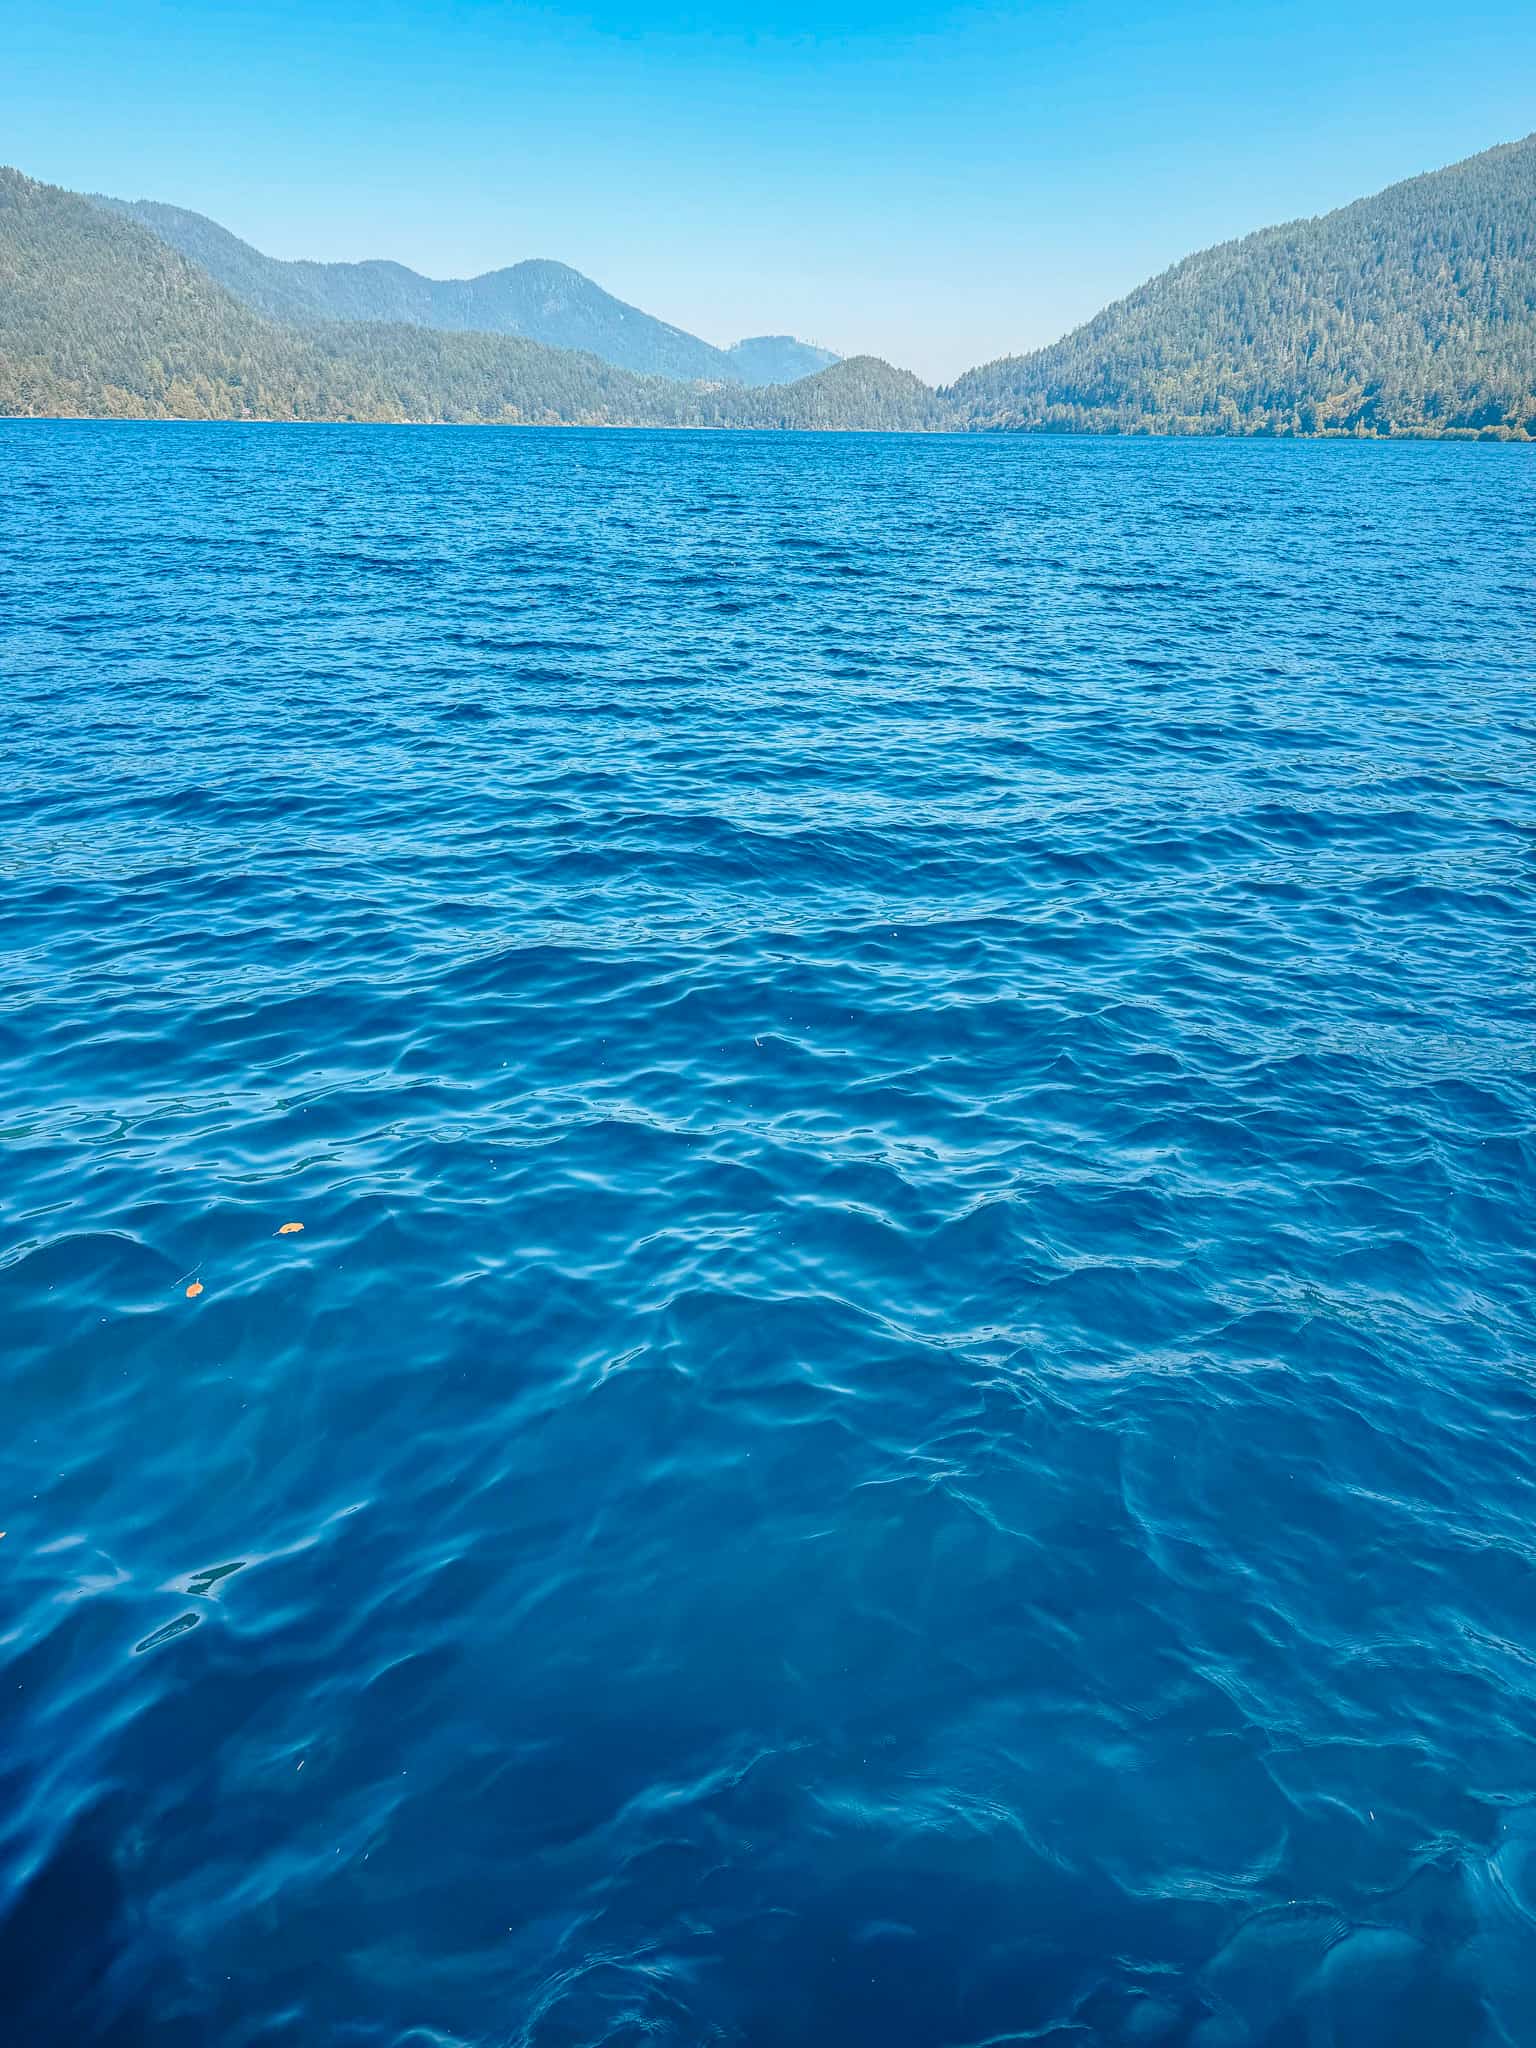
If you’re traveling with kids, this is a fun place to and watch the brave jump in the frigid water. There is also an old train tunnel you walk through on your way back, which is always fun for kids.
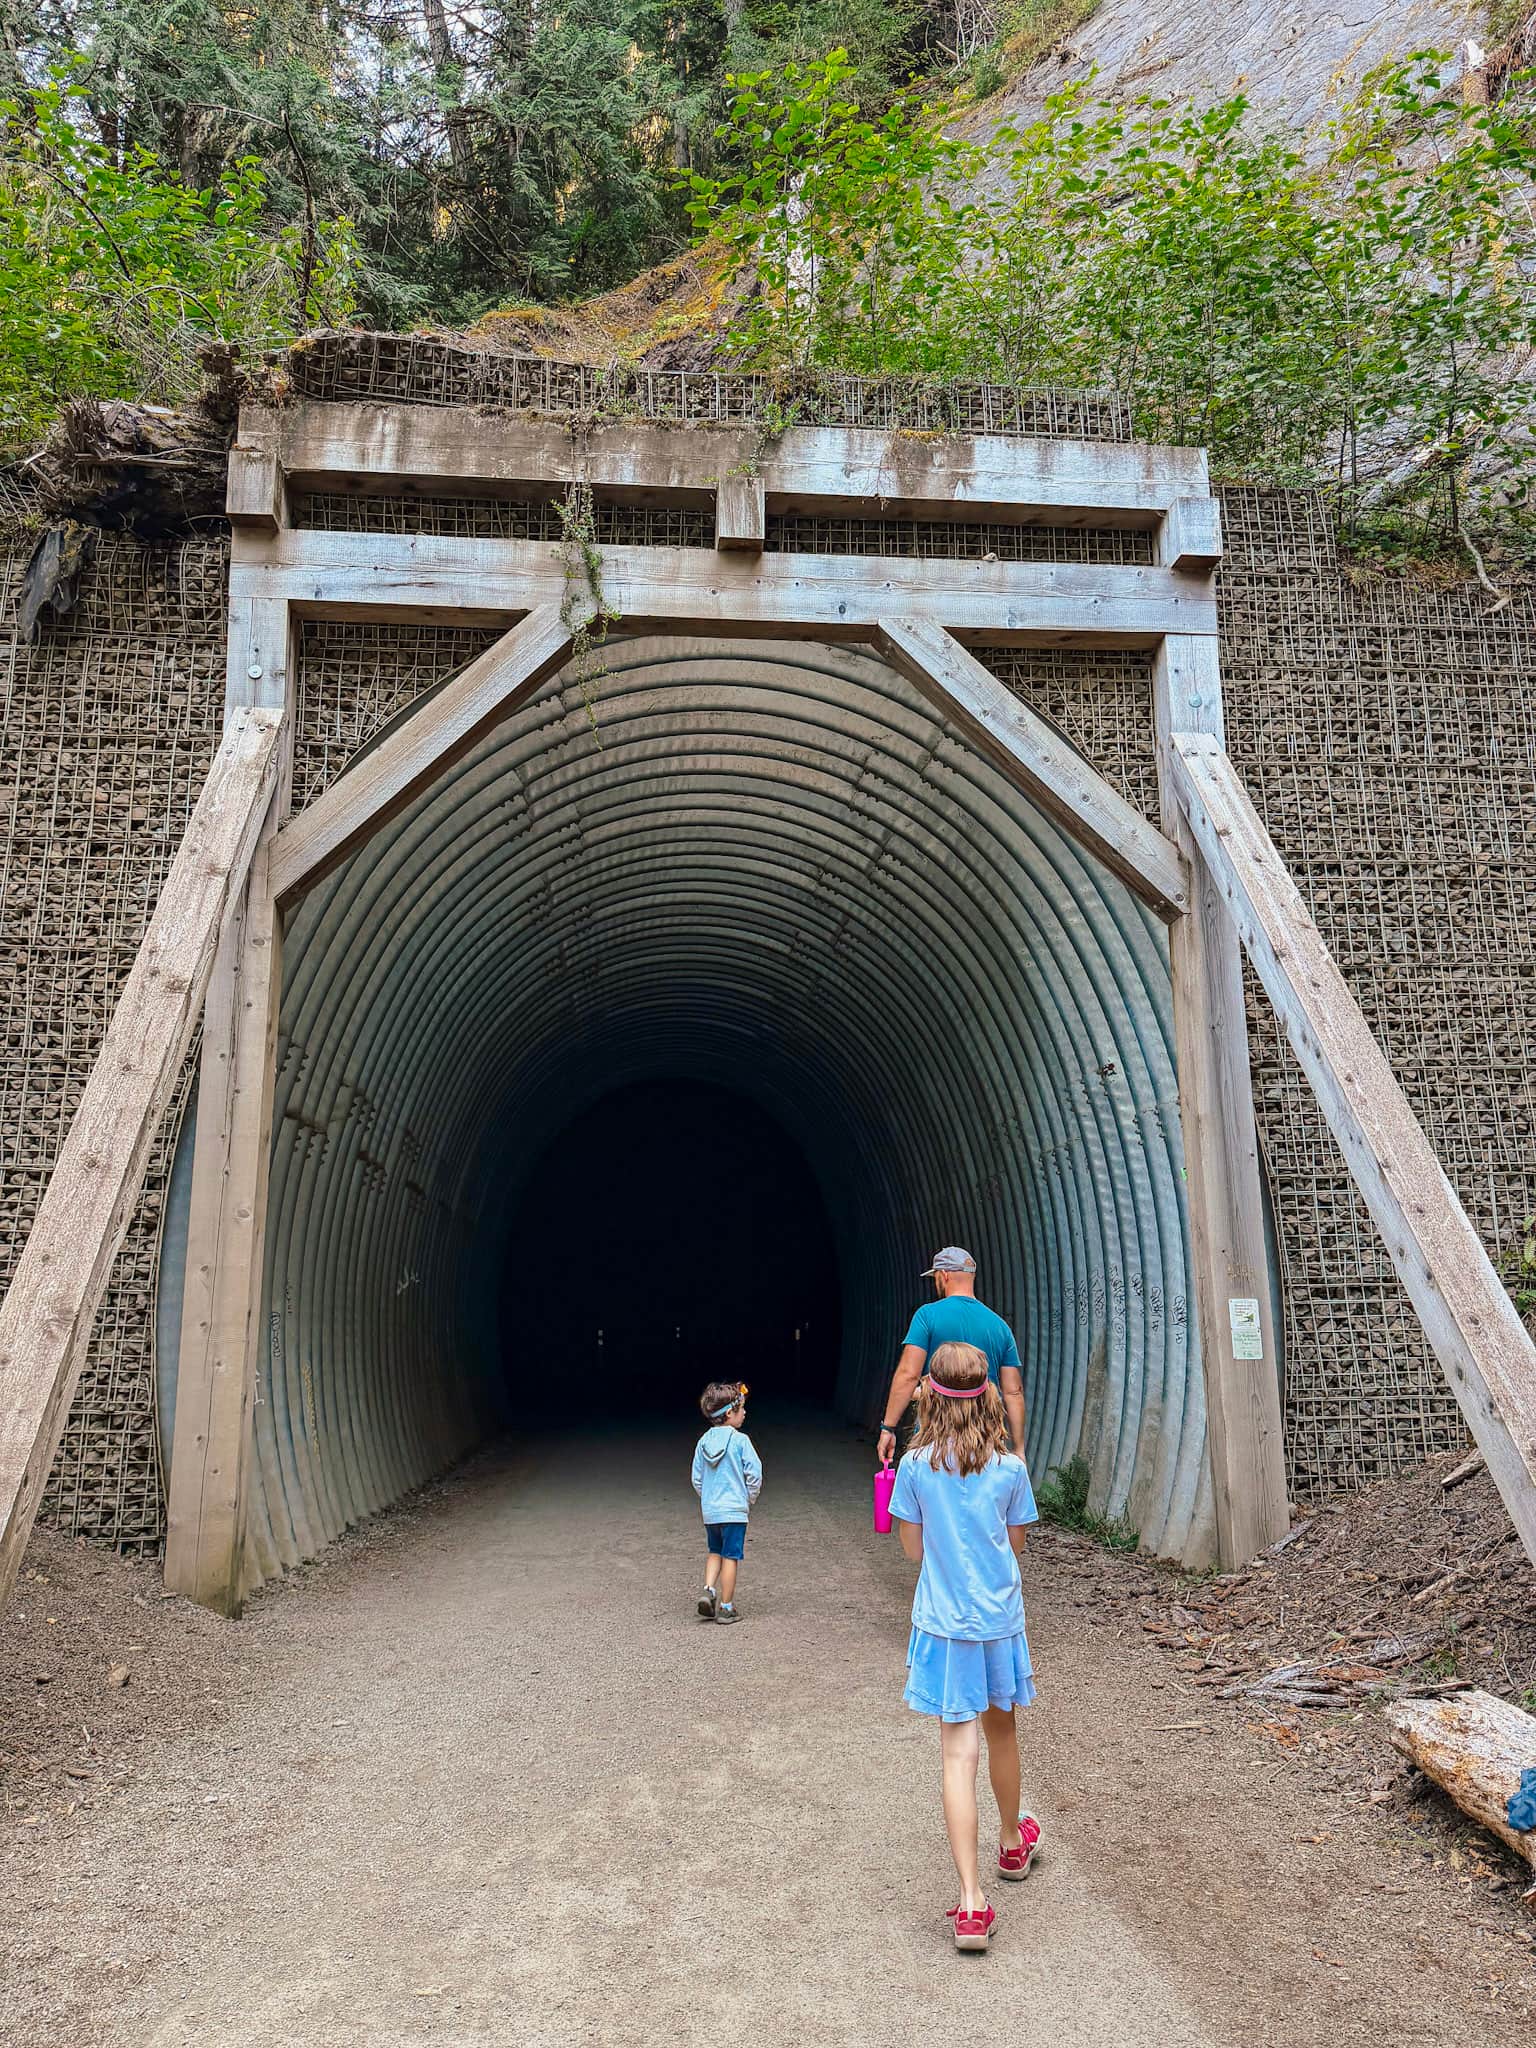
Pro tip: stick a couple of these kids head lamps in your pocket for the tunnel – it’s dark in there!
Marymere Falls
Nearby, the 1.8 mile Marymere Falls Trail takes you through an old-growth forest to a 90-foot waterfall.
It’s one of the most popular family hikes in the area thanks to it’s short, relatively flat terrain with a gorgeous payoff at the end.
Hurricane Ridge
Spend your evening by driving up to Hurricane Ridge. While a very popular spot during morning and mid-day, by visiting in the late evening you will avoid most of the crowds.
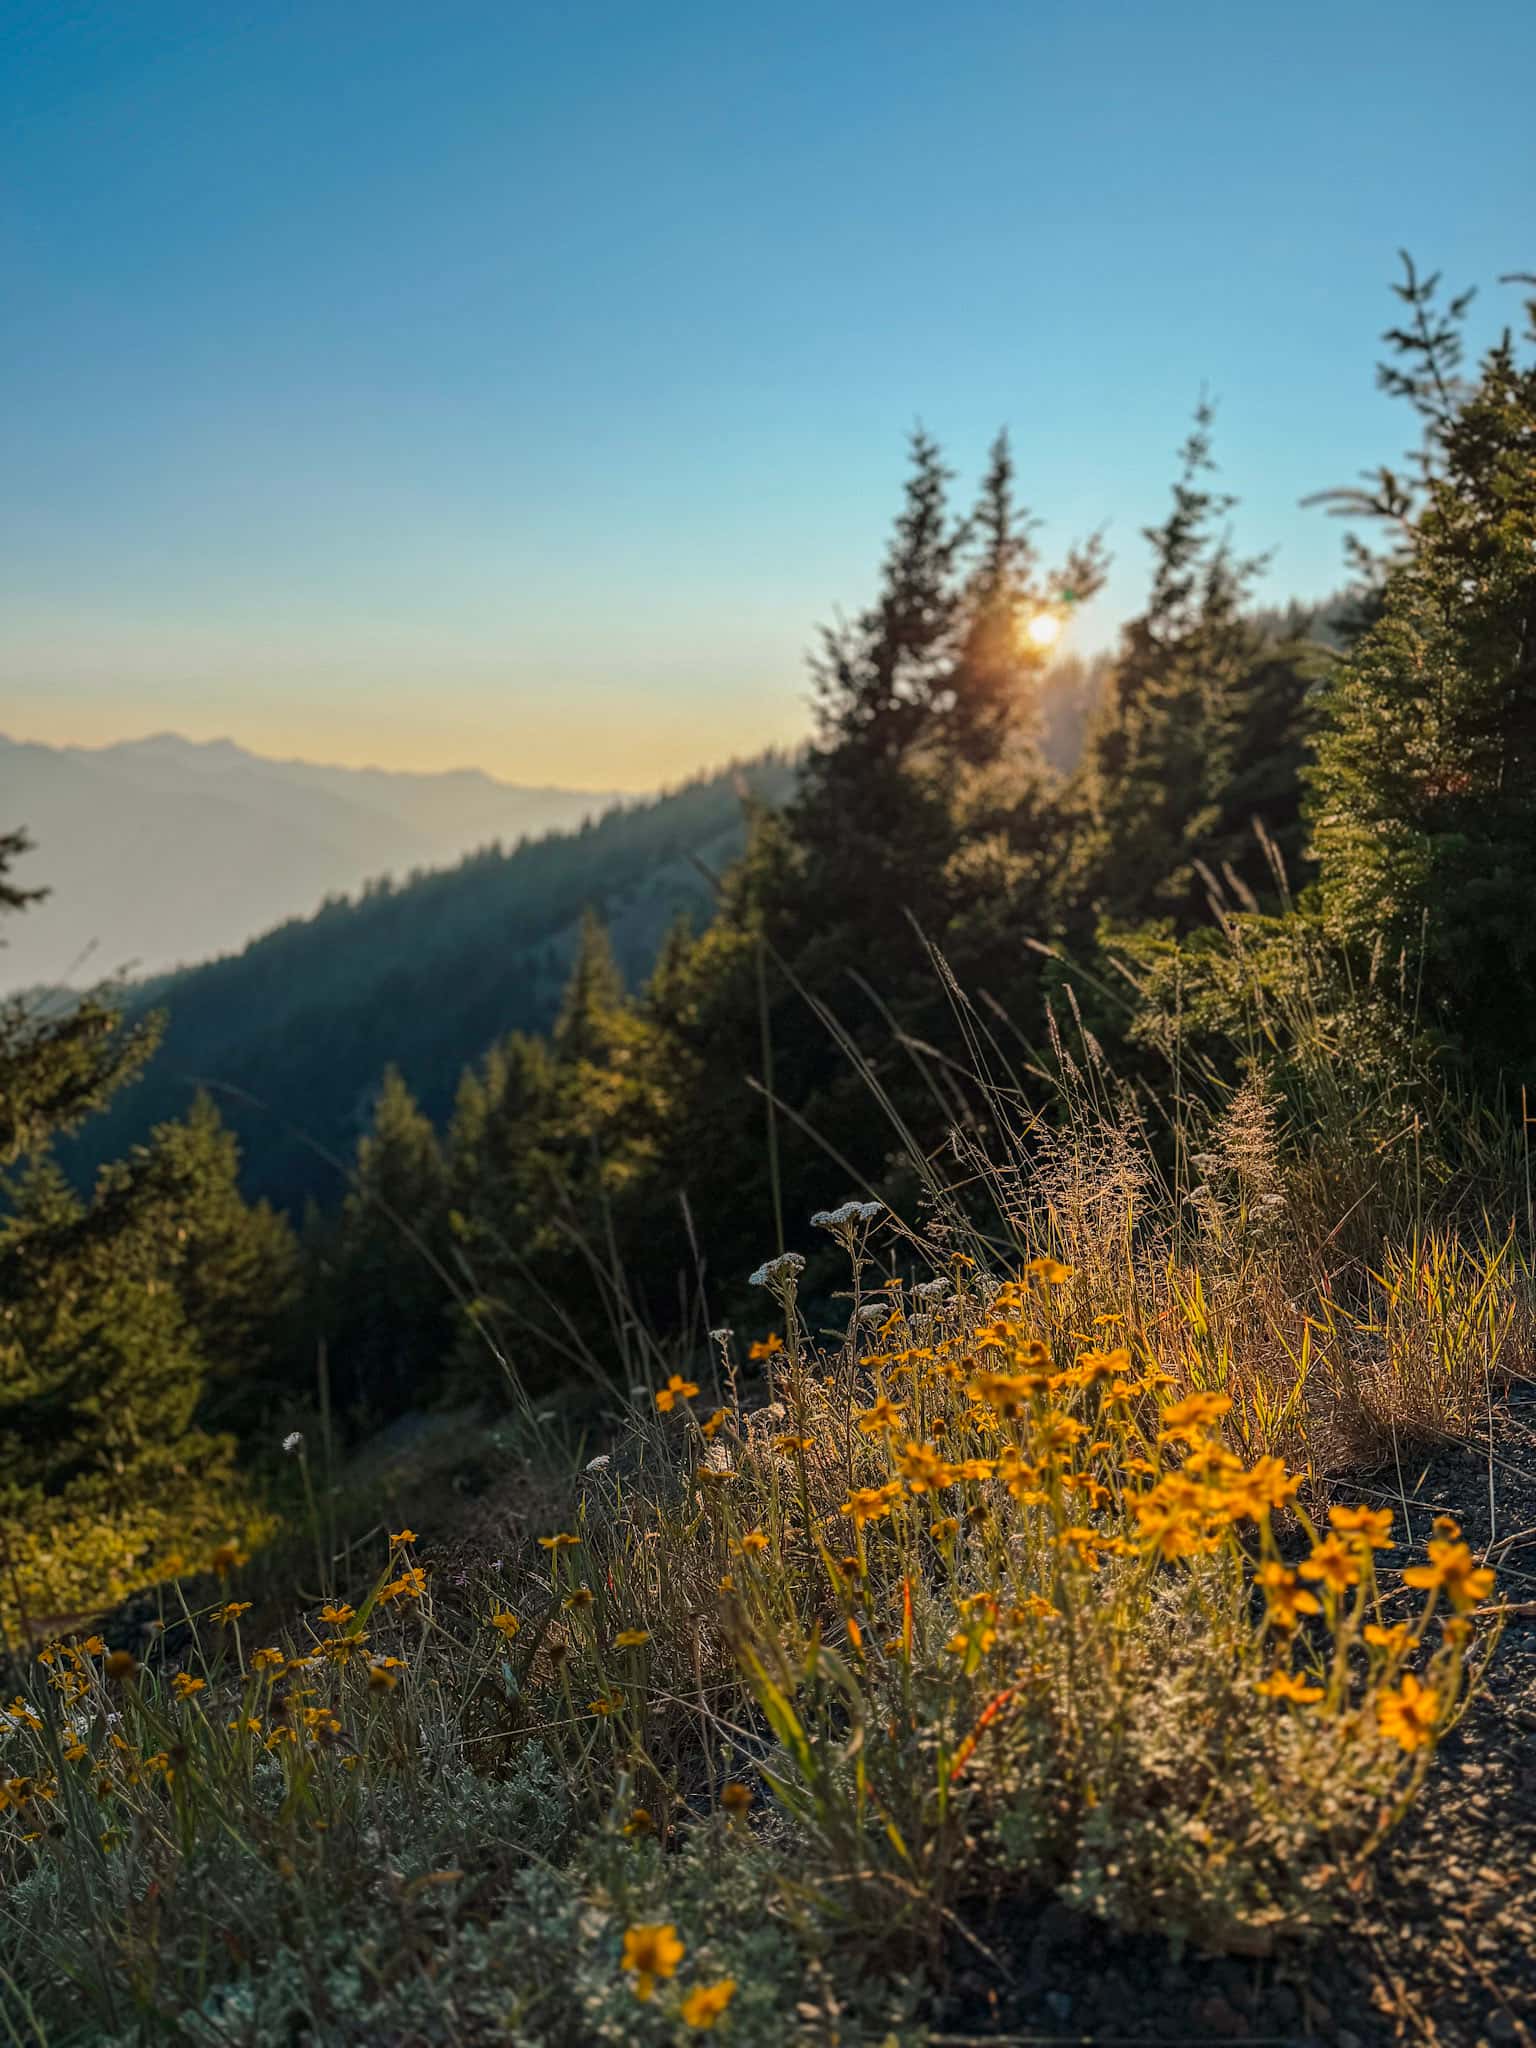
The hike itself is 3.2 miles with moderate elevation gain, but the trail is paved and the views along the way are stunning. We saw several deer, rabbits and chipmunks along the trail, but you can also see pika, marmots and even mountain goats along this trail.
We finished the day by doing a little laundry at our campground—one of those very unglamorous but necessary parts of a long campervan road trip.
If you aren’t camping, here’s where I would recommend staying:
- Olympic Lodges by Ayres – free breakfast, pool + close to dining and shopping
- Red Lion Hotel Port Angeles – onsite restaurants + pool
- Elwha RV Resort cabin rentals – rent a cabin or airstream and have access to all the parks amenities
Related read: The Ultimate Guide to Olympic National Park with Kids
Day 5: Olympic National Park to Whidbey Island
Port Angeles → Port Townsend → Coupeville → Whidbey Island → Deception Pass
Where we stayed: Deception Pass State Park
After several full days in Olympic National Park, it’s time to head toward Whidbey Island for the next adventure.
From Port Townsend, you will hop on the ferry to Coupeville, located on Whidbey Island.
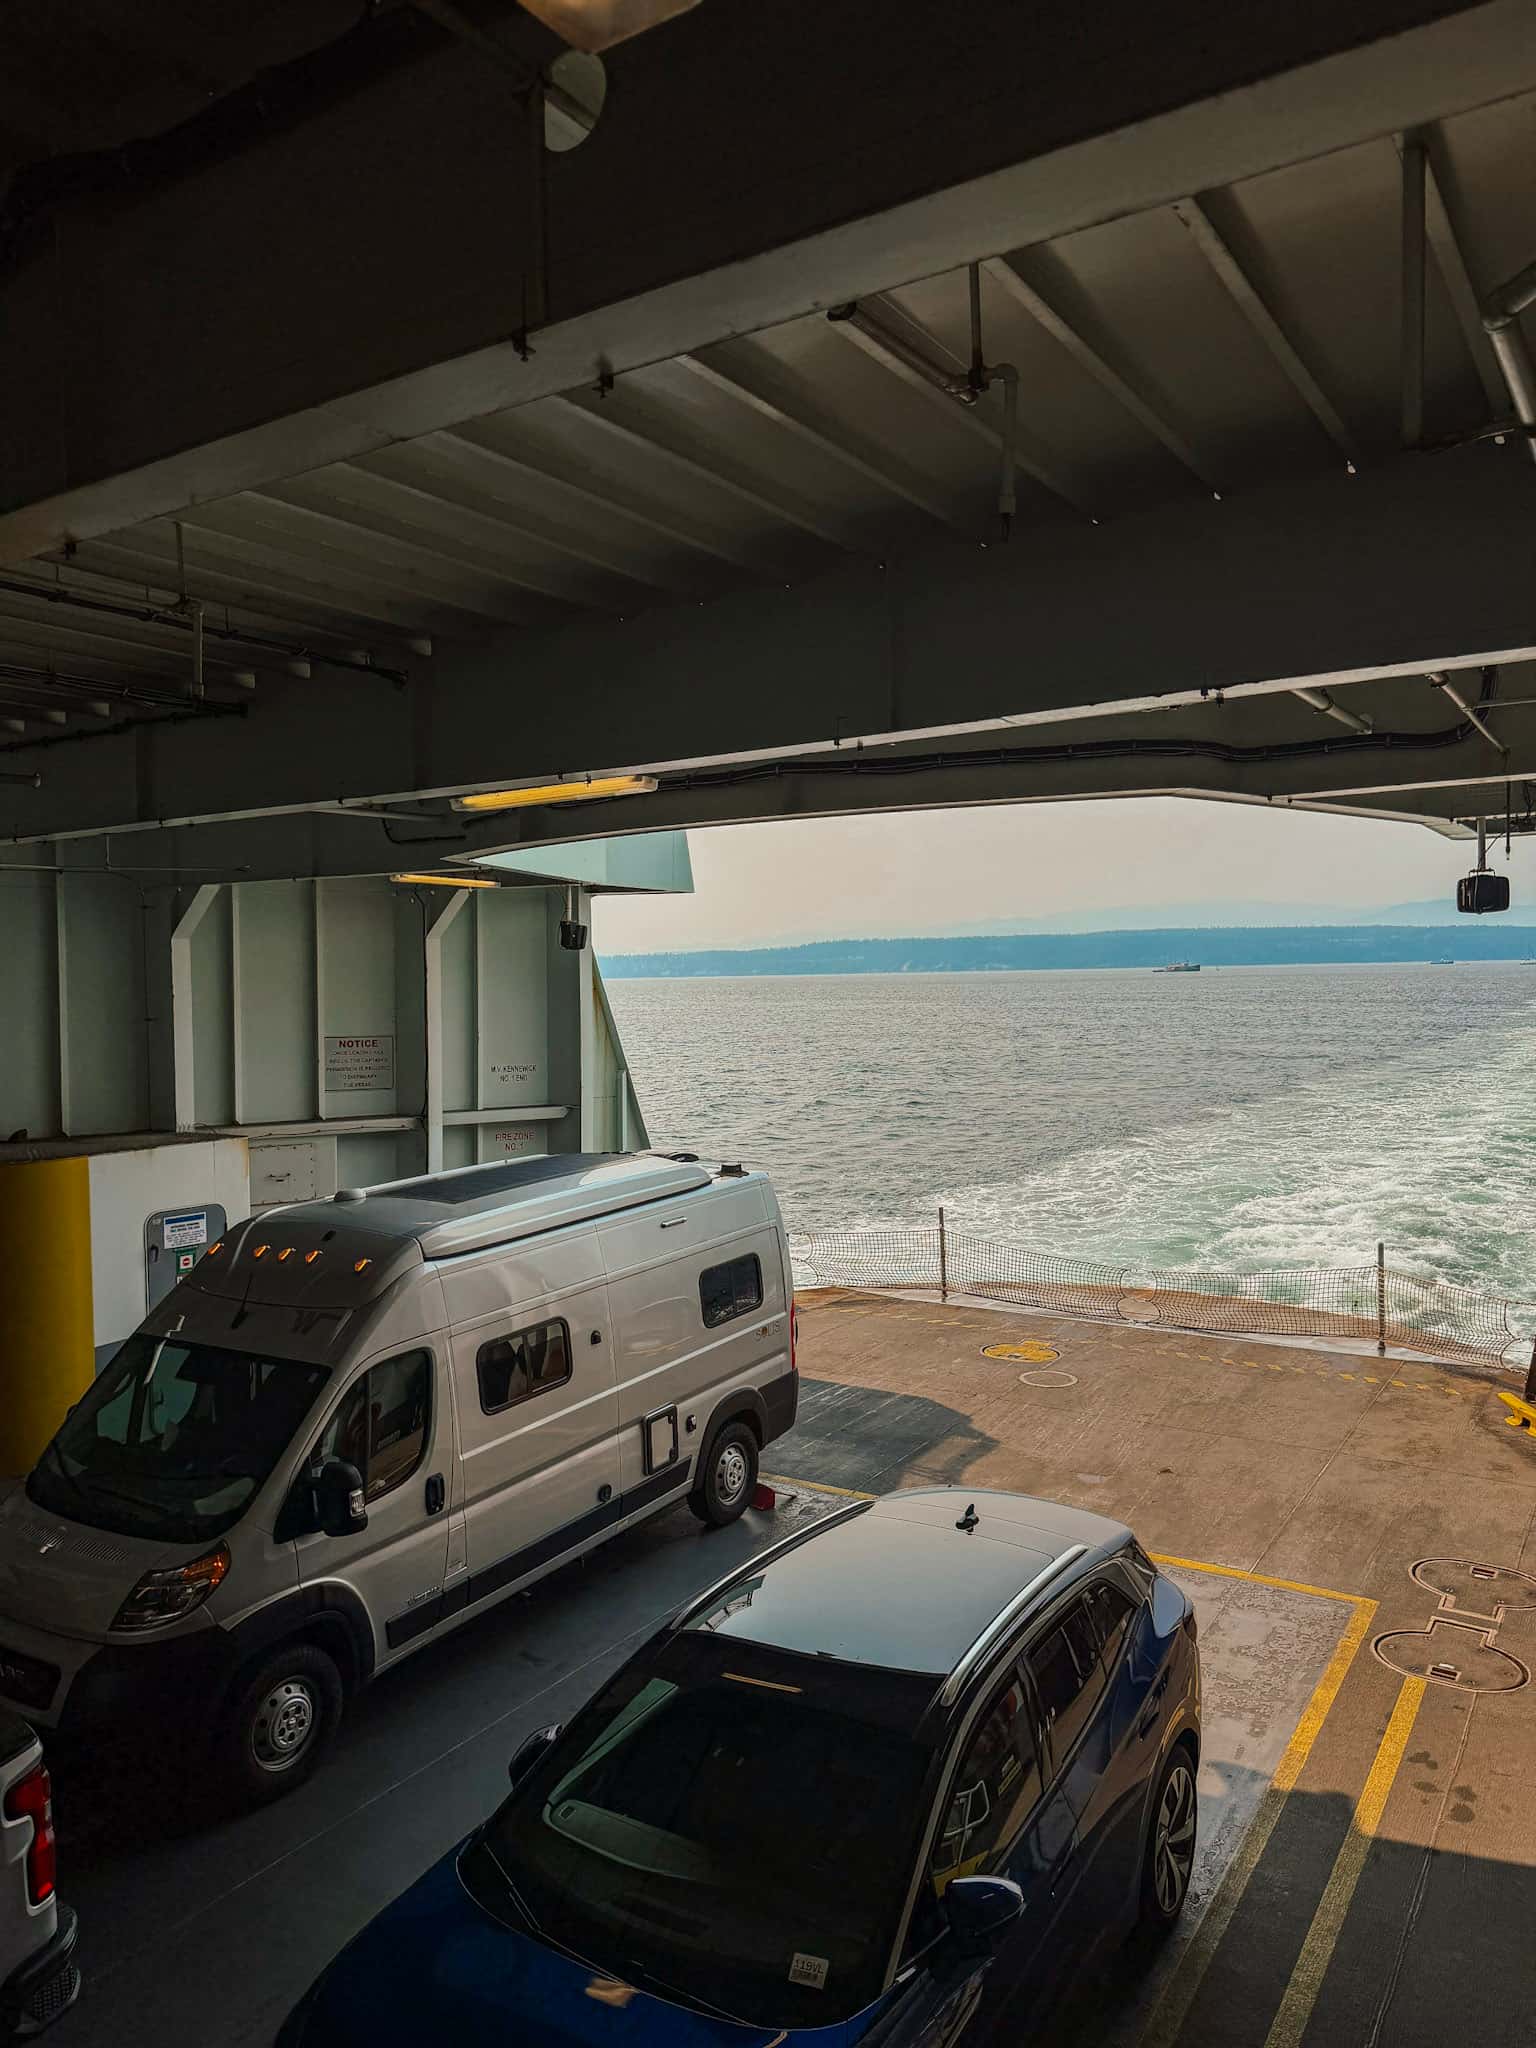
The ferry ride is only about 30 minutes, but it’s an experience in itself and gives you a fun break from driving. It also saves you several hours of drive time by bypassing Seattle.
I highly recommend making vehicle reservations ahead of time, especially during peak summer months.
Fort Casey
Once you reach Whidbey Island, head to Fort Casey Historical State Park, where you can spend a few hours exploring the old military fort and lighthouse.
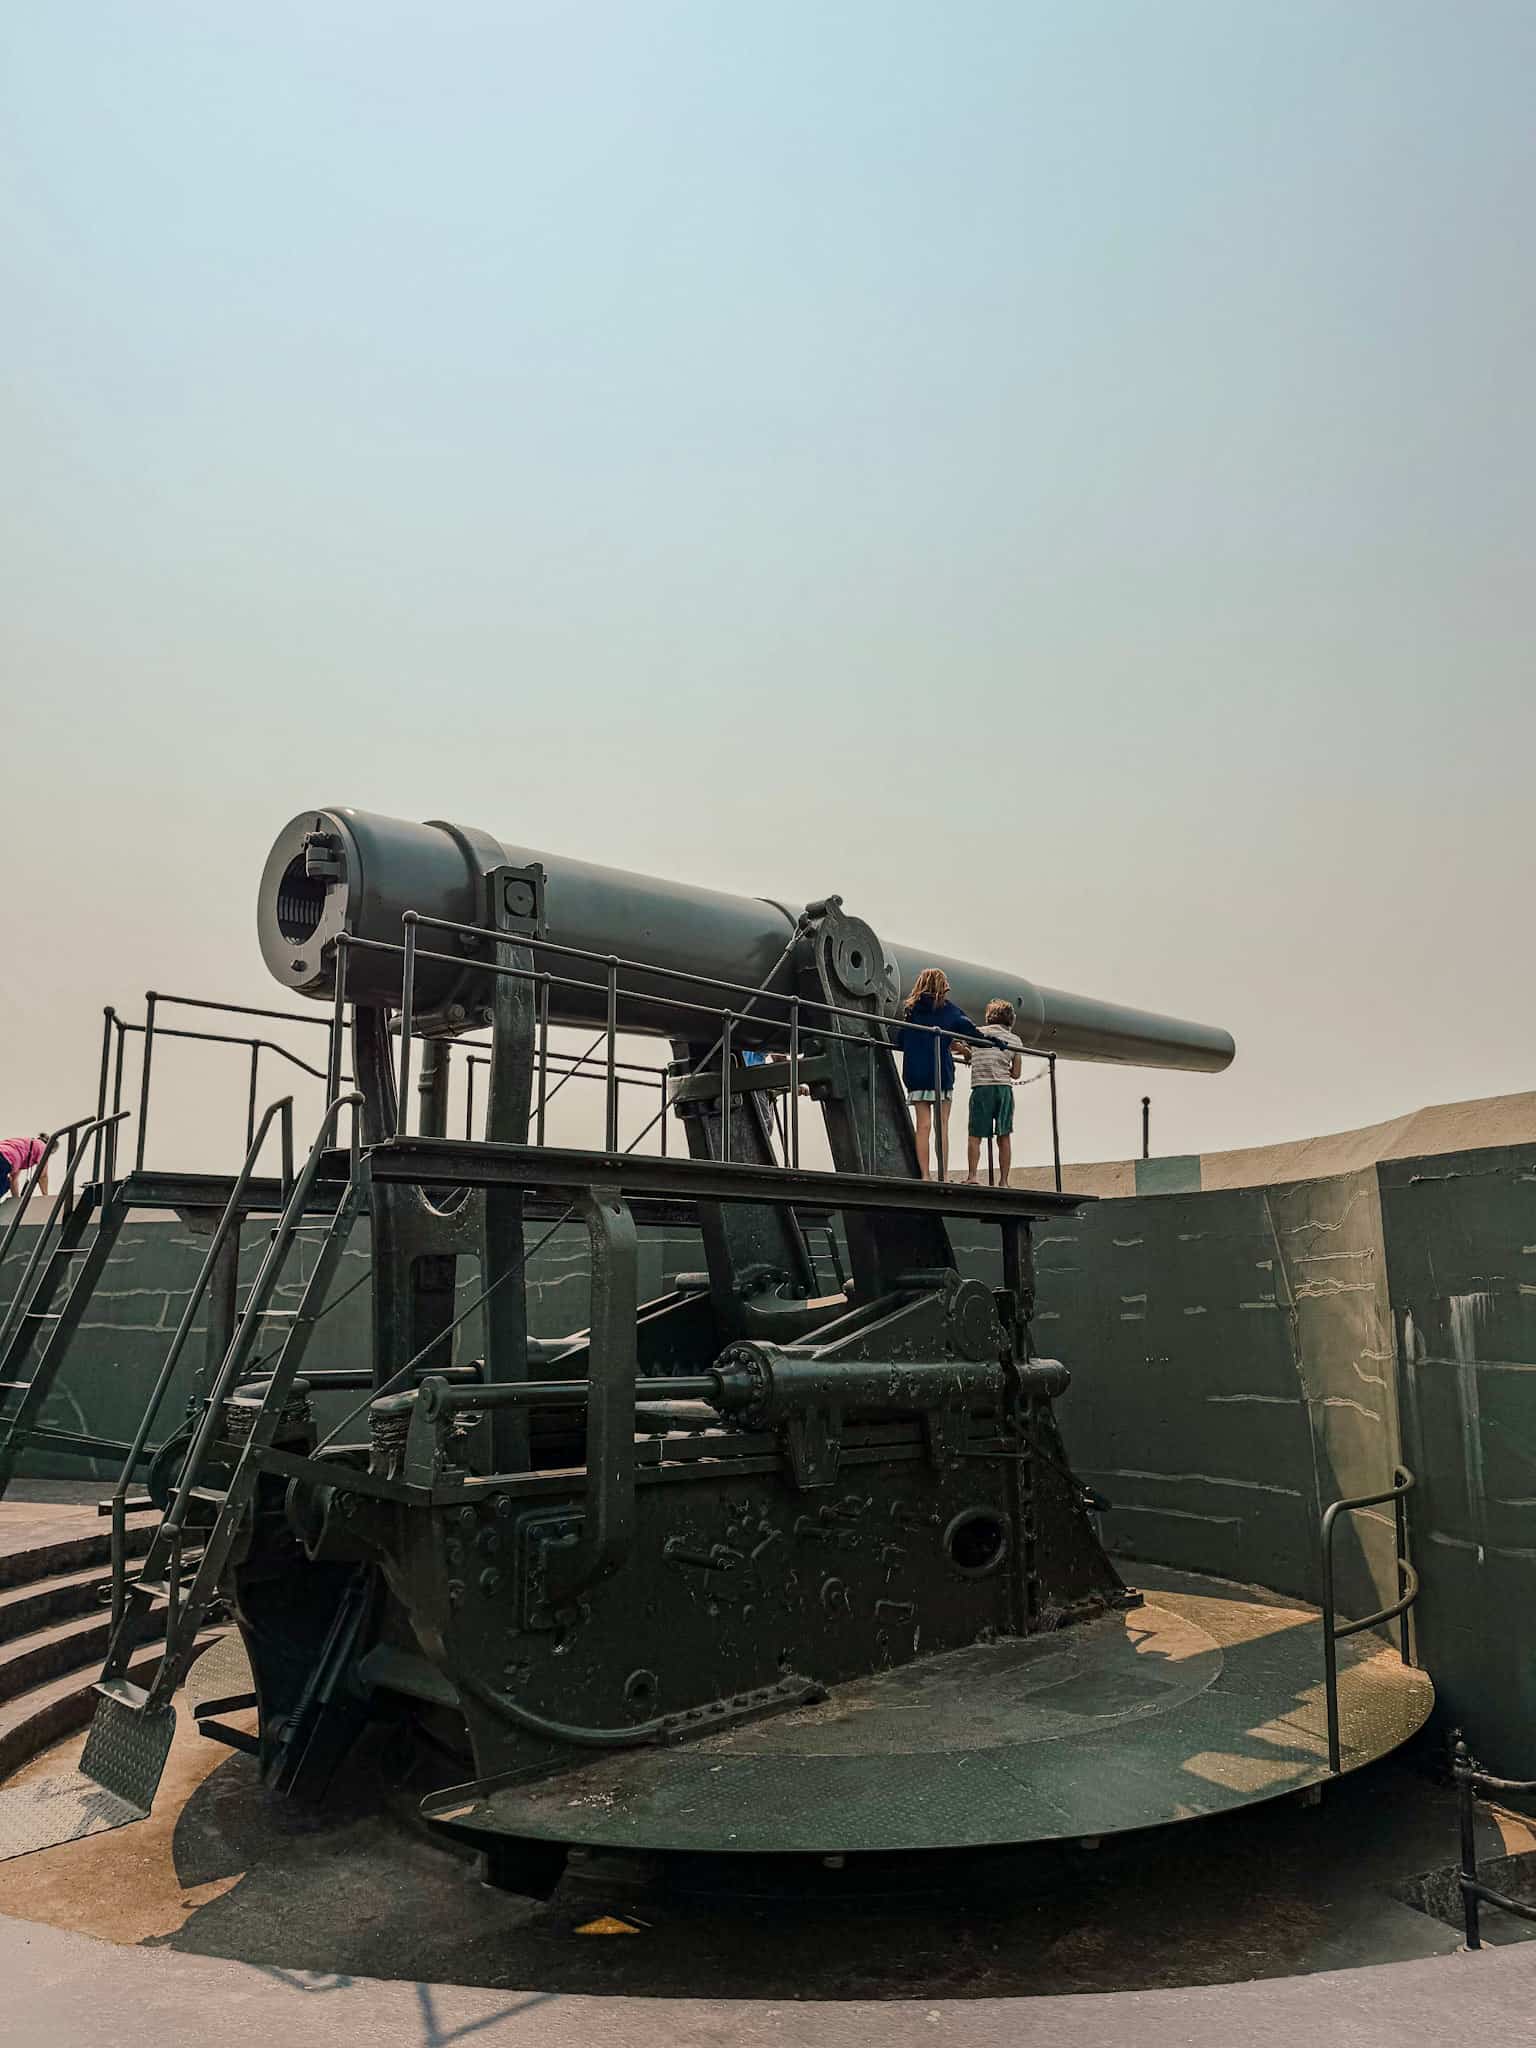
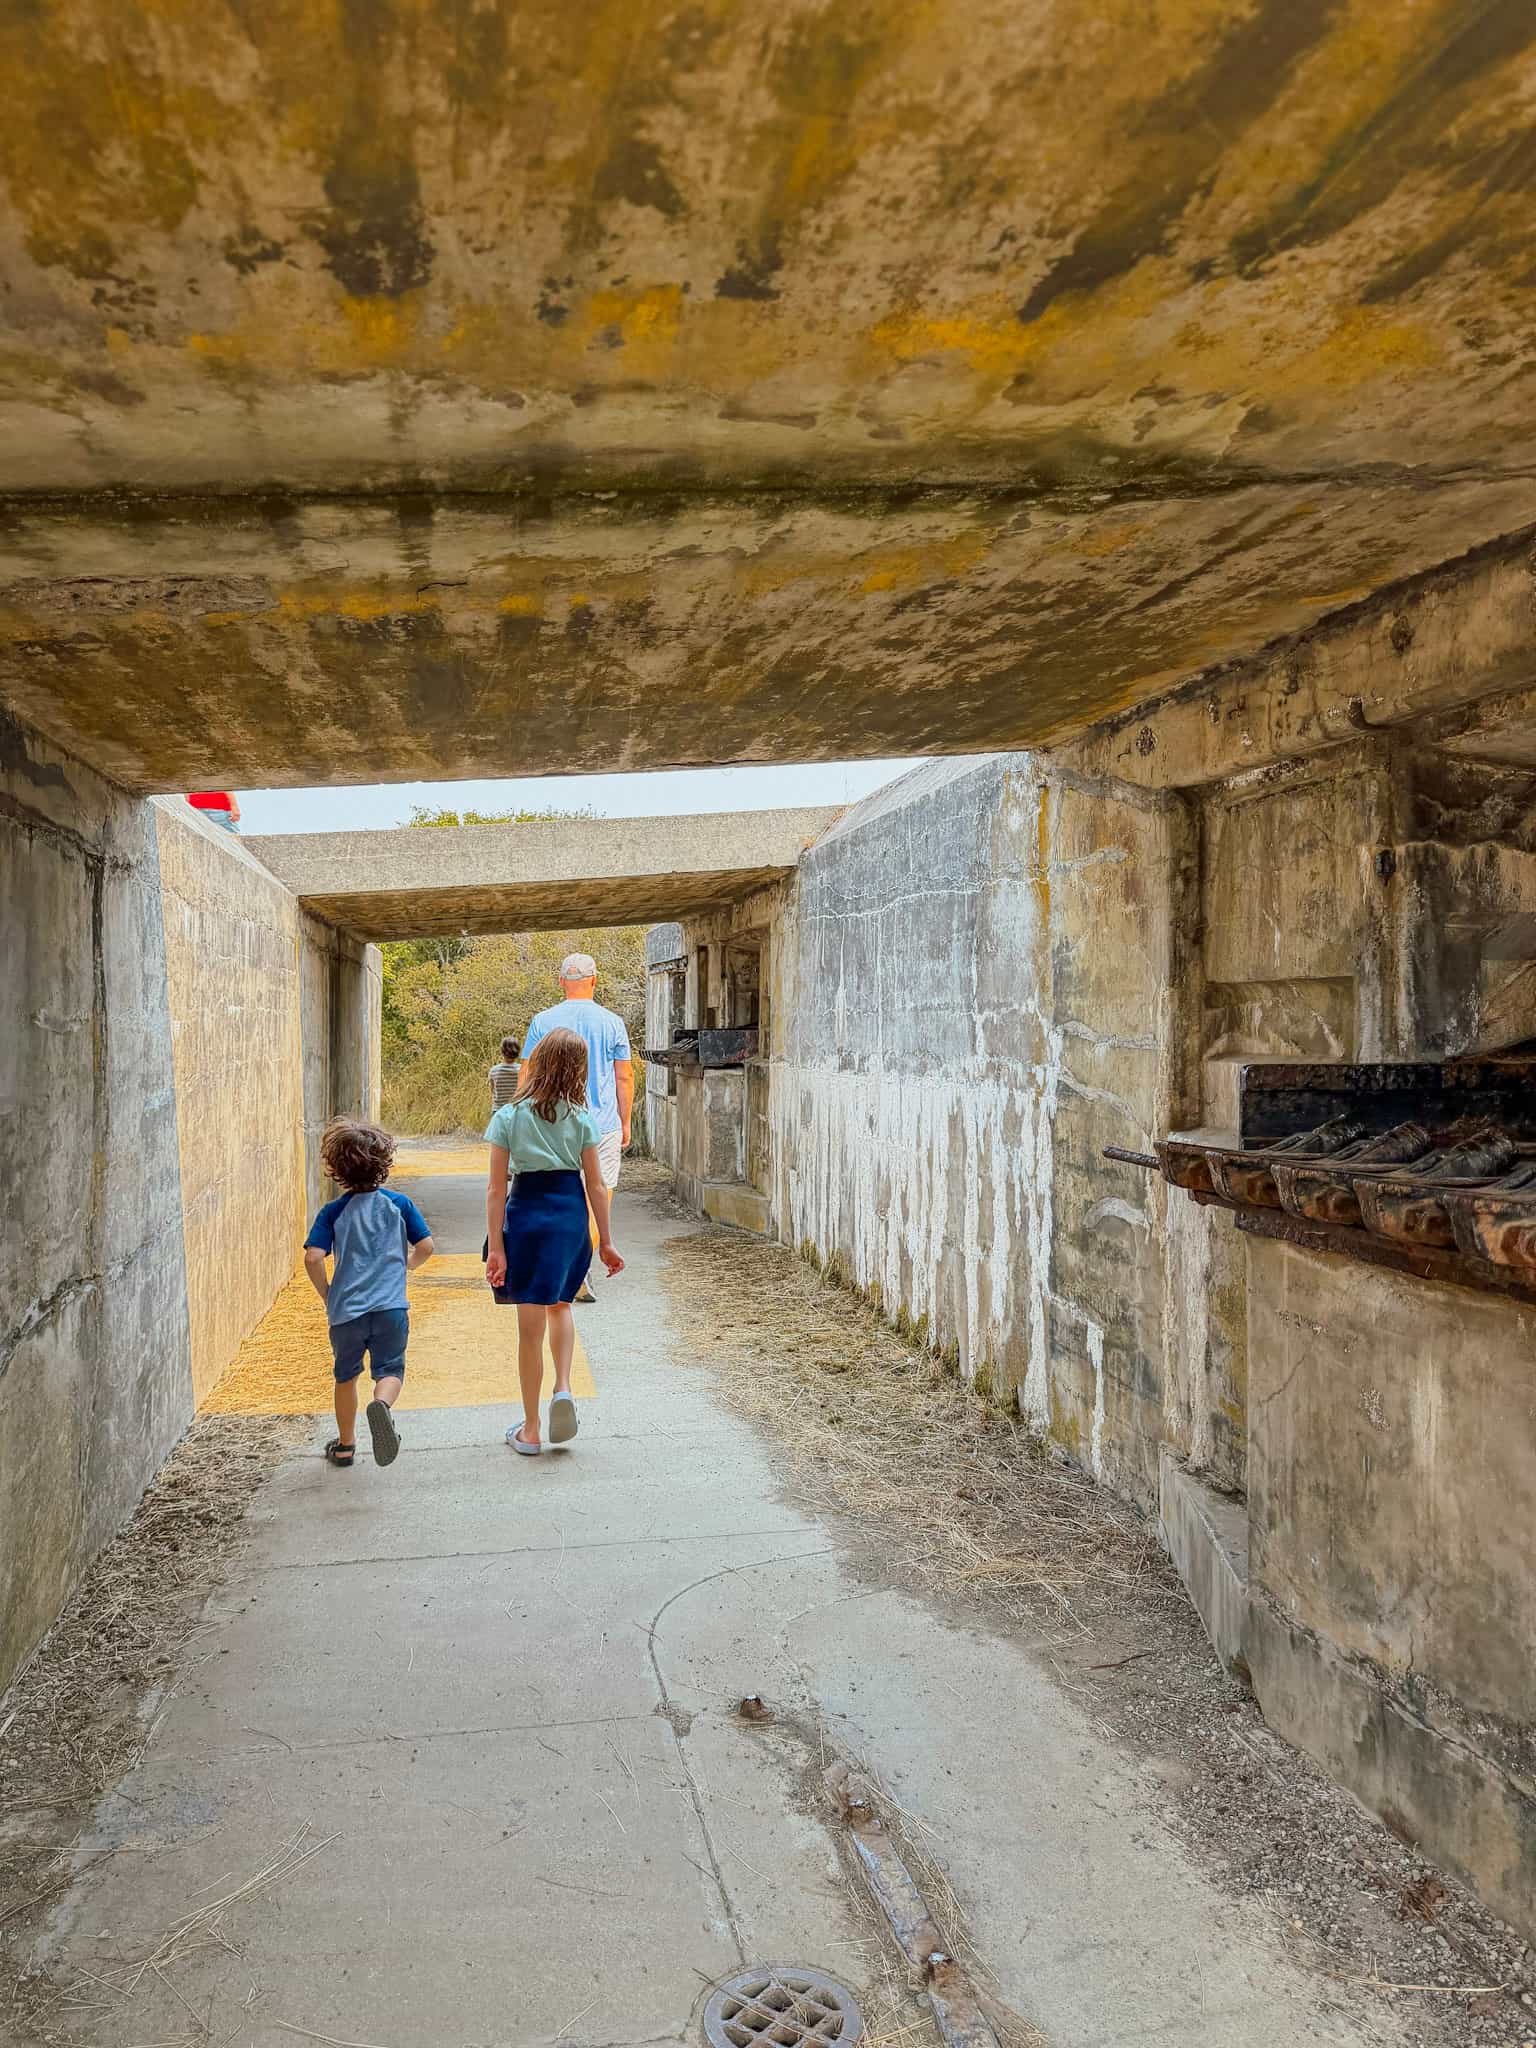
After you finish exploring Fort Casey, continue on into Coupeville, where you can walk along the pier and watch for marine life. Make sure to grab a treat at Kapaw’s Iskreme.
Then make your way toward Deception Pass.
The bridge is one of the most recognizable landmarks in the state, and it offers stunning views and some epic chances to spot wildlife.
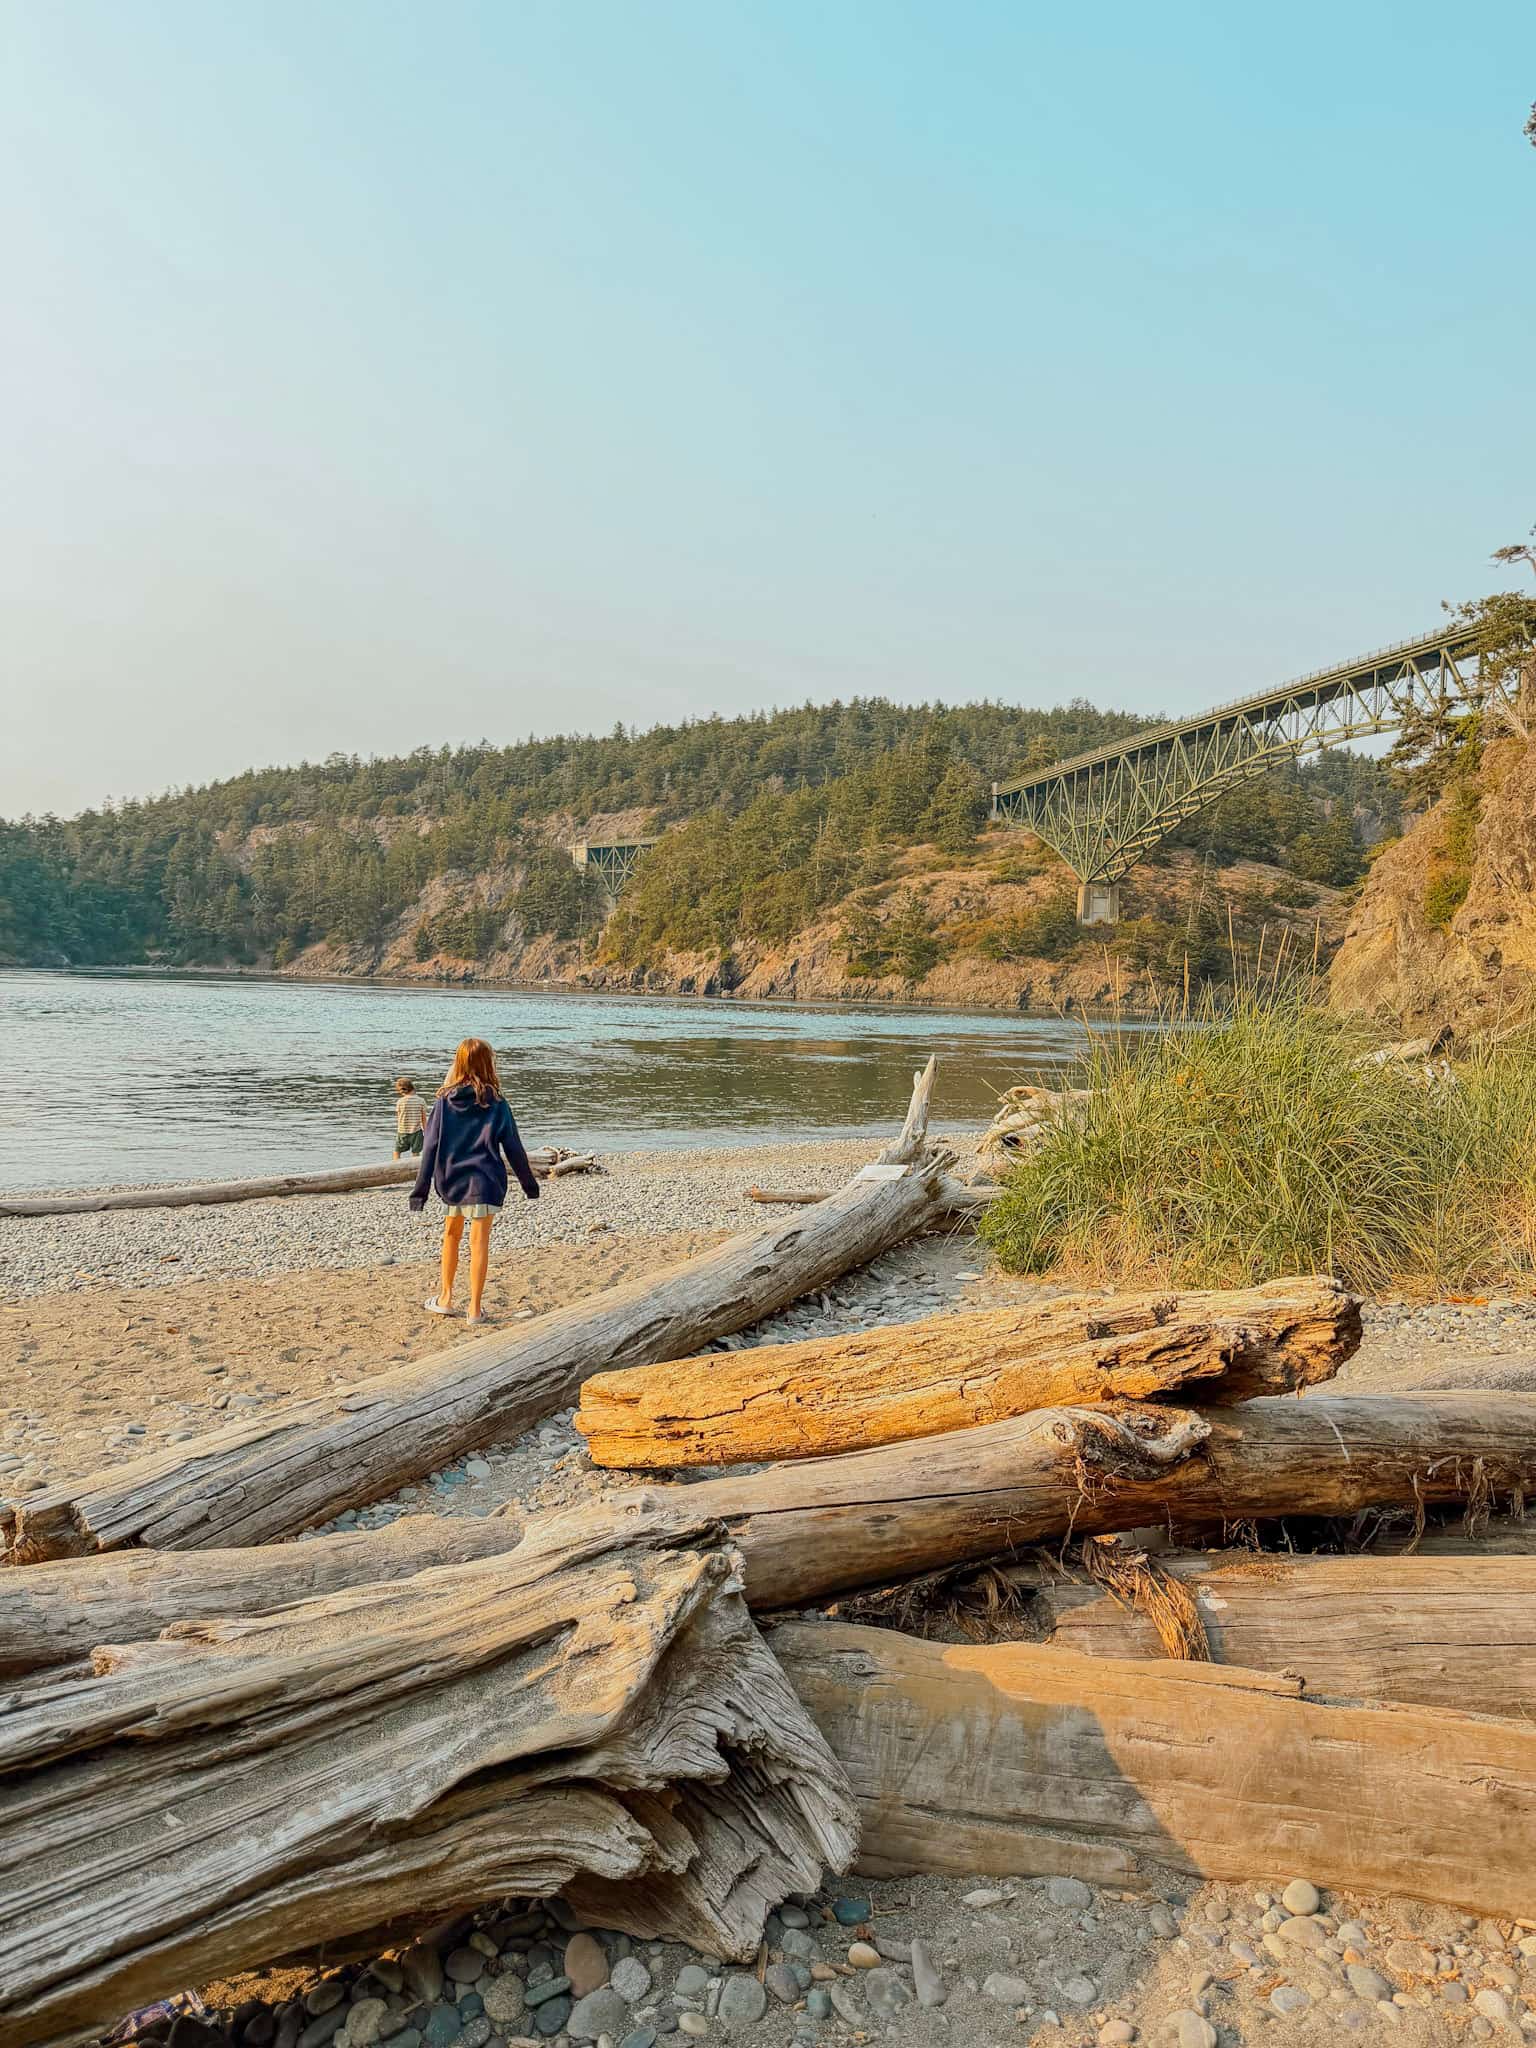
We followed the short trail down to the North Beach, where we had amazing views of the bridge and bay. We spent an hour or two here just playing in the water and skipping rocks.
We even got lucky and had 2 harbor seals hunting fish right on the shoreline, and we got to watch them splash and play for a long time.
Then we headed to Deception Pass State Park for the evening.
If you aren’t camping, here’s where I would recommend staying:
- Coachman Inn Oak Harbor – free breakfast, outdoor pool + rooms that sleep 6
- The Marina Inn – free breakfast + budget friendly
- Majestic Inn & Spa – located in downtown Anacortes, bay view
Day 6: Deception Pass, Orcas & the North Cascades
Deception Pass → Rosario Beach → Orca Tour → Rasar State Park
Where we stayed: Rasar State Park
* Note: If you are a big hiking family or would prefer an extra day in the National Park, I would recommend skipping this day and heading into North Cascades to tackle one or two of the longer hikes, such as Blue Lake or Maple Pass Loop. Due to air quality issues from the wildfires during our visit, we had to pivot our plans and spend an extra day on Whidbey Island, which ended up being amazing!
Deception Pass State Park
Start the by walking across the Deception Pass bridge if you didn’t do it the previous day. The views from the bridge are unmatched, and we spotted tons of birds, bald eagles, and even a couple of harbor seals.
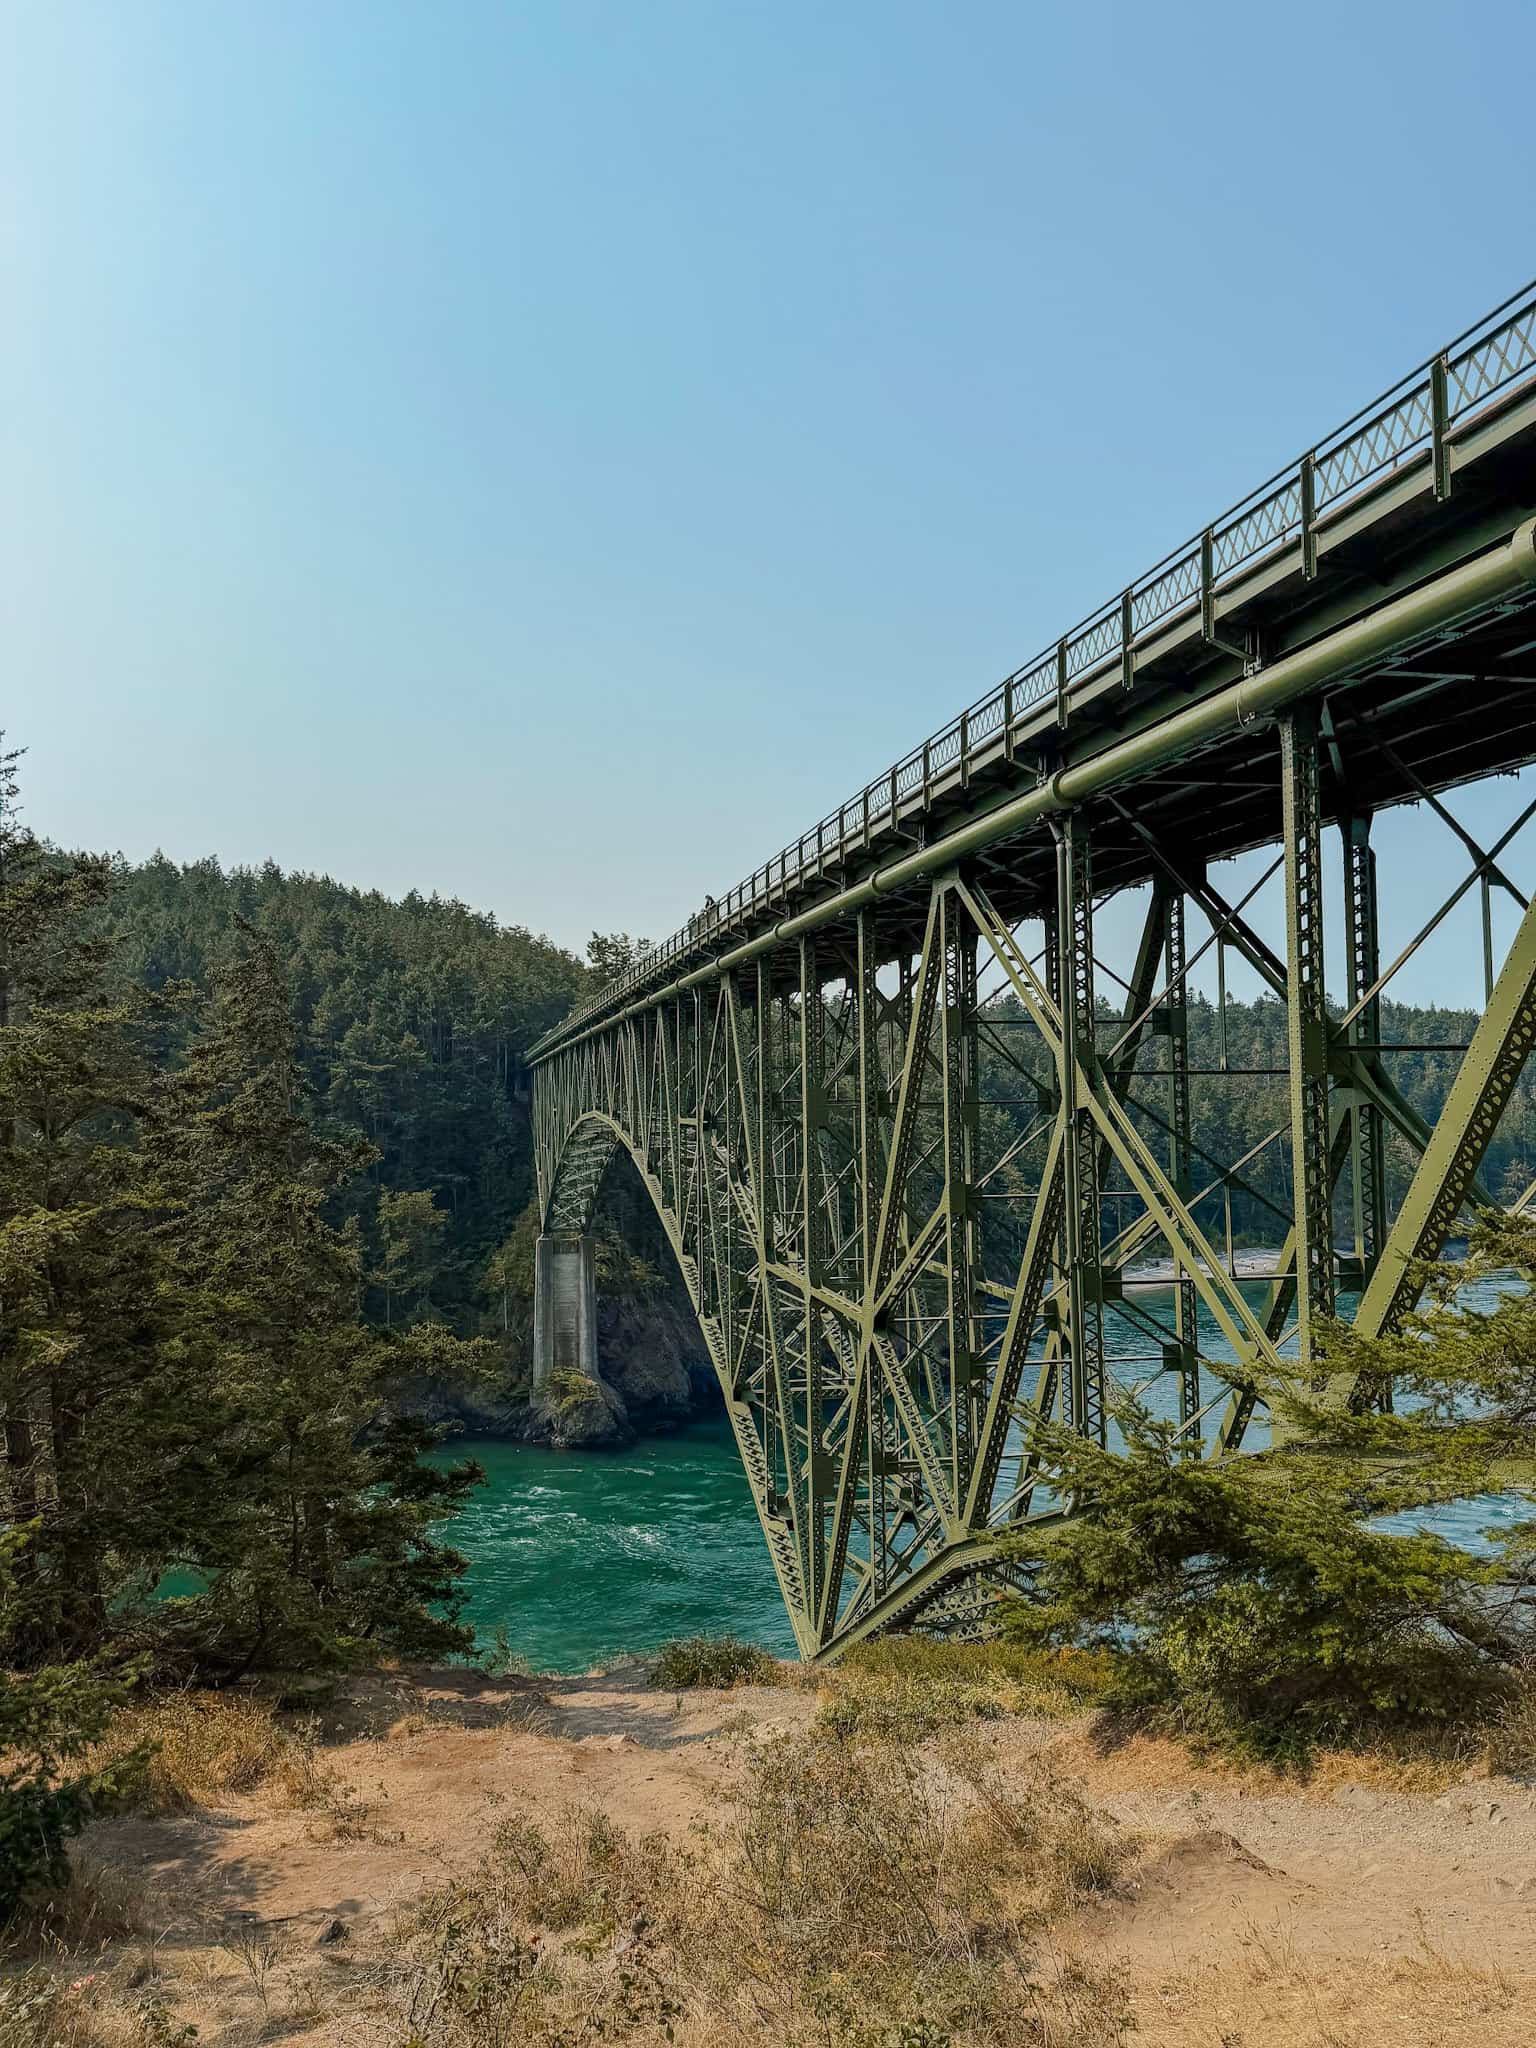
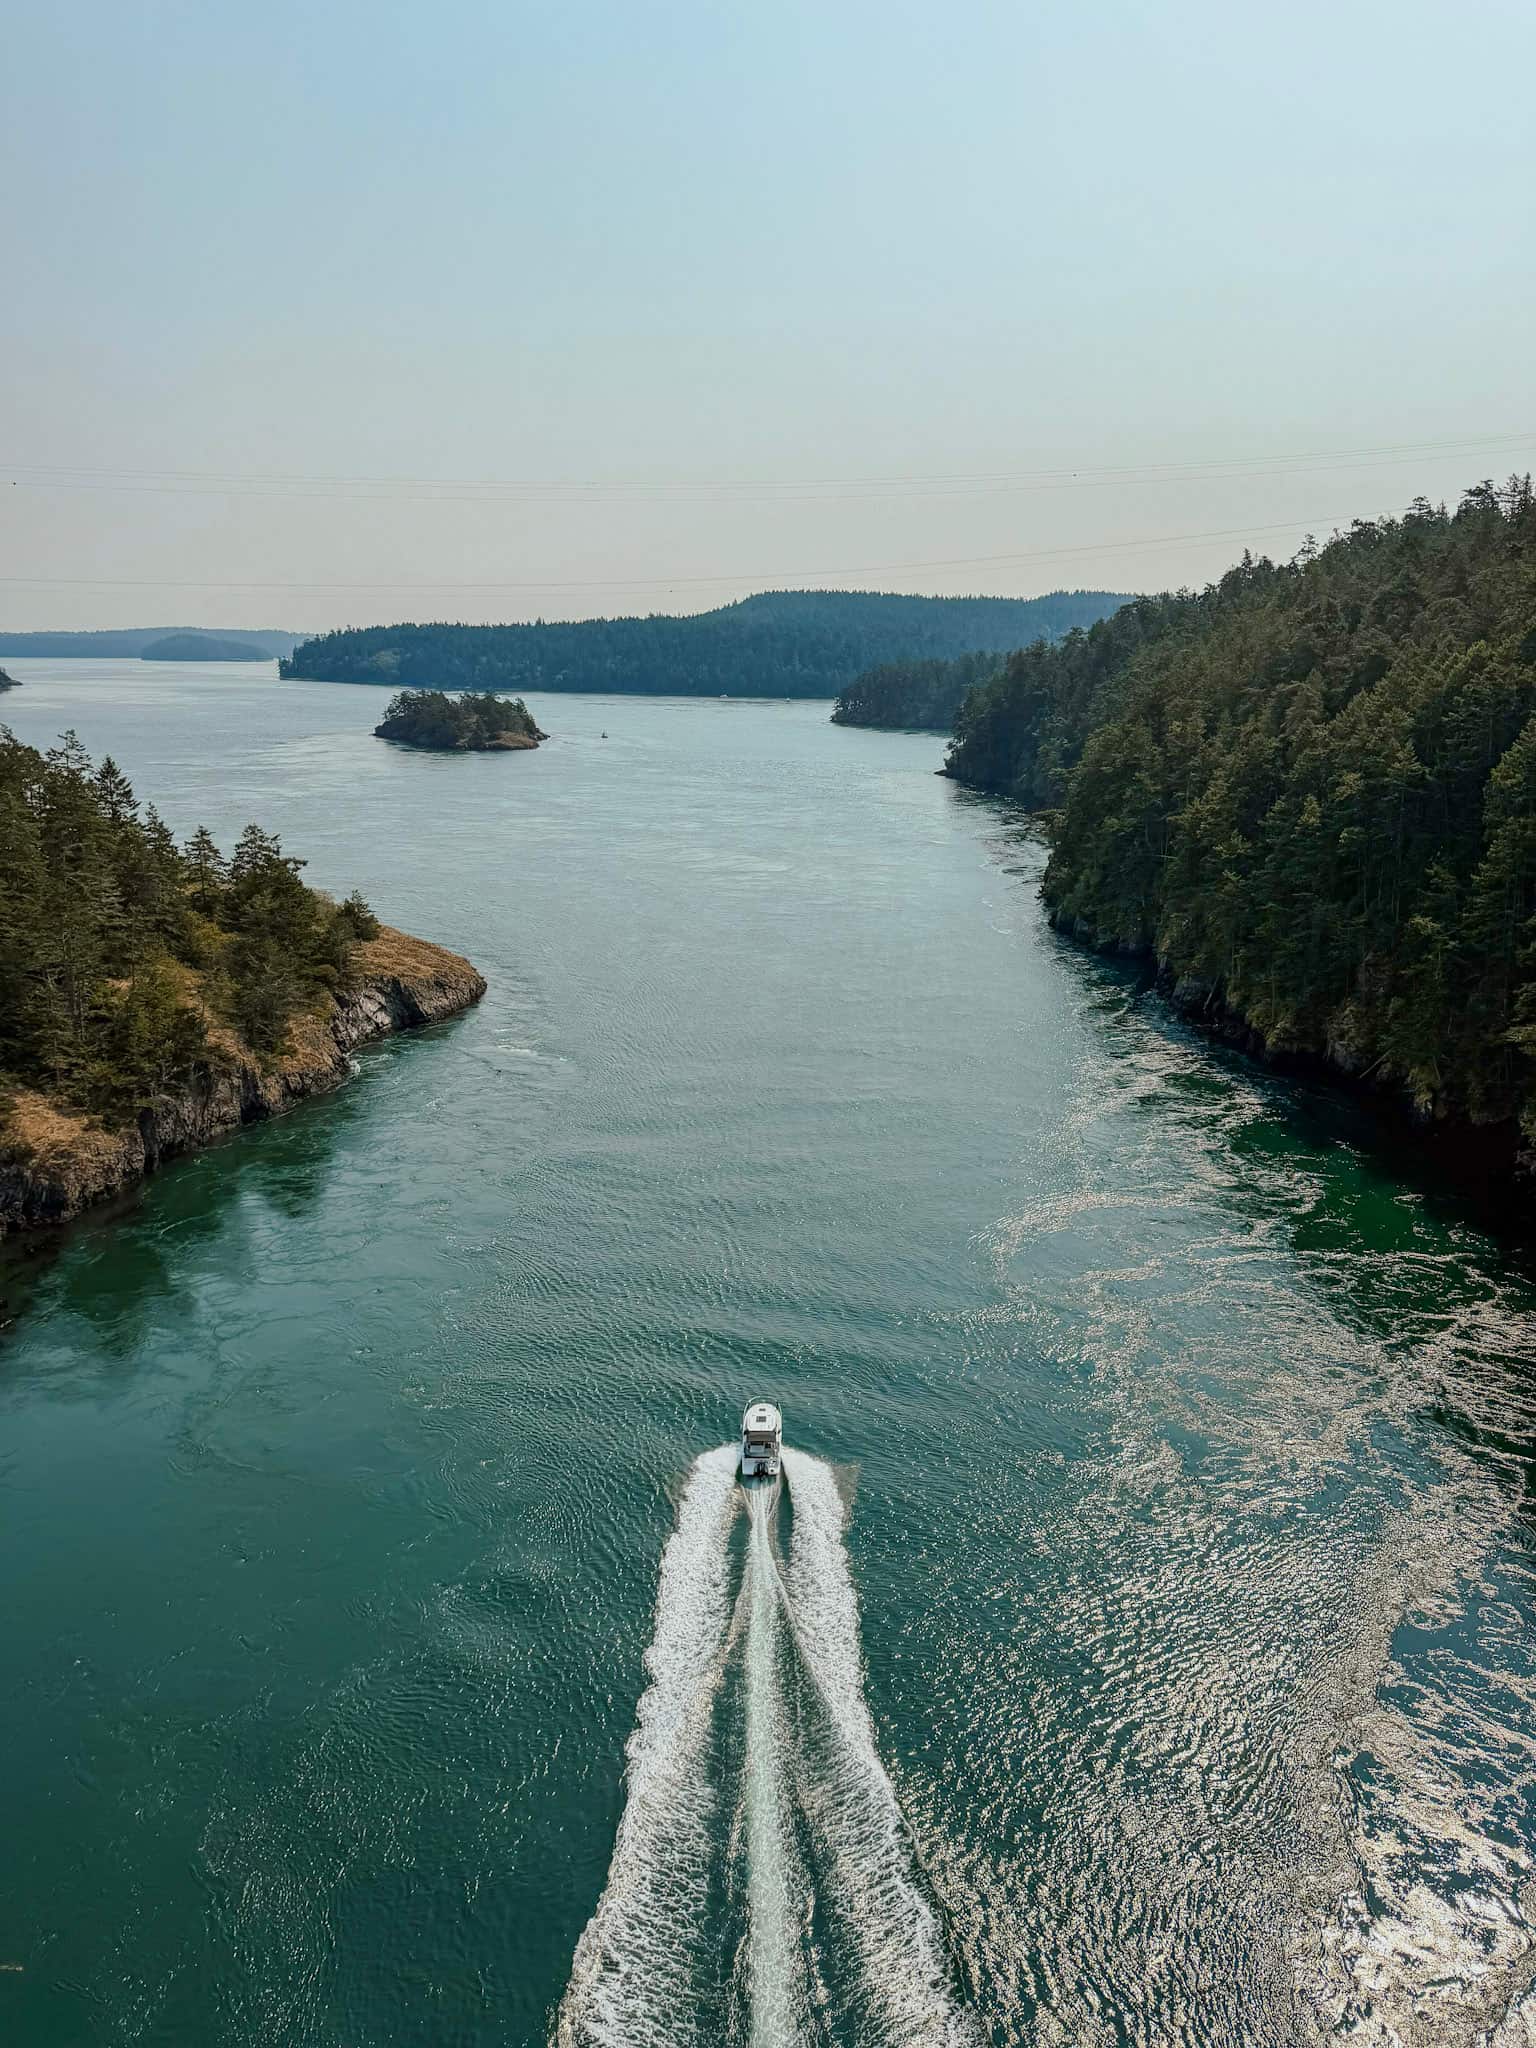
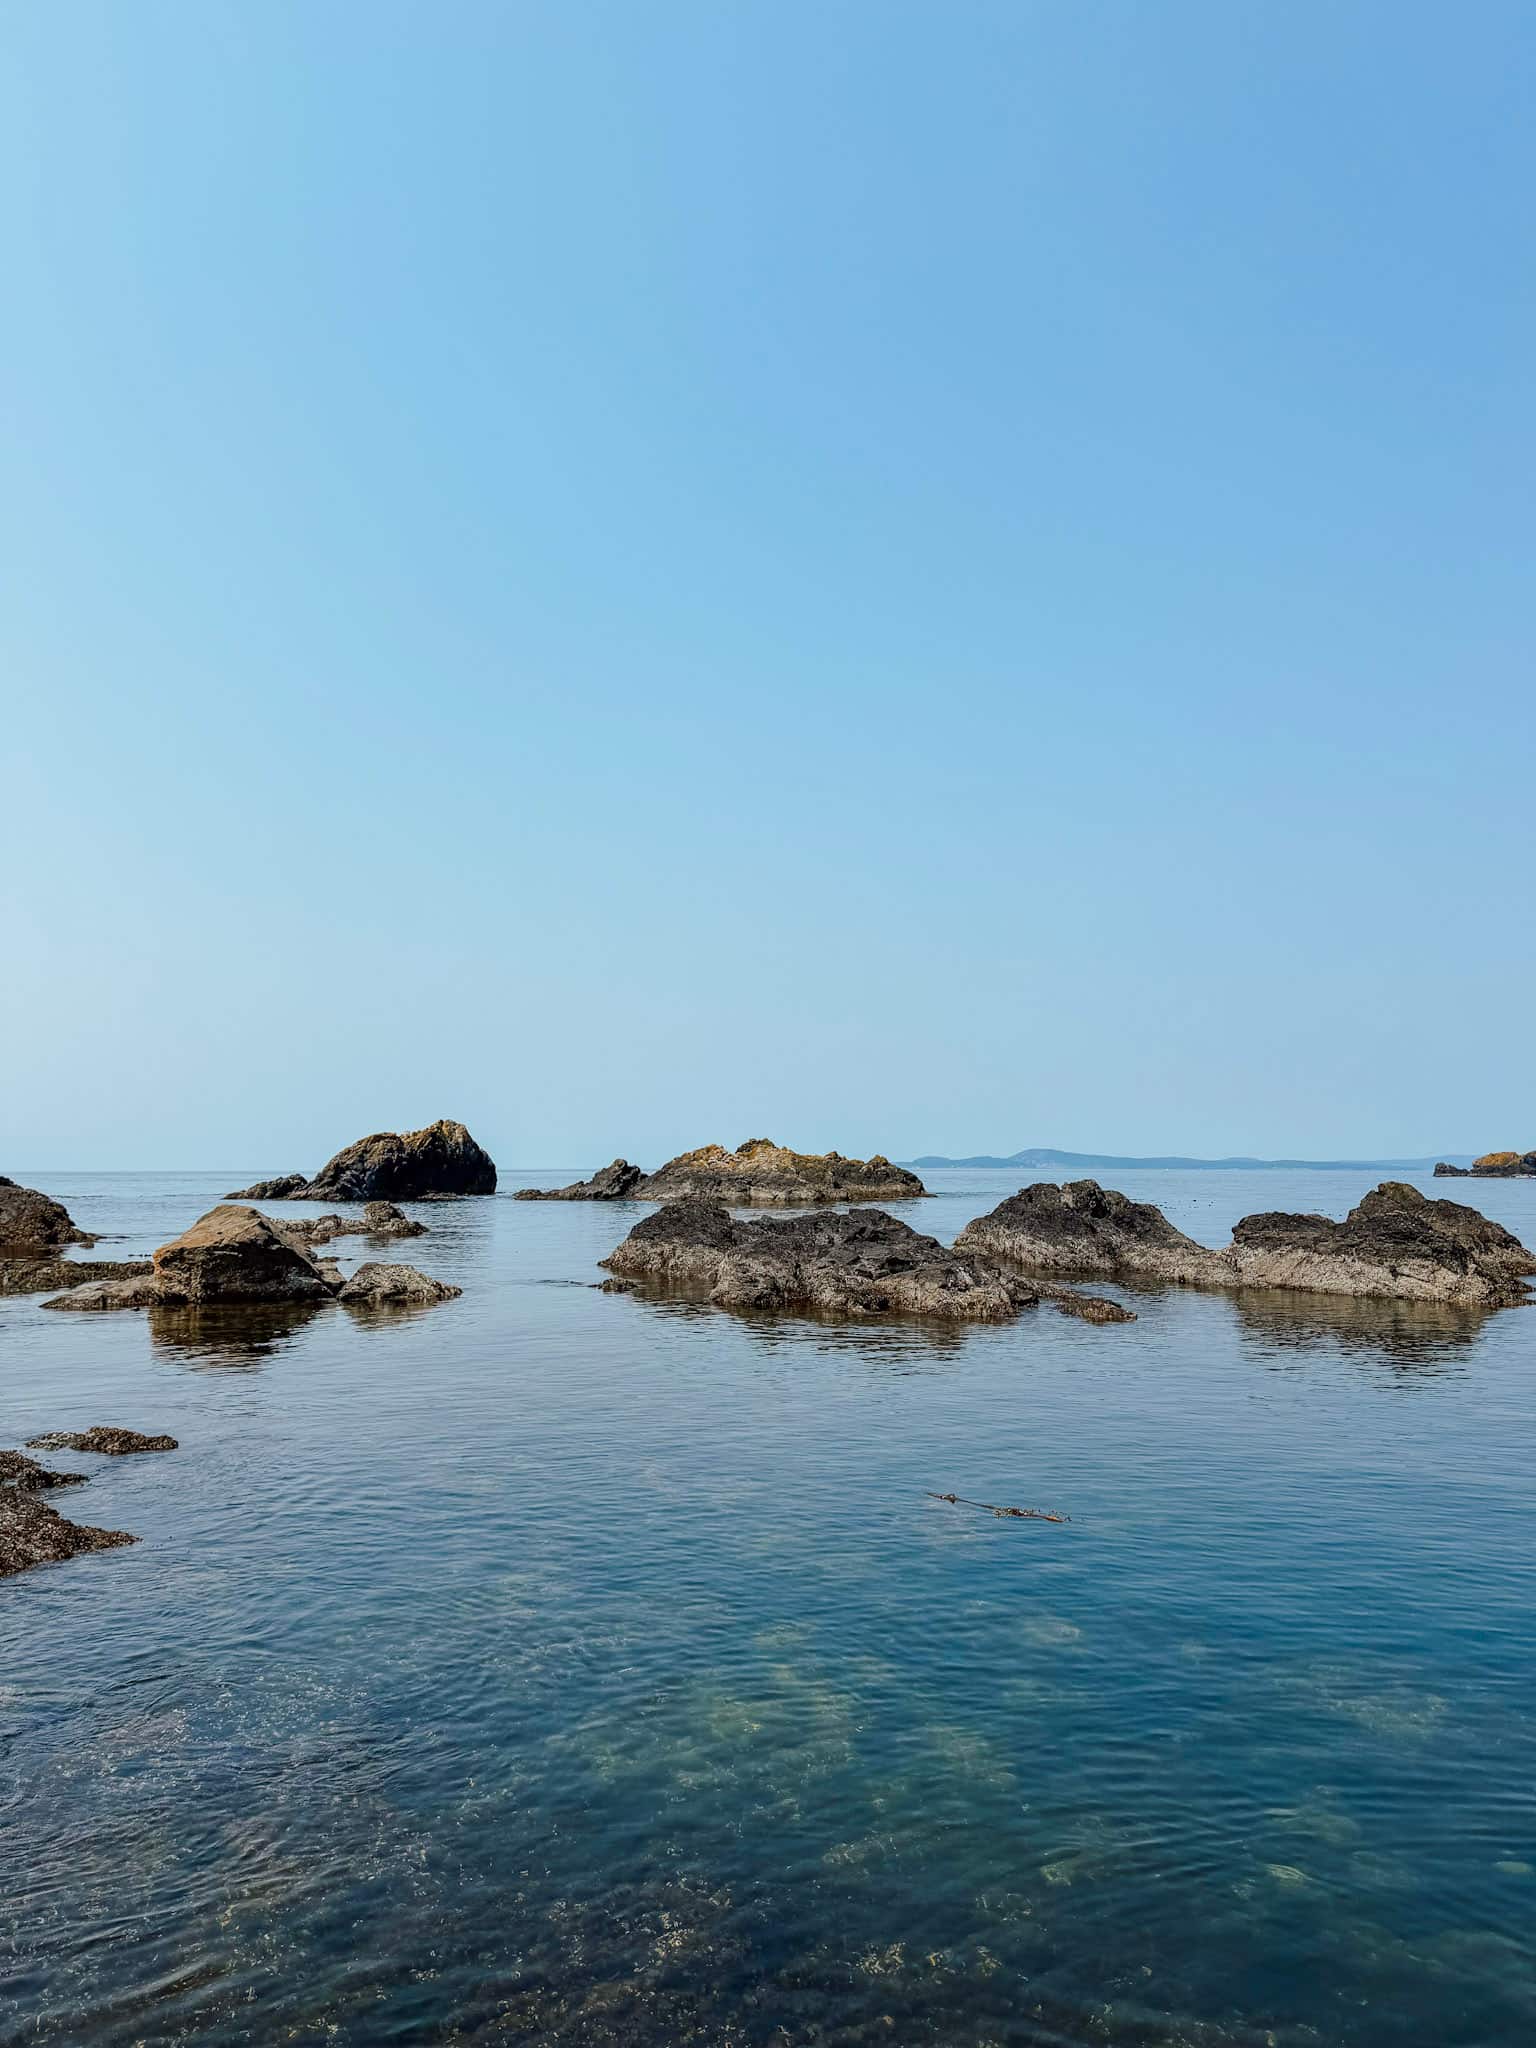
From there, make your way toward Rosario Beach and hike the 1.3 mile Rosario Head Trail.
This is the perfect spot to spend a few hours, and the trail offers stunning ocean views, and pebble beach and even tide pools.
Orca Spotting Tour
After lunch, I highly recommend taking an orca spotting boat tour. This was a completely unplanned part of our trip, but ended up being one of the highlights for our whole family!
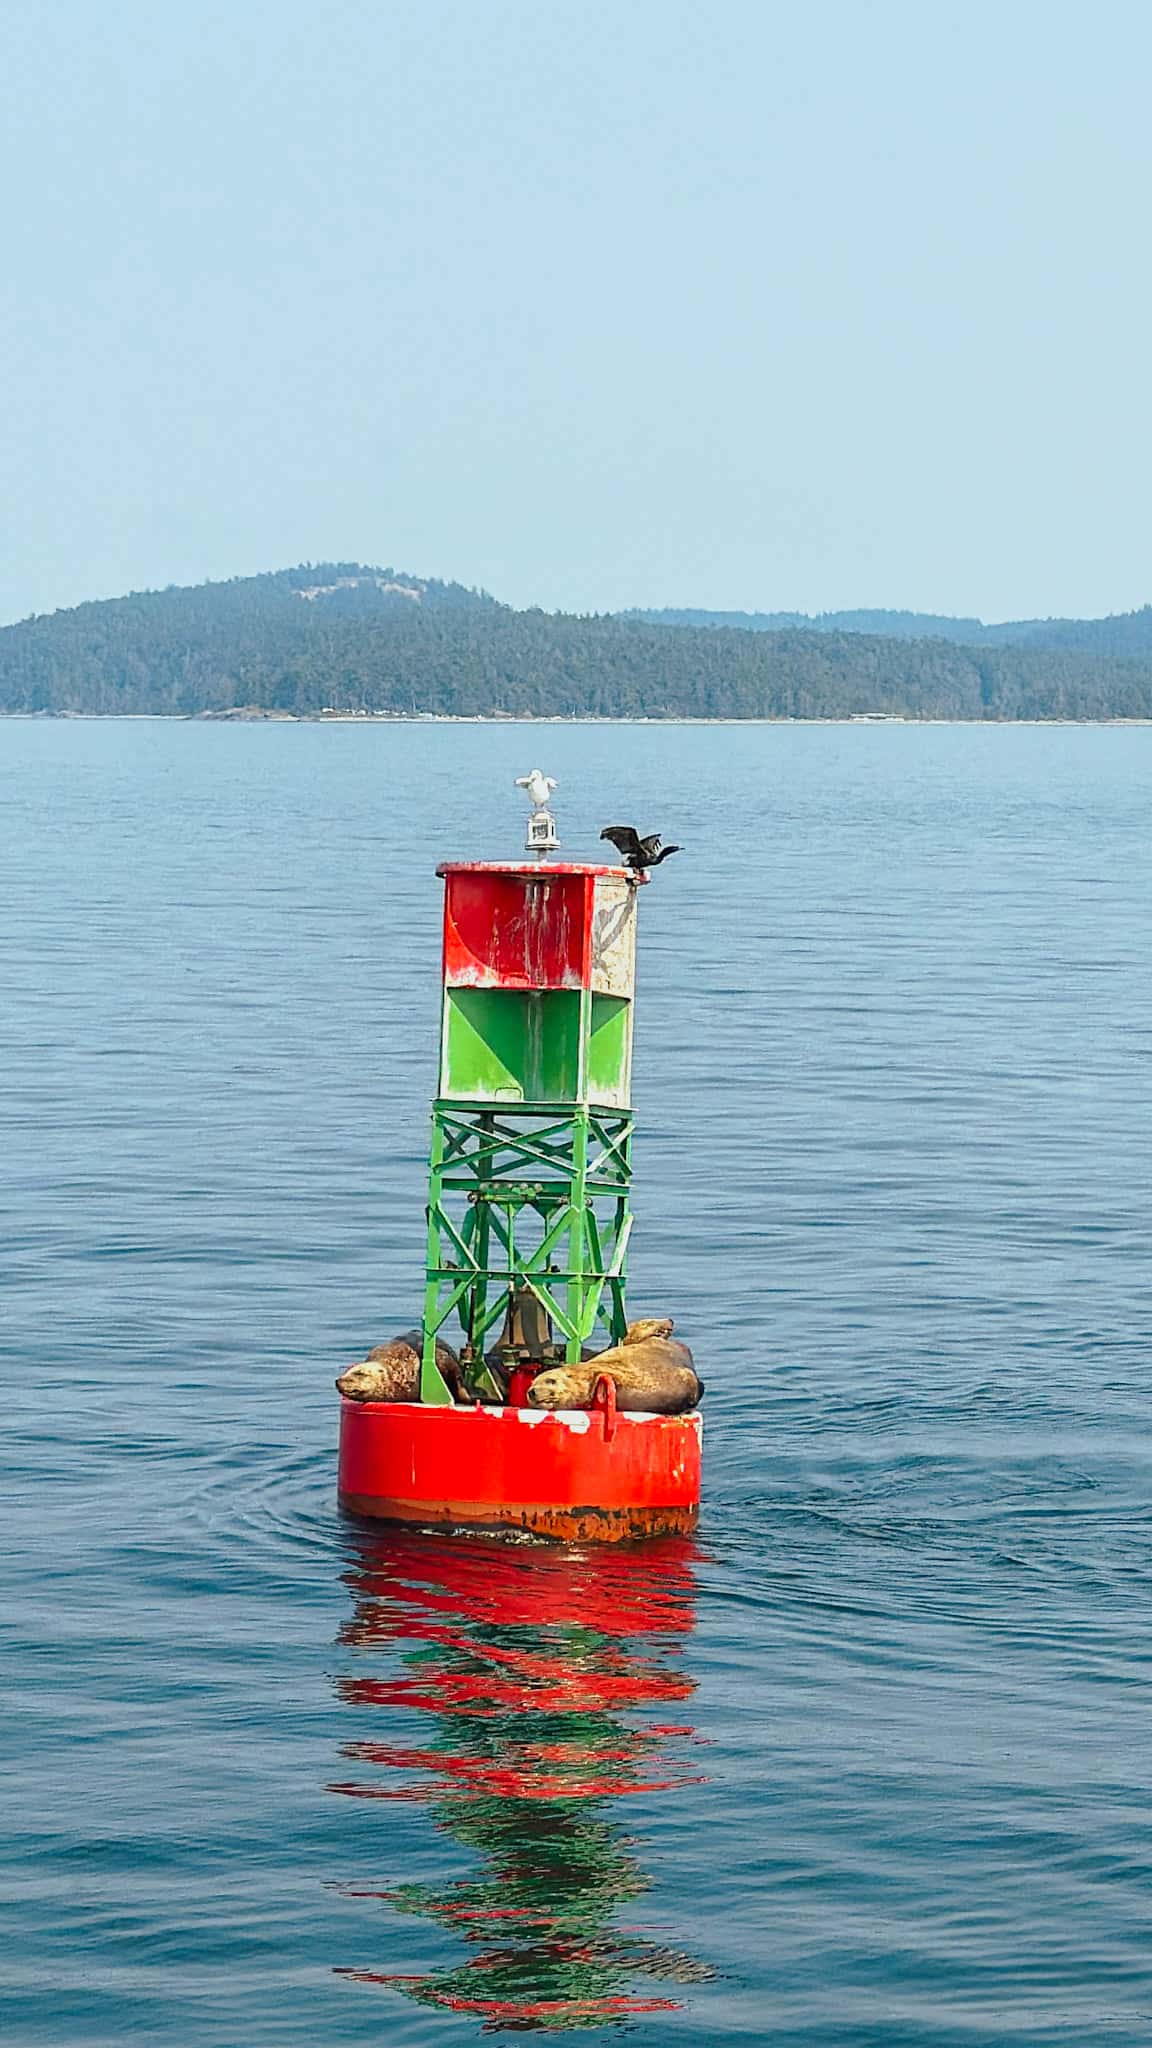
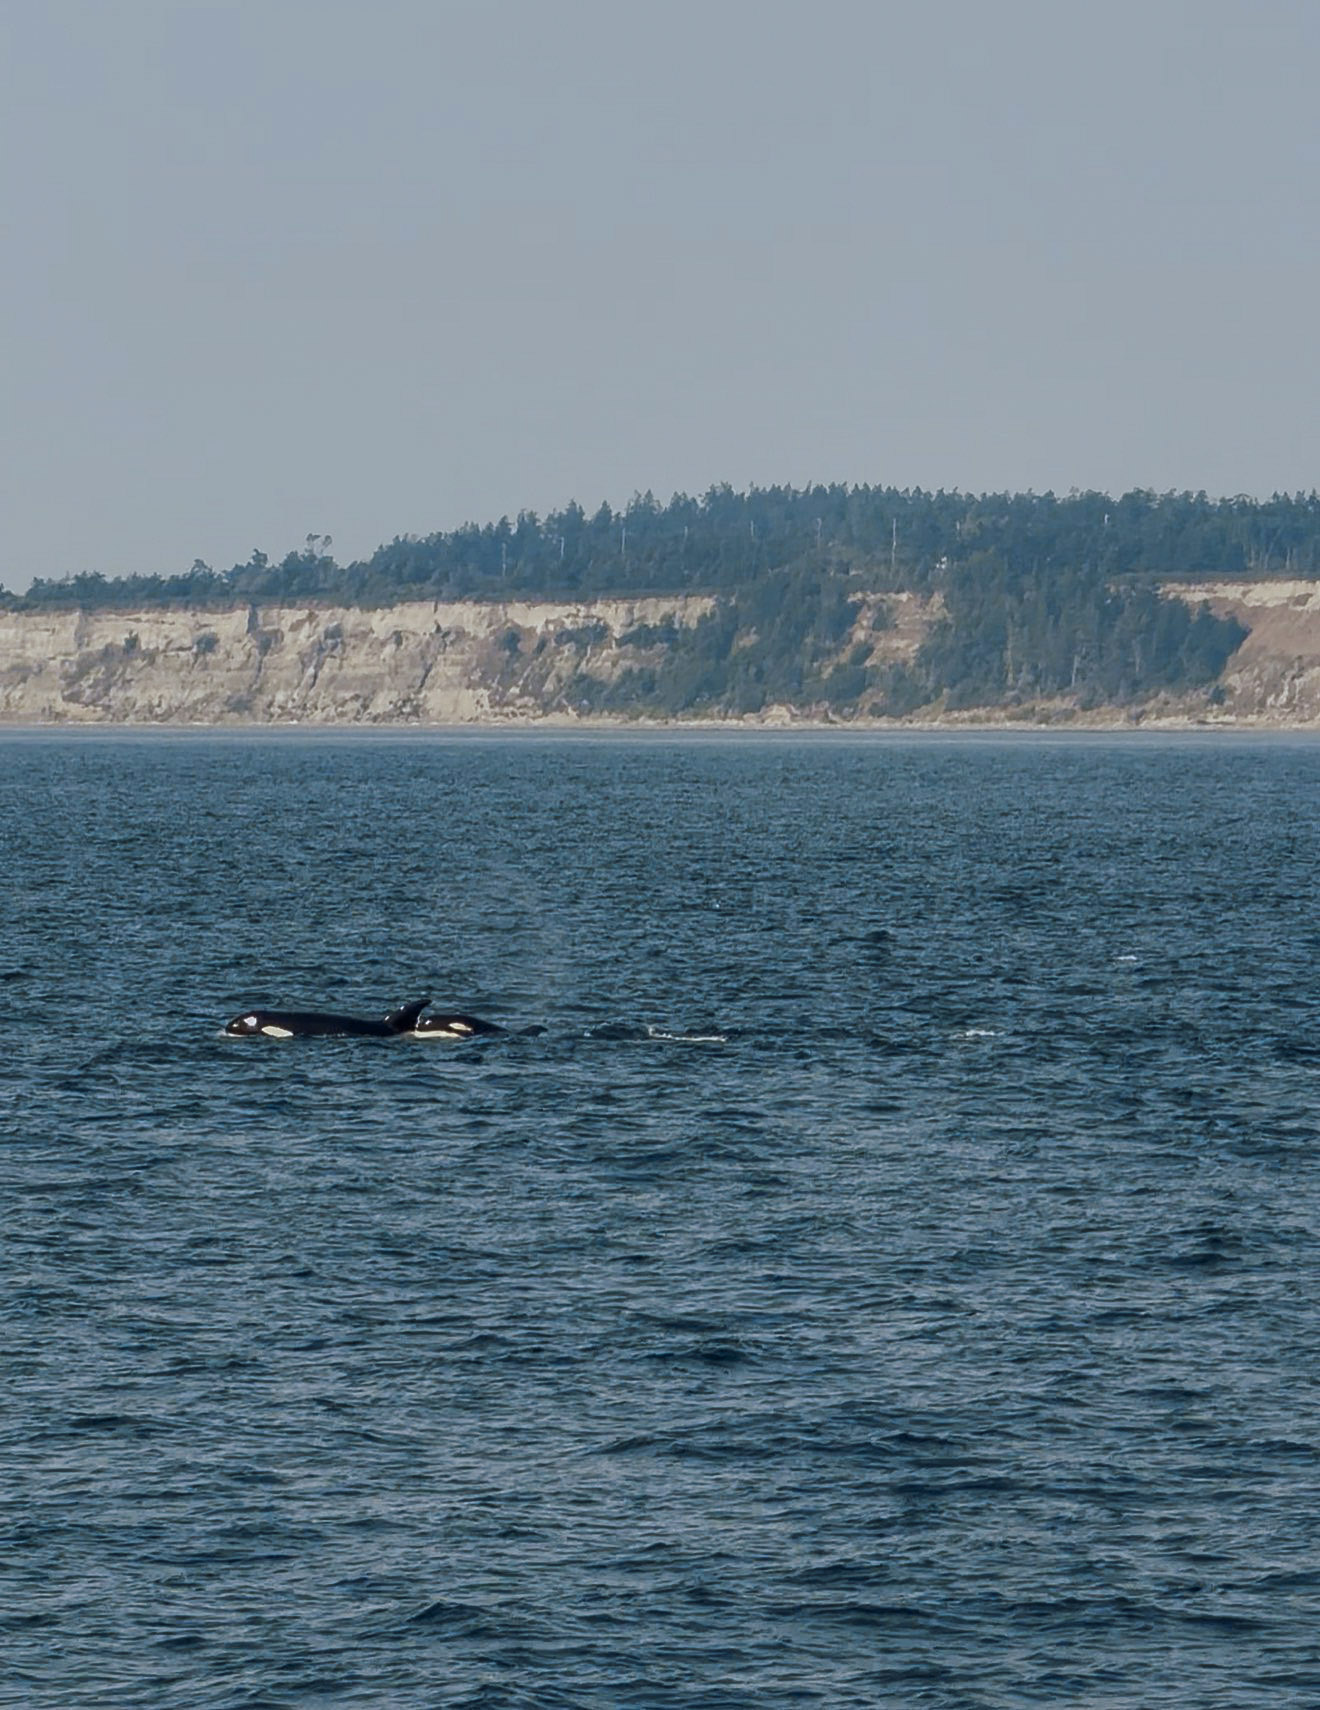
Our boat followed a pod of orcas for over an hour, and we got to watch them on a hunt and even see orca babies. It felt so magical, and I am so glad we added this into our itinerary!
There are tons of different tour options, but one that leaves from Anacortes works best for this itinerary. Here’s the exact one we did.
Finish your day by heading toward the North Cascades and camping at Rasar State Park.
If you aren’t camping, here is where I recommend staying:
- The Kulshan Hotel – family rooms + free breakfast
- Fairfield Inn & Suites – indoor pool, family rooms + free breakfast
- Mt. Baker Hotel – nearby North Cascades
Day 7: North Cascades National Park & Diablo Lake
Rasar State Park → North Cascades → Mt. Rainier
Where we stayed: Silver Springs Campground
Visitor’s Center + River Loop
The entire reason we chose to stay at Rasar State Park the previous night rather than drive on into North Cascades was so that we would be strategically placed to grab our paddle board rental from North Cascades Kayaks on our way into the park first thing in the morning.
I highly recommend reserving a paddle board or kayak and grabbing it as you head into the park (life jackets are included) so that you can spend the afternoon paddling on the turquoise blue Diablo Lake.
Once you’ve picked up your paddle board, head straight to the Visitor’s Center to grab your Junior Ranger books and a souvenir.
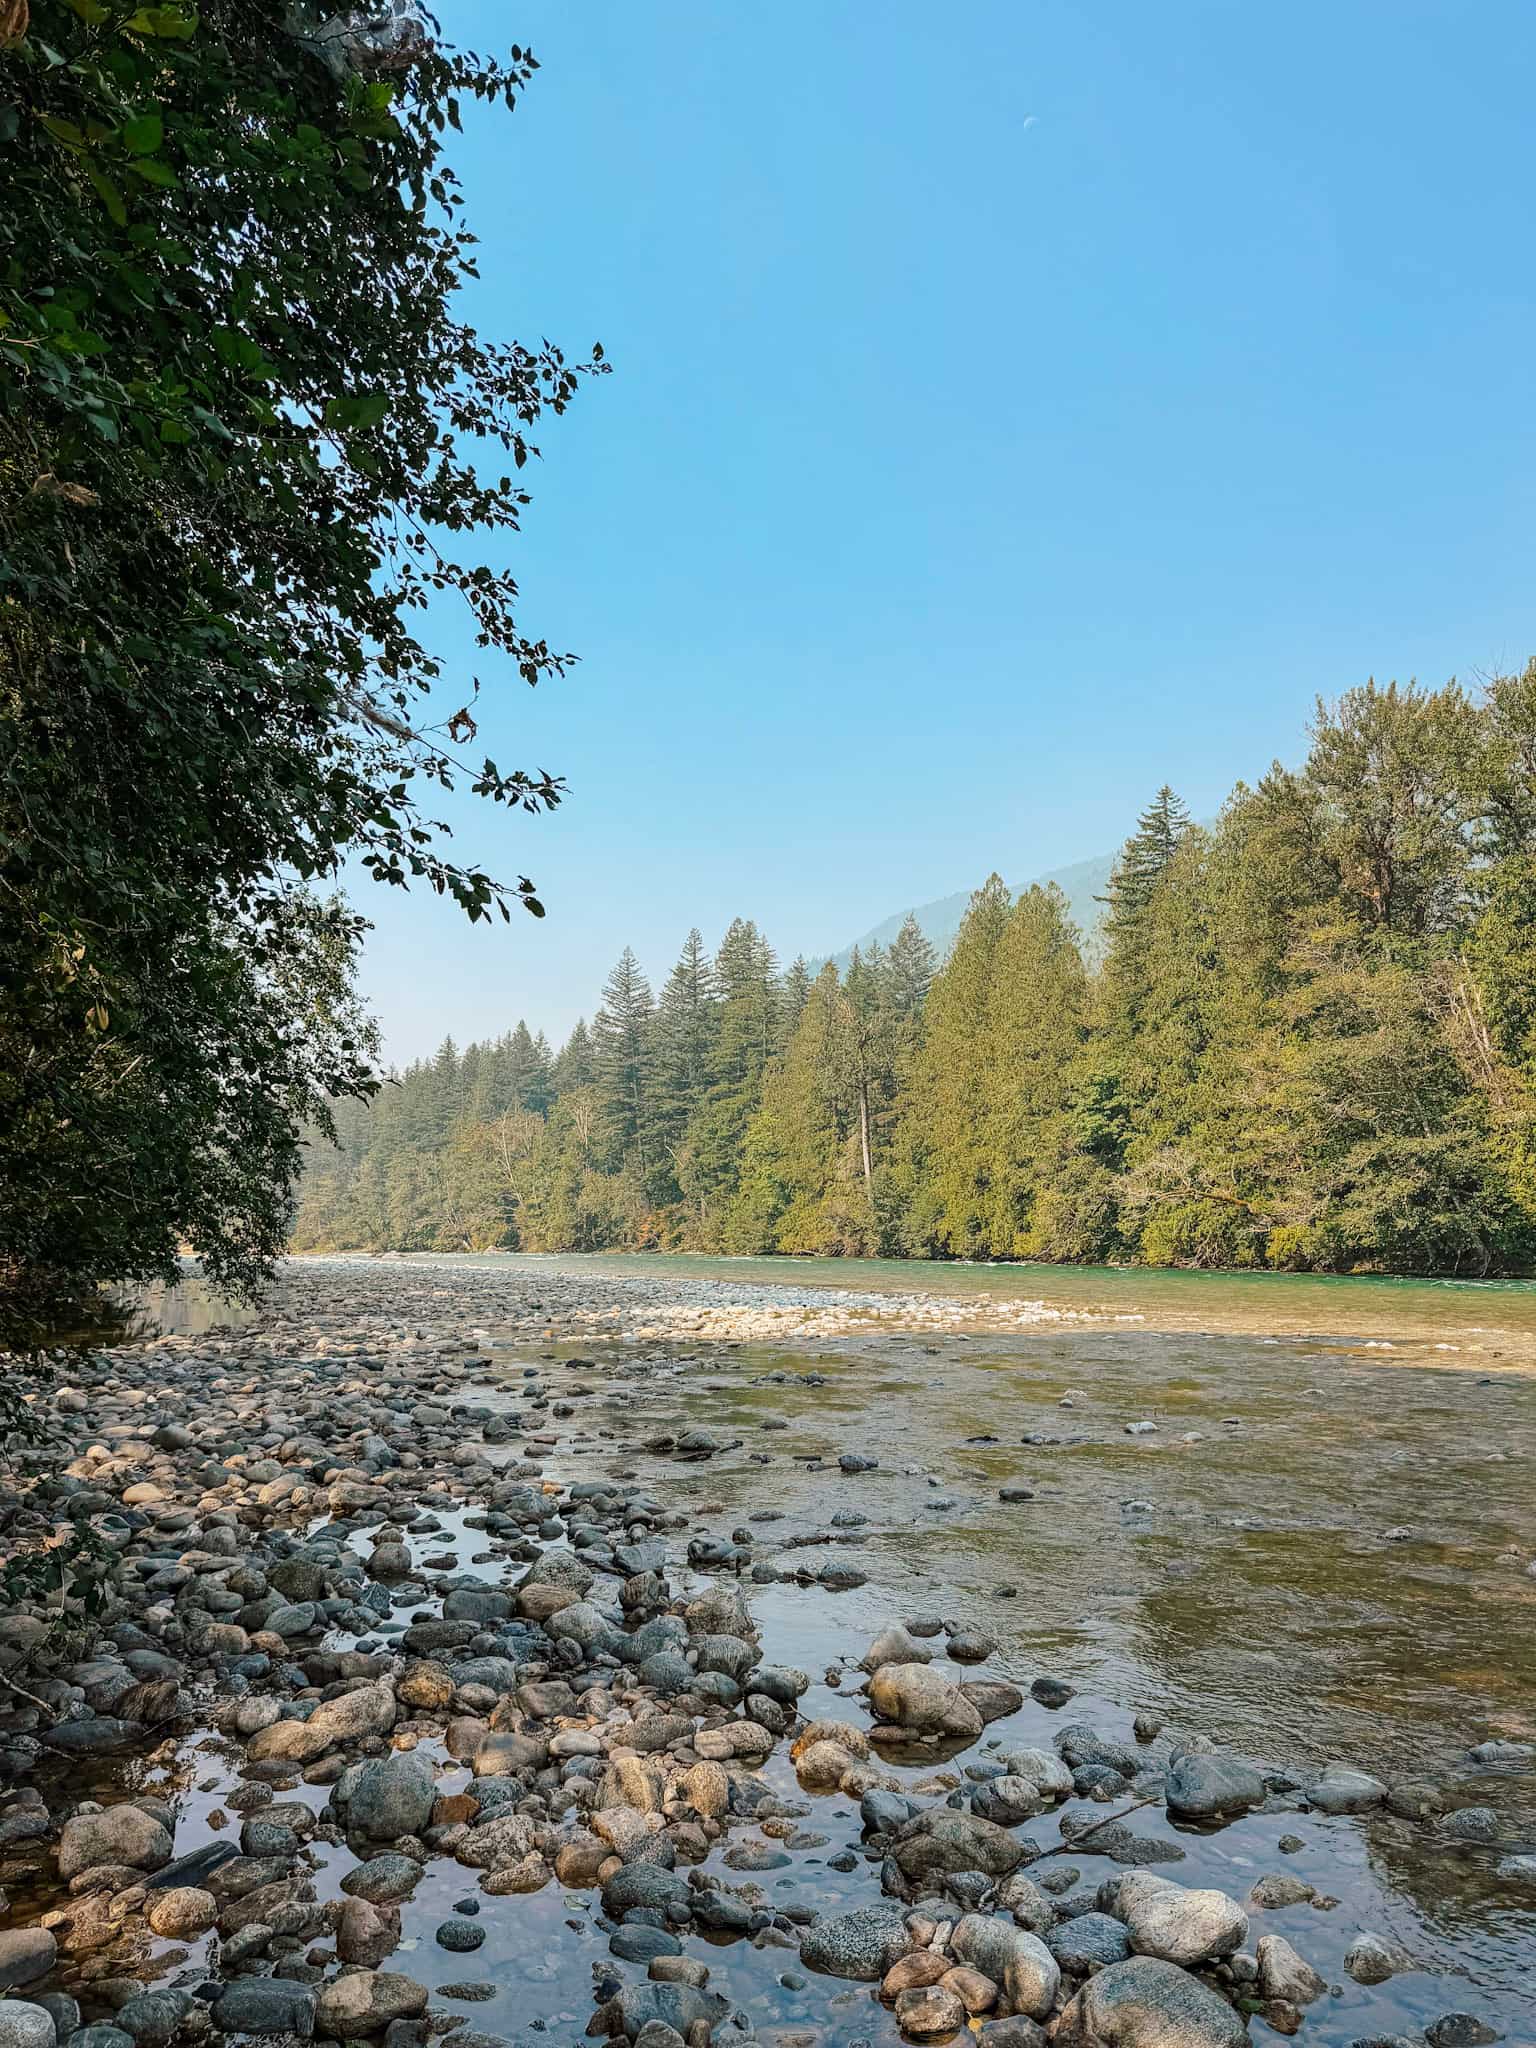
I also recommend hiking the River Loop trail that starts directly behind the Visitor’s Center. This 1.8 mile loop takes you through the lush forest and down a gravel bar where you can access the Skagit River.
Trail of the Cedars
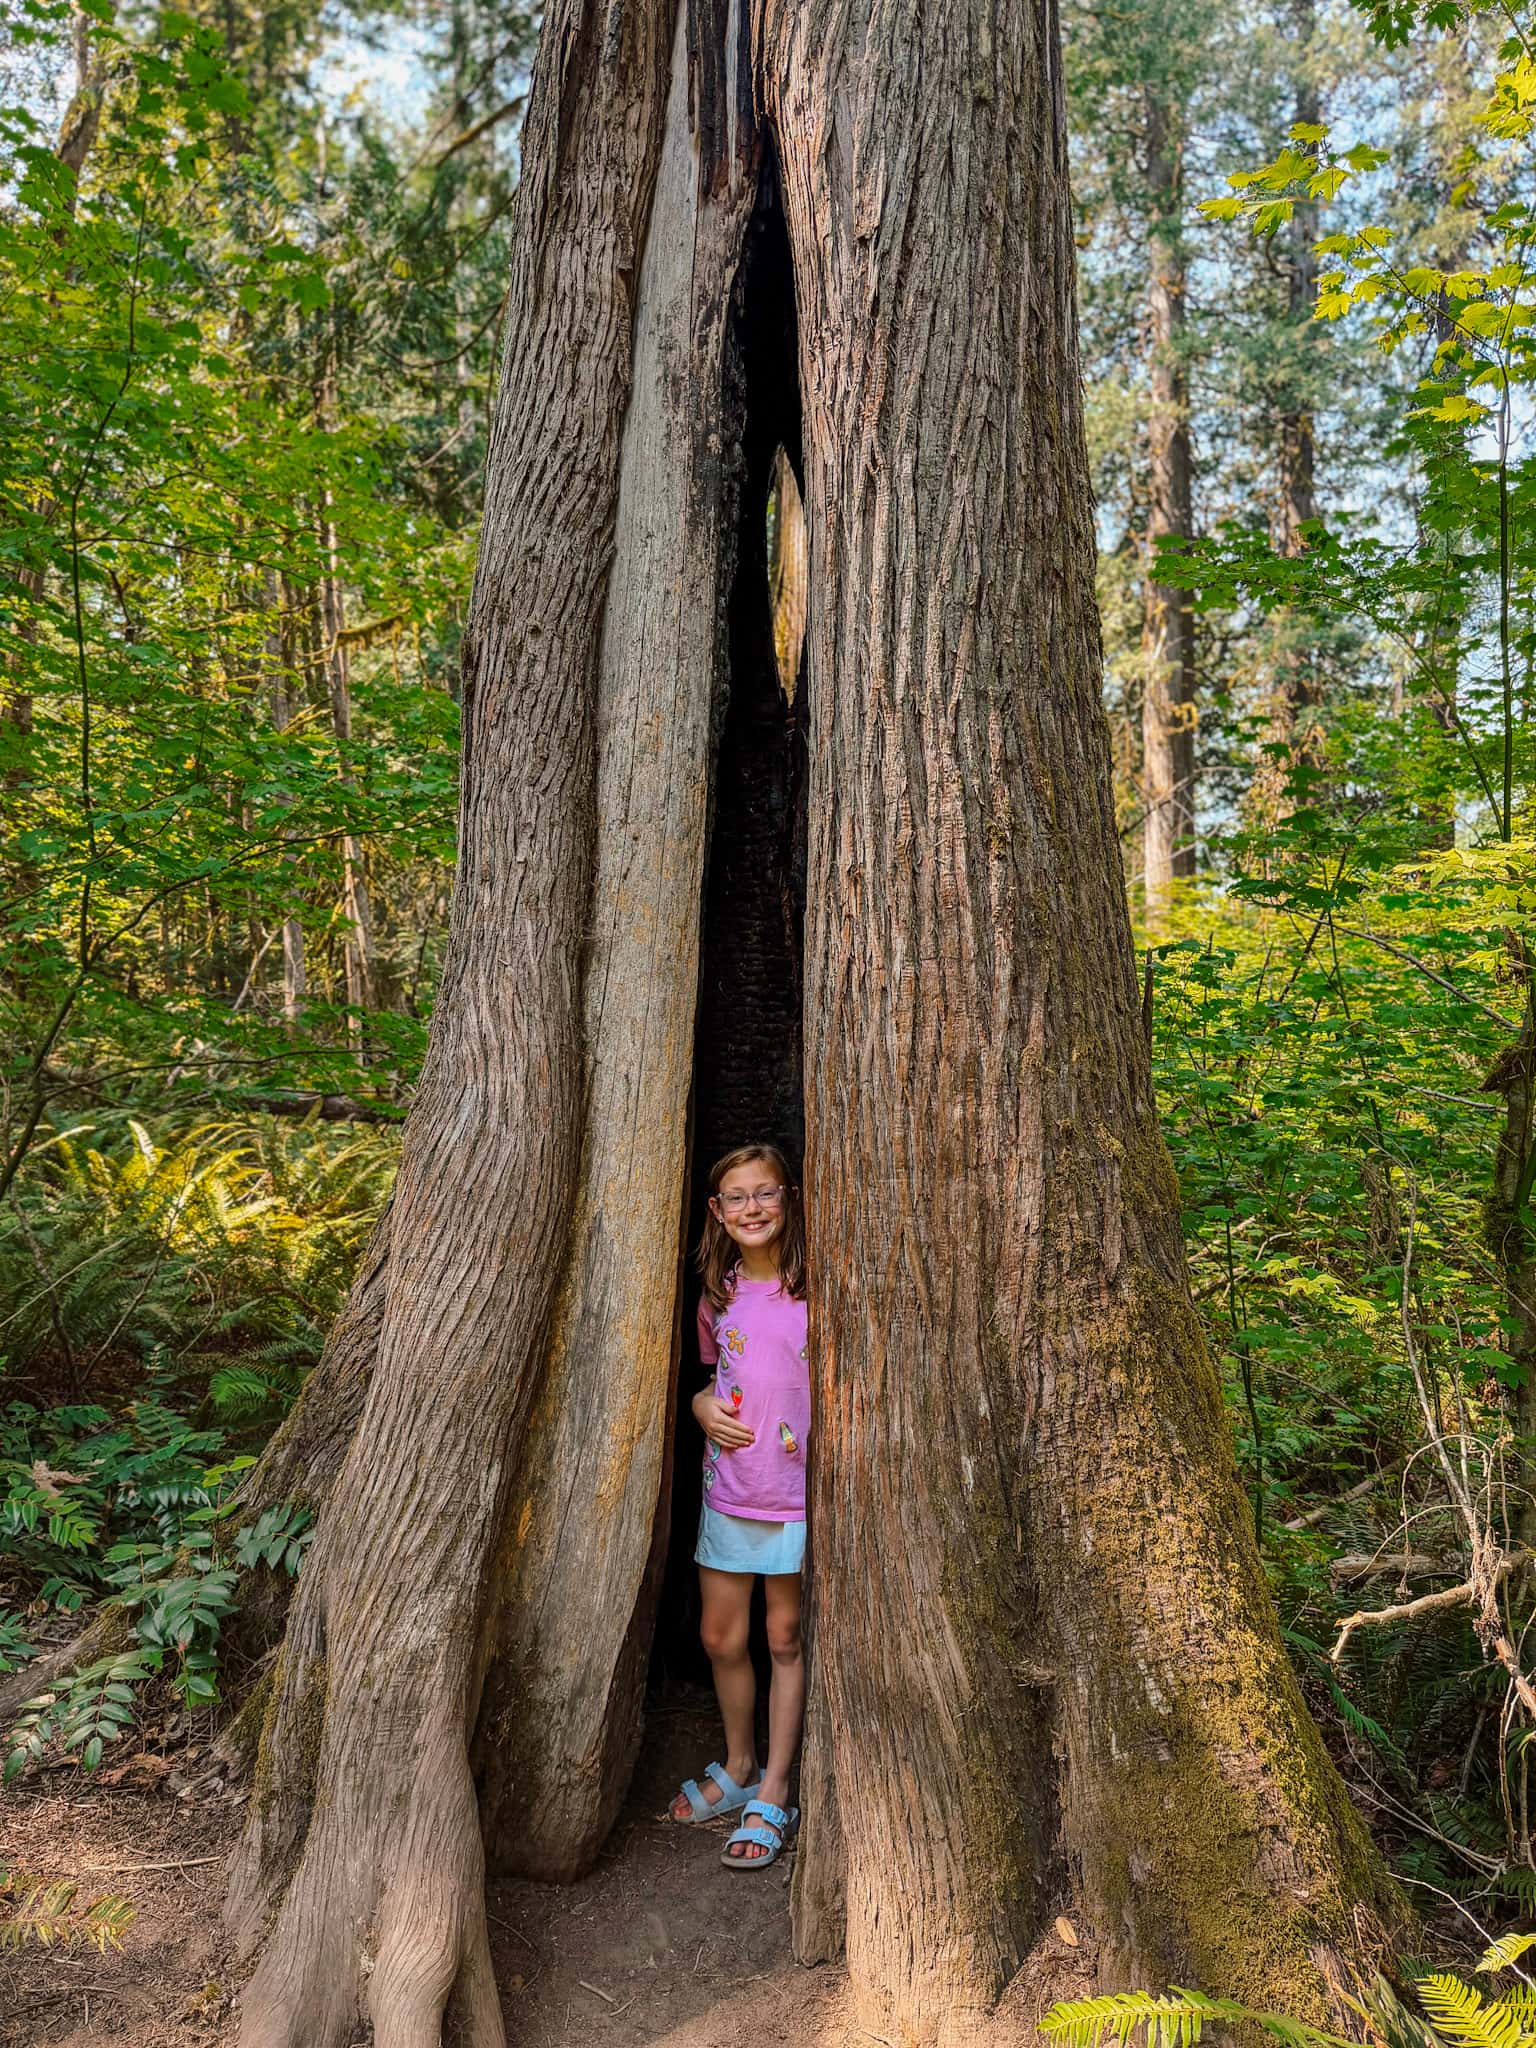
The Trail of the Cedars is a short, easy walk through enormous trees and is a must do kid-friendly hike in North Cascades National Park.
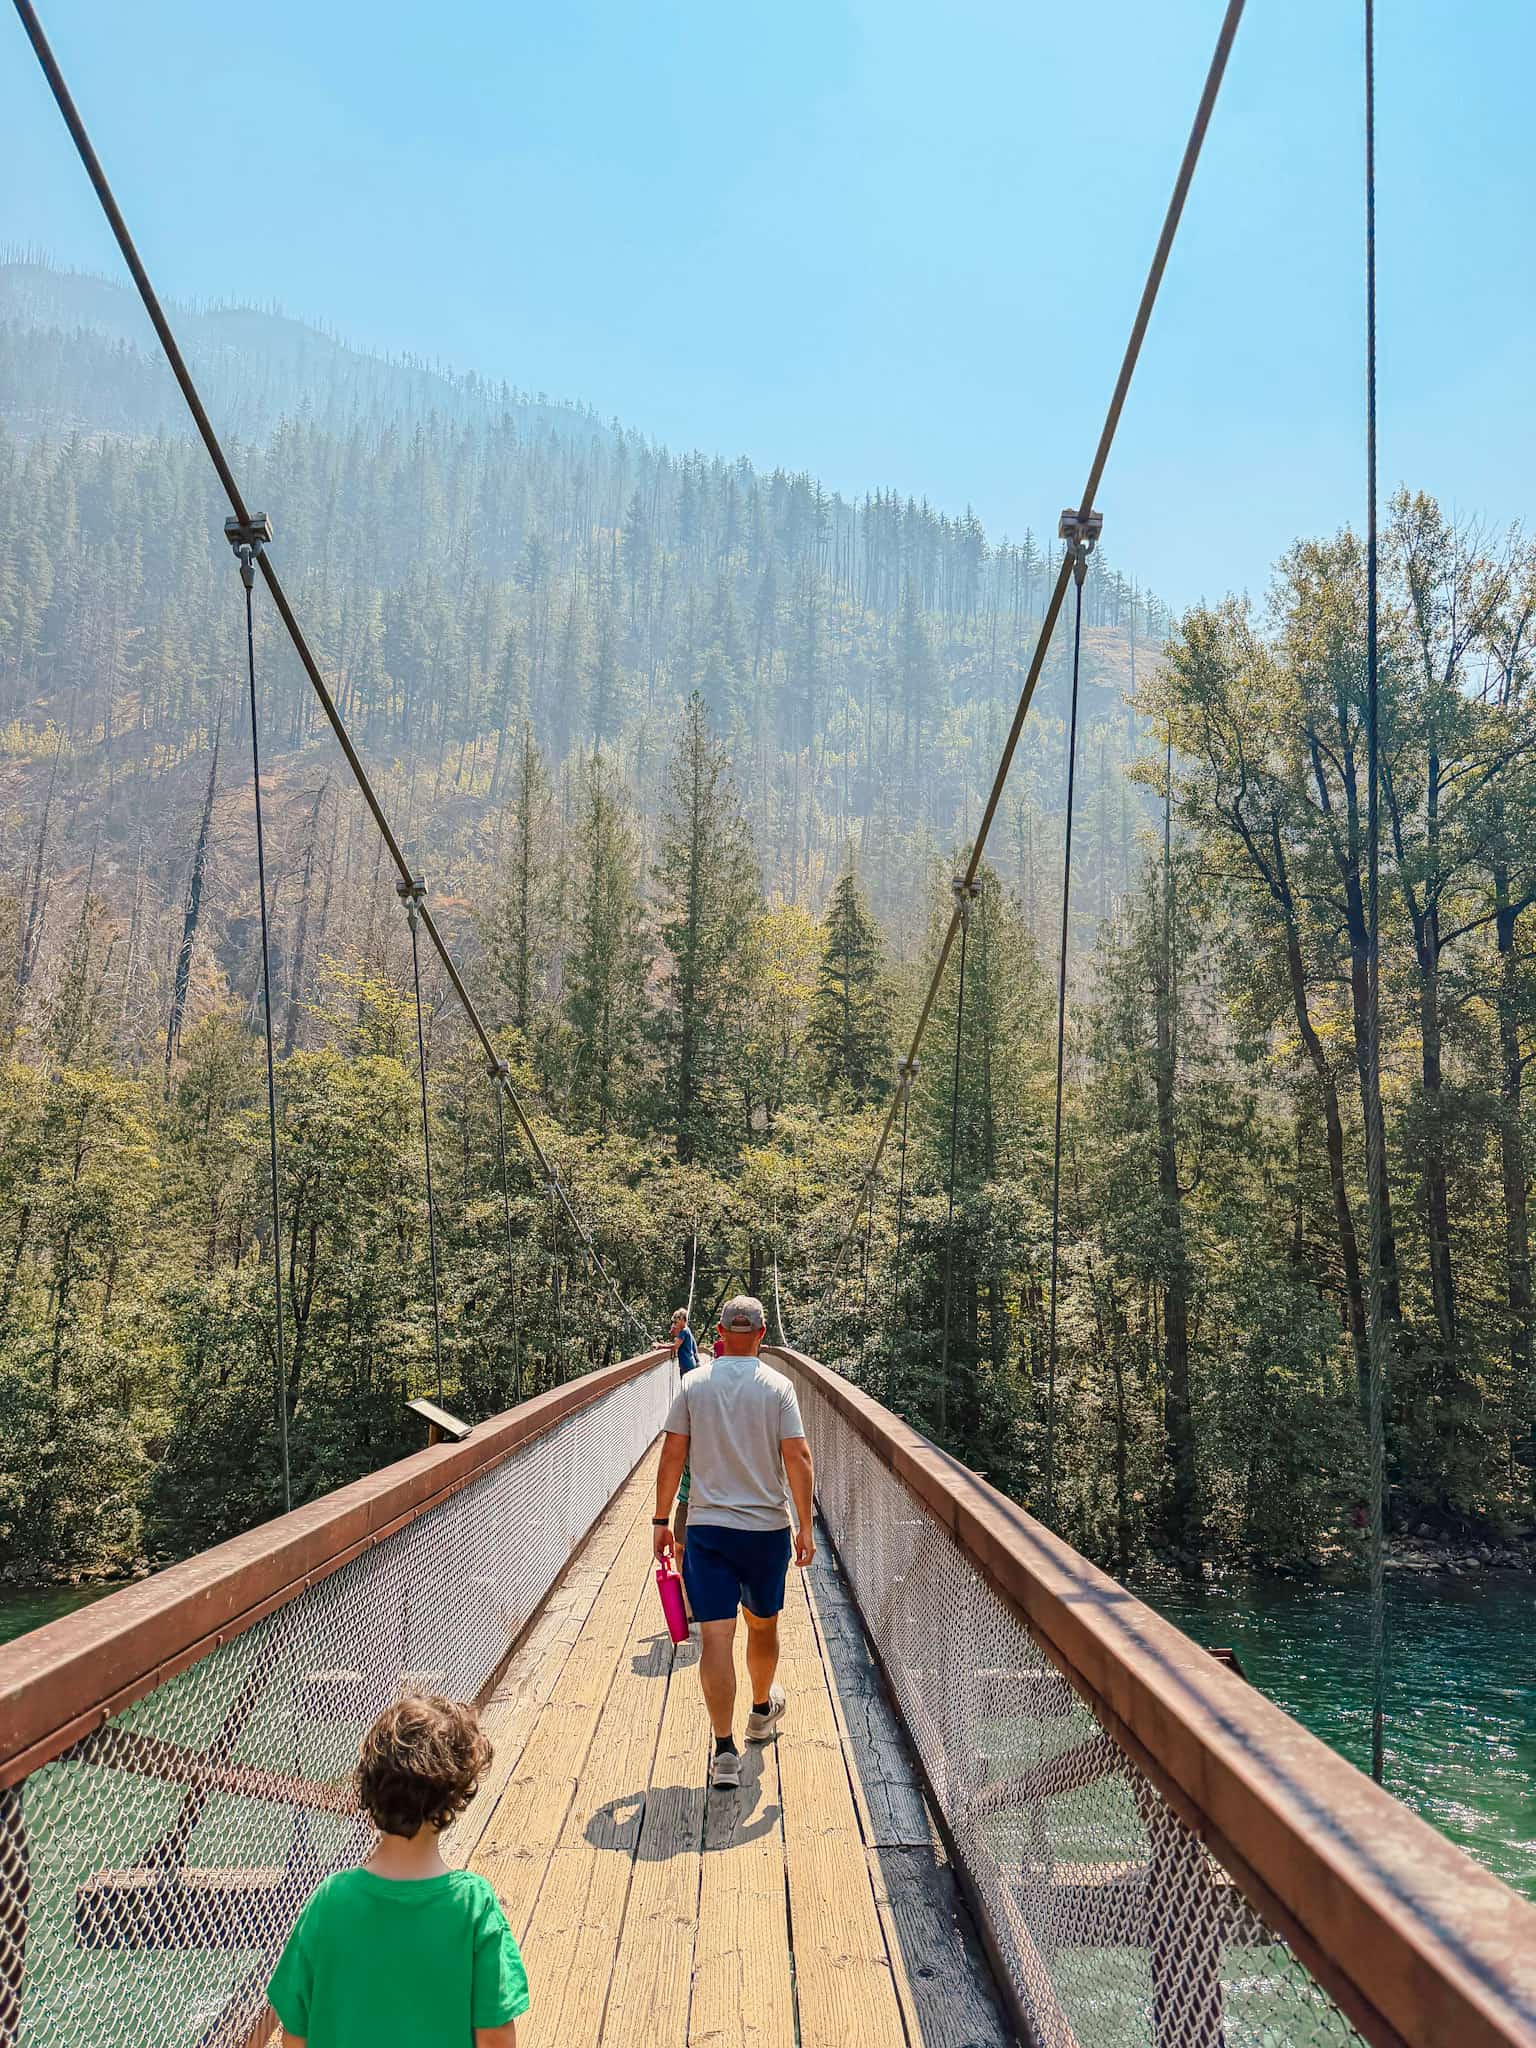
I also recommend the Ladder Creek Falls and the Rock Shelter Trail, 2 more short trails that are fun and interesting for kids.
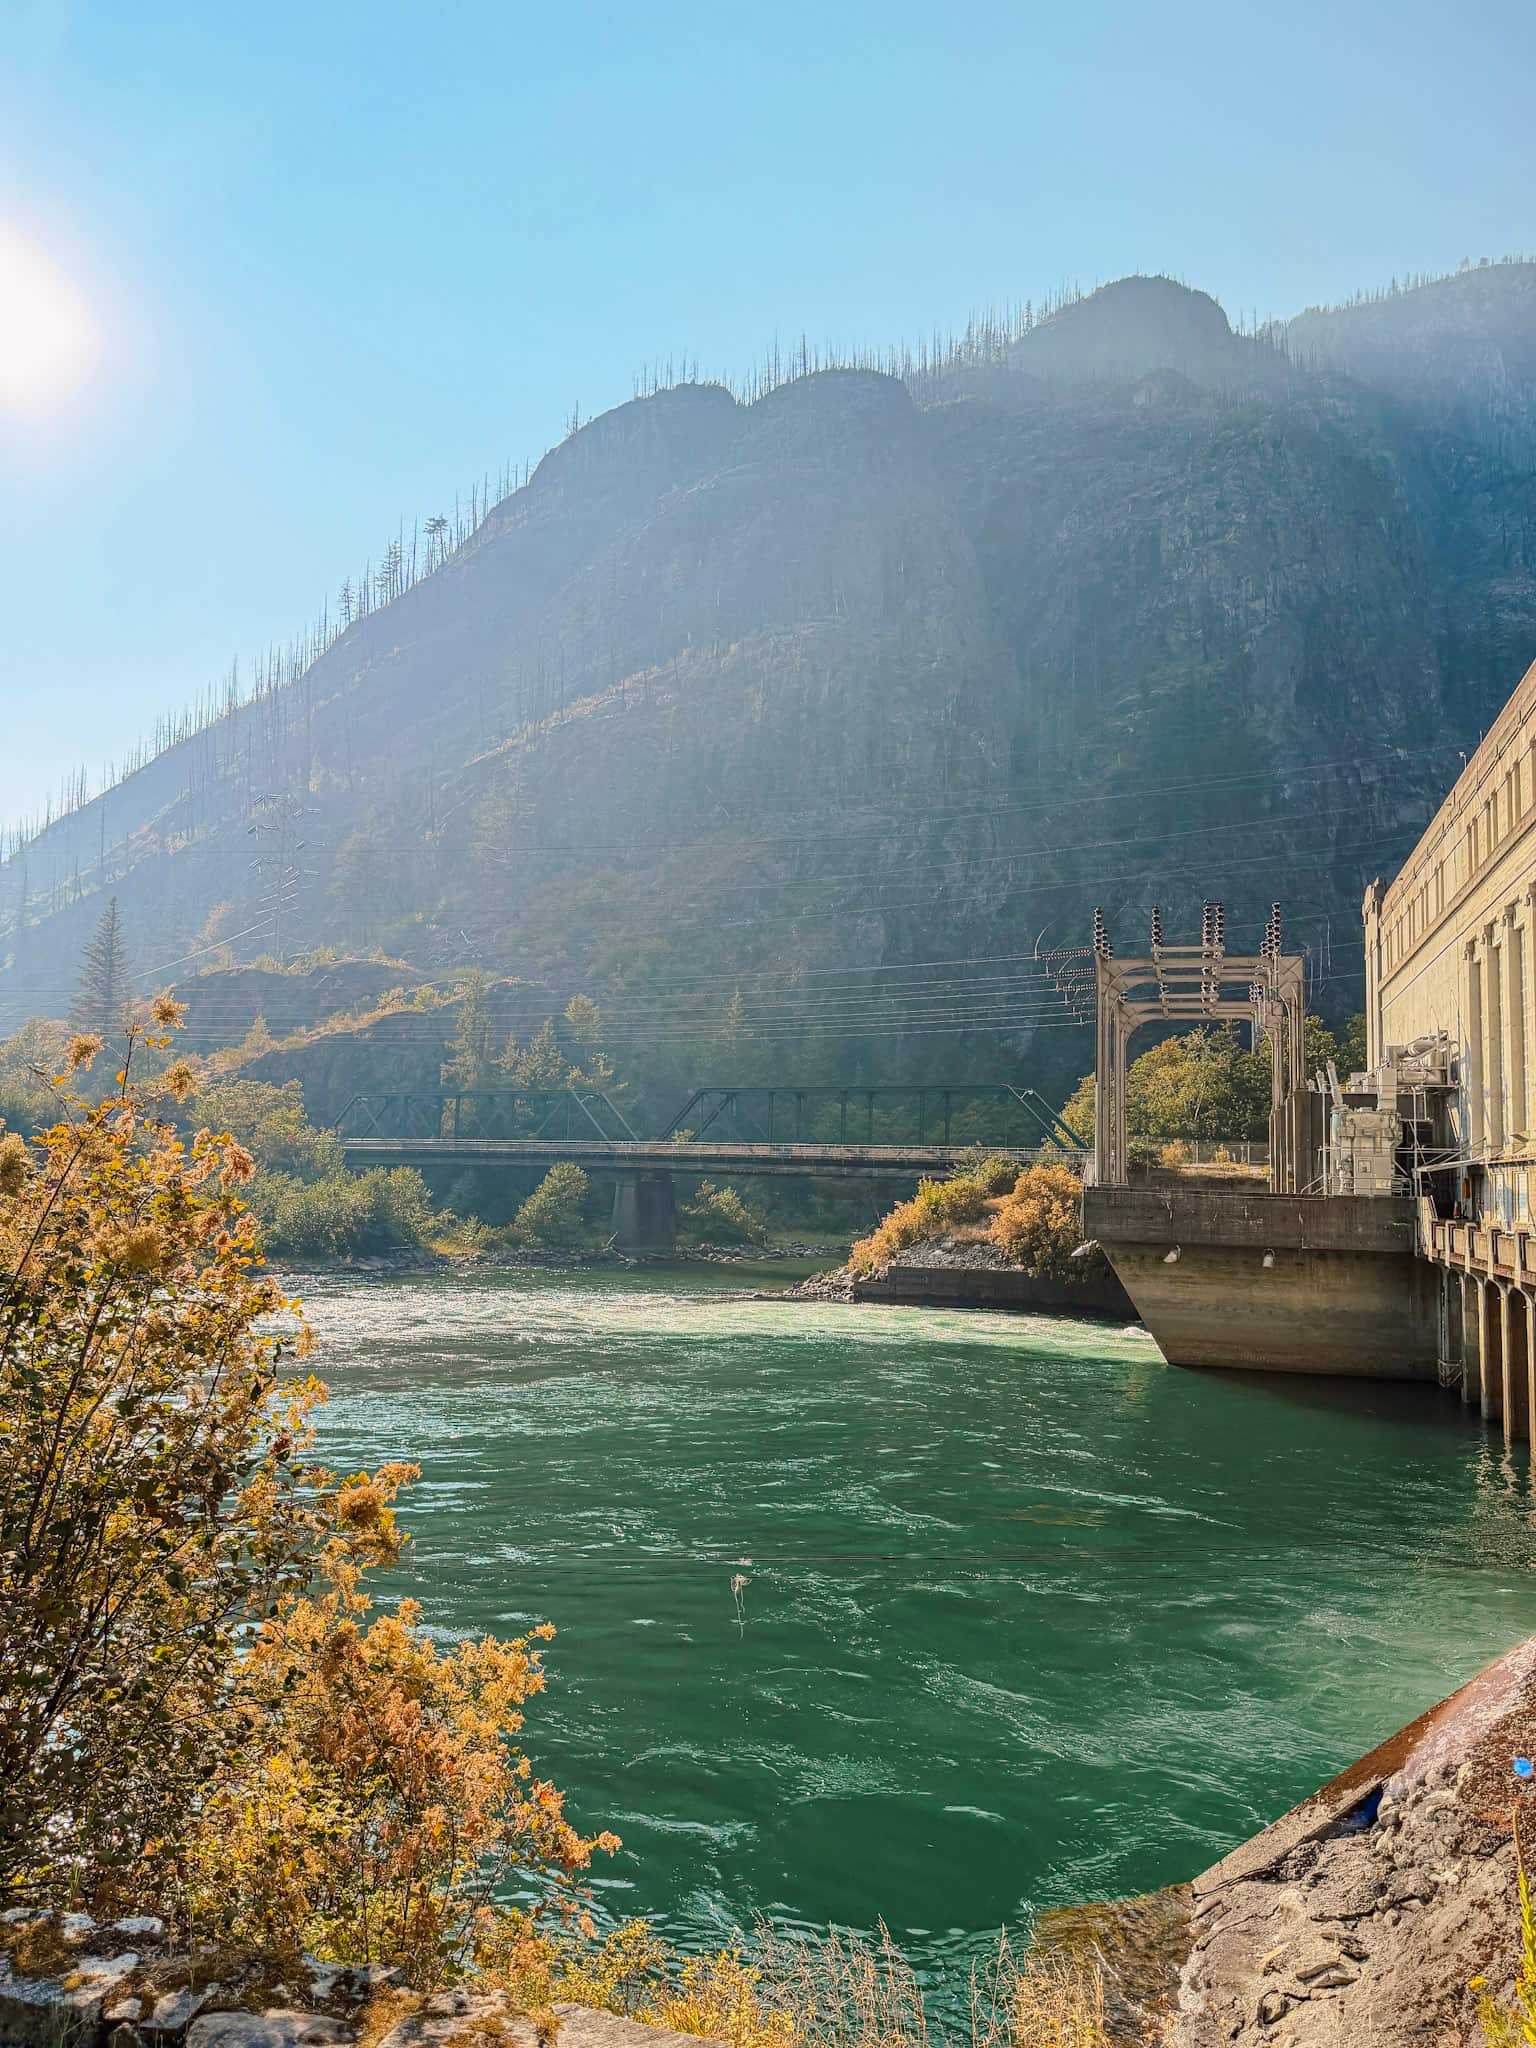
Drive the North Cascades Highway
This scenic highway runs through the heart of North Cascades National Park, and I highly recommend driving along it while listening to the Guide Along app.
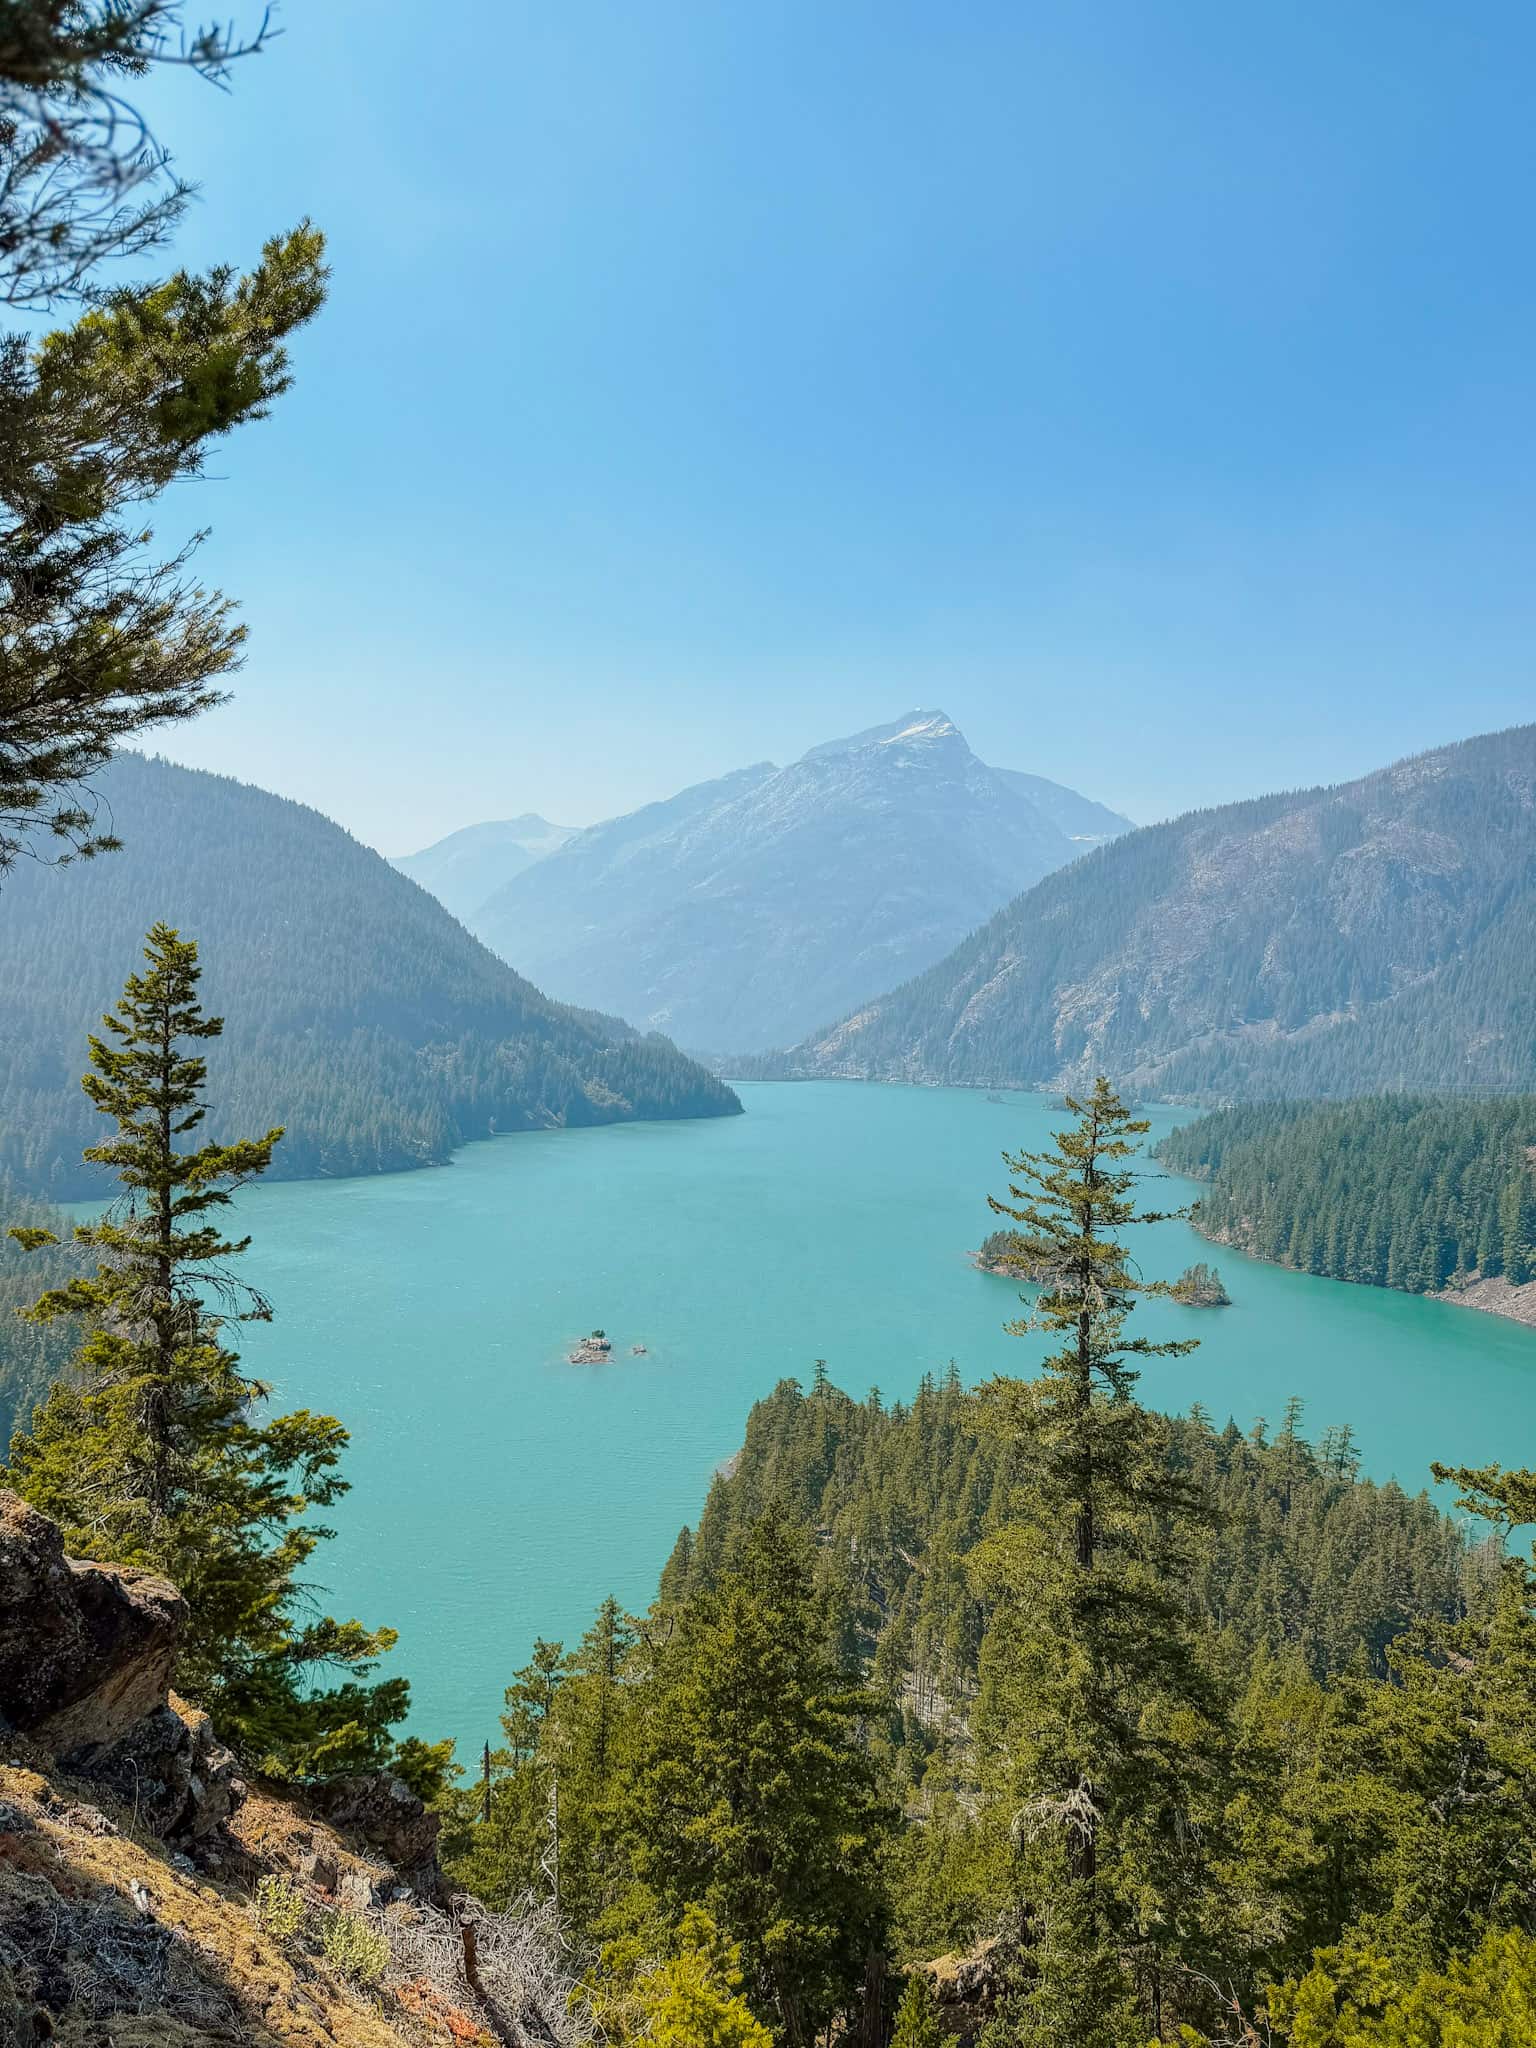
Make sure to stop at some of the overviews and short trails along the drive – it’s a great way to take in this amazing park.
Diablo Lake
If you only do one thing in North Cascades National Park with kids, make it this.
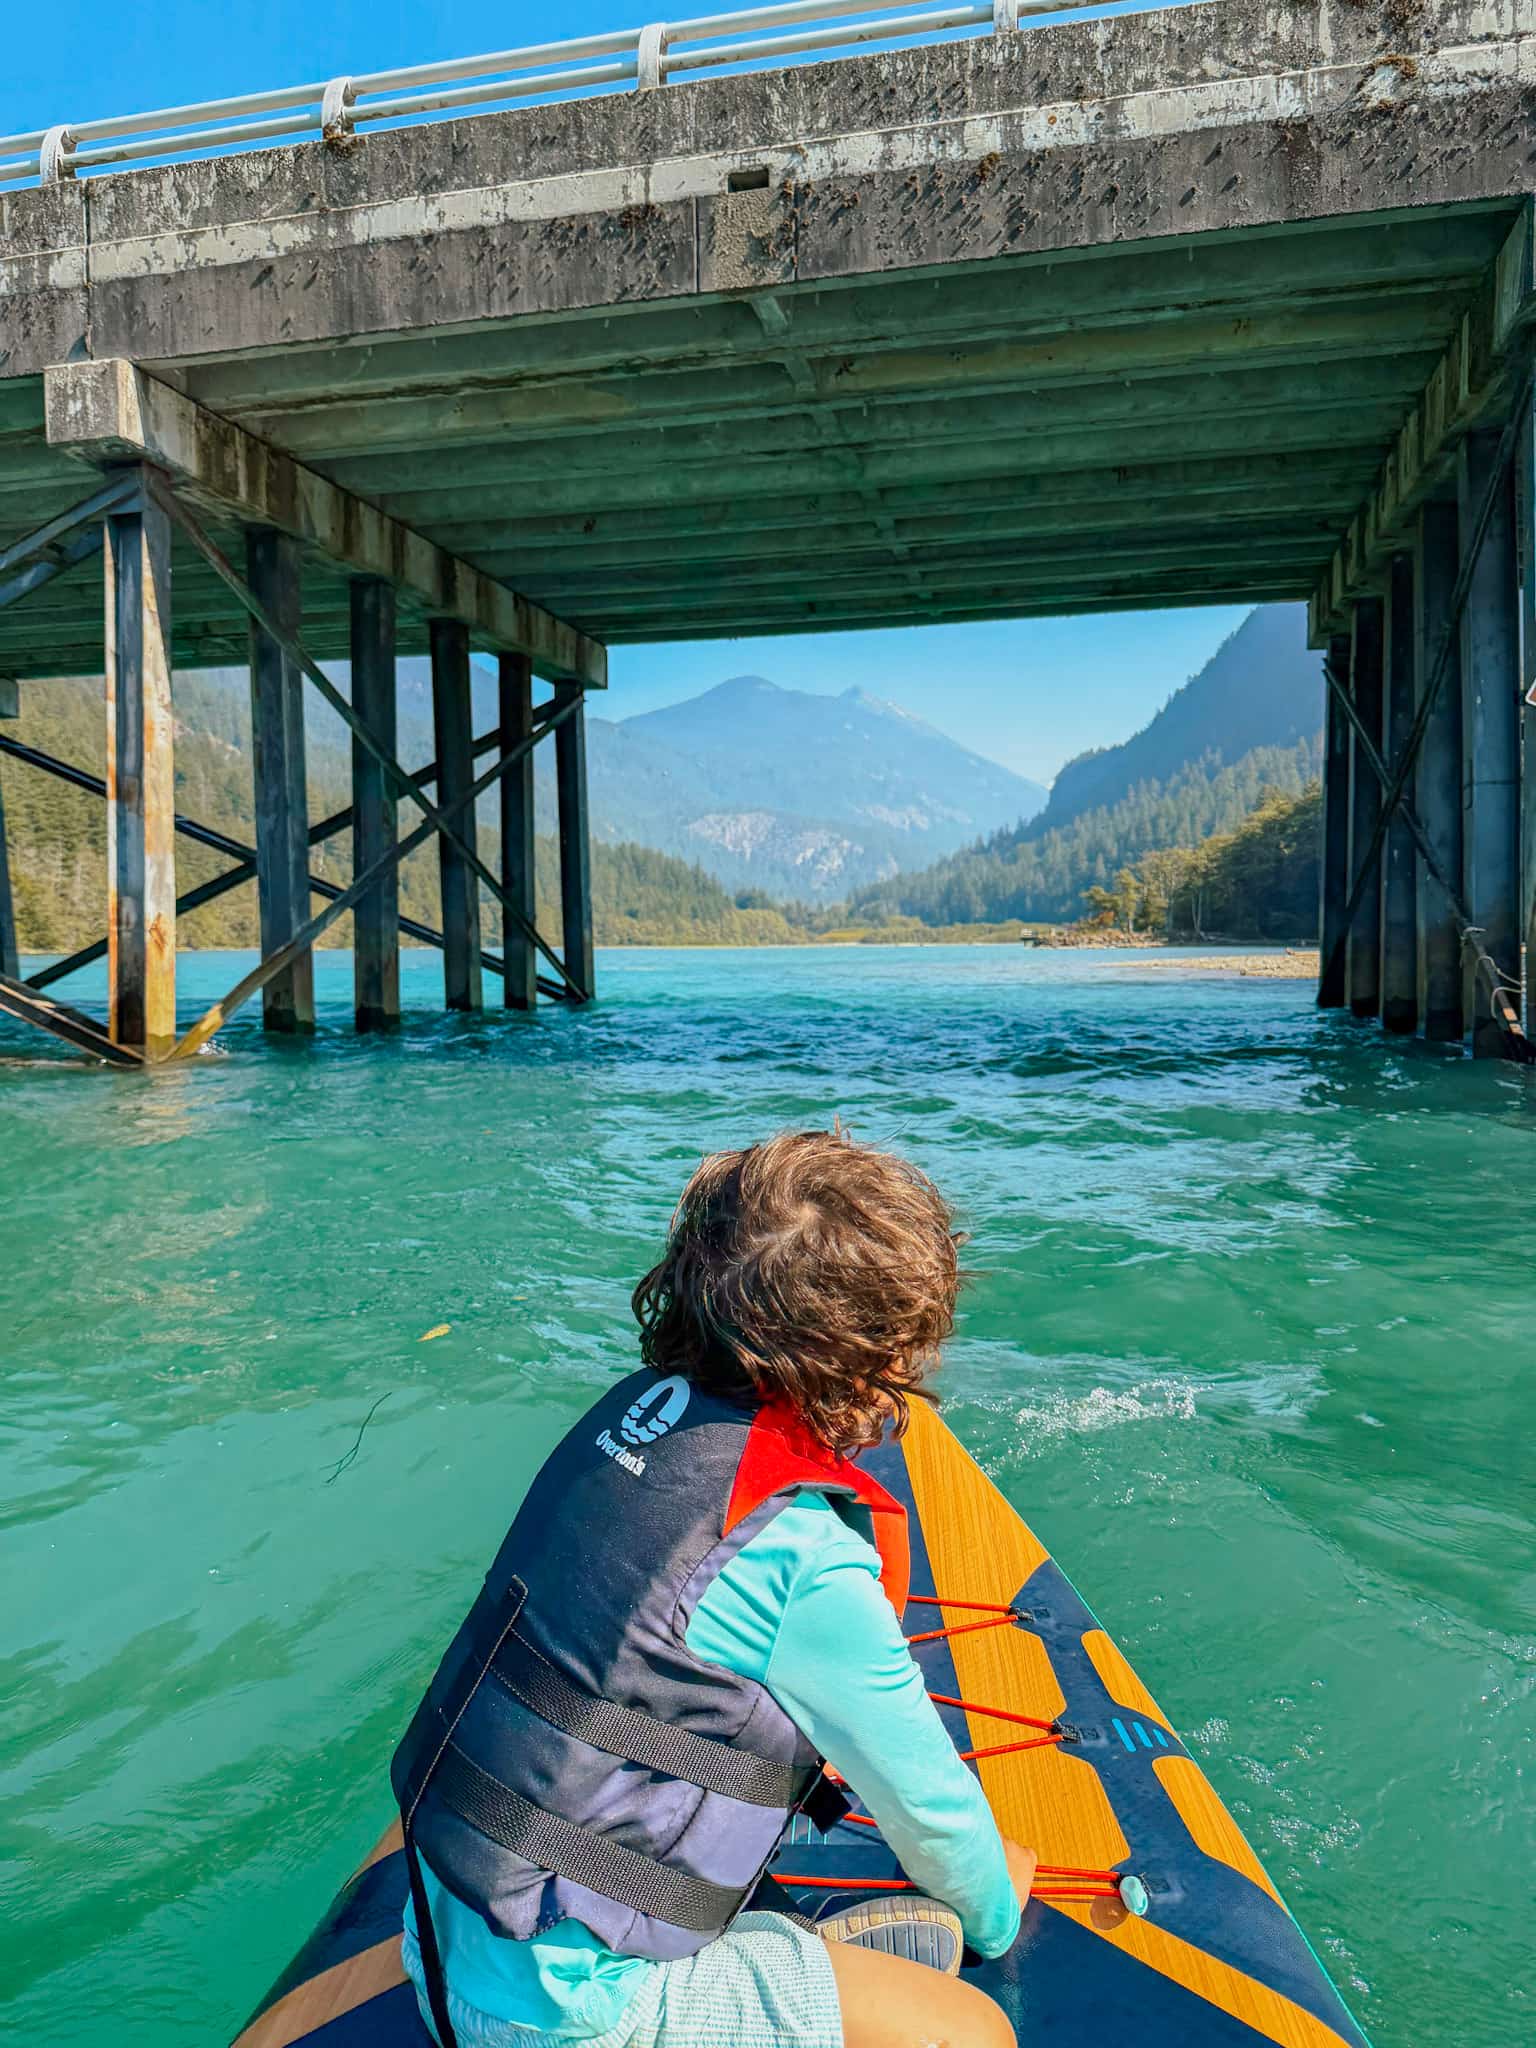
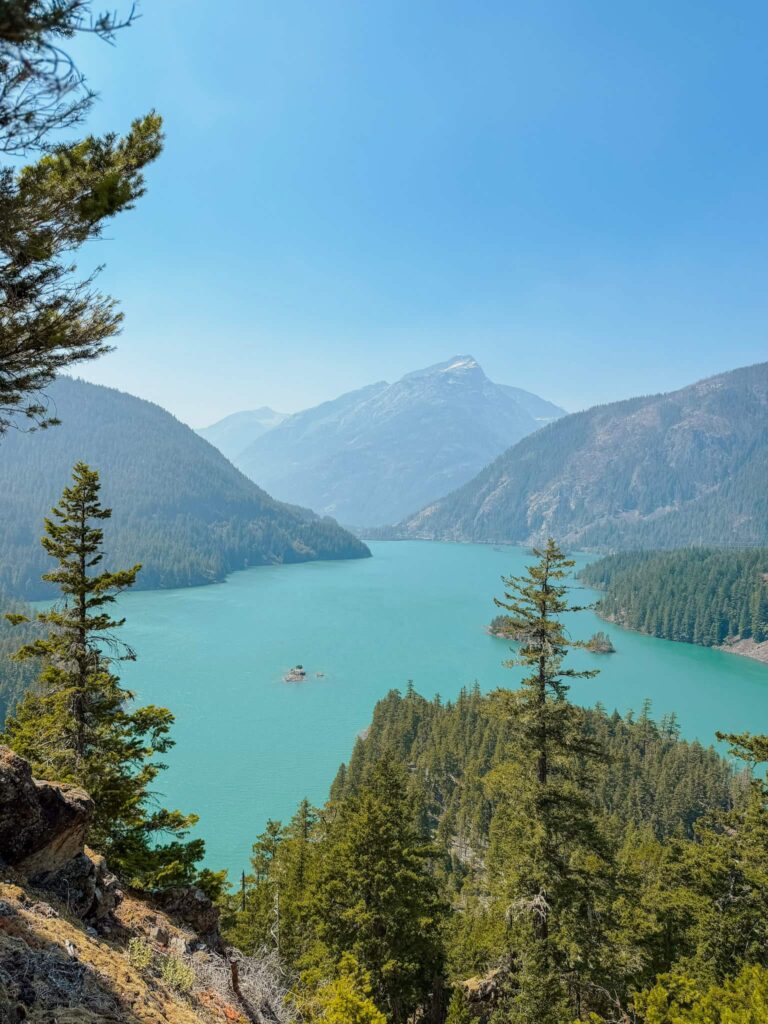
Grab your inflatable paddle board that you picked up earlier from North Cascades Kayaks and get out on Diablo Lake. The brilliant turquoise color of the water makes it look like you are floating on a lake full of Gatorade.
Even if you choose not to paddle, I highly recommend stopping at Diablo Lake to dip your toes in. The water is freezing, but so beautiful, and the shoreline is the perfect spot to spend a few hours relaxing and soaking in the mountain views.
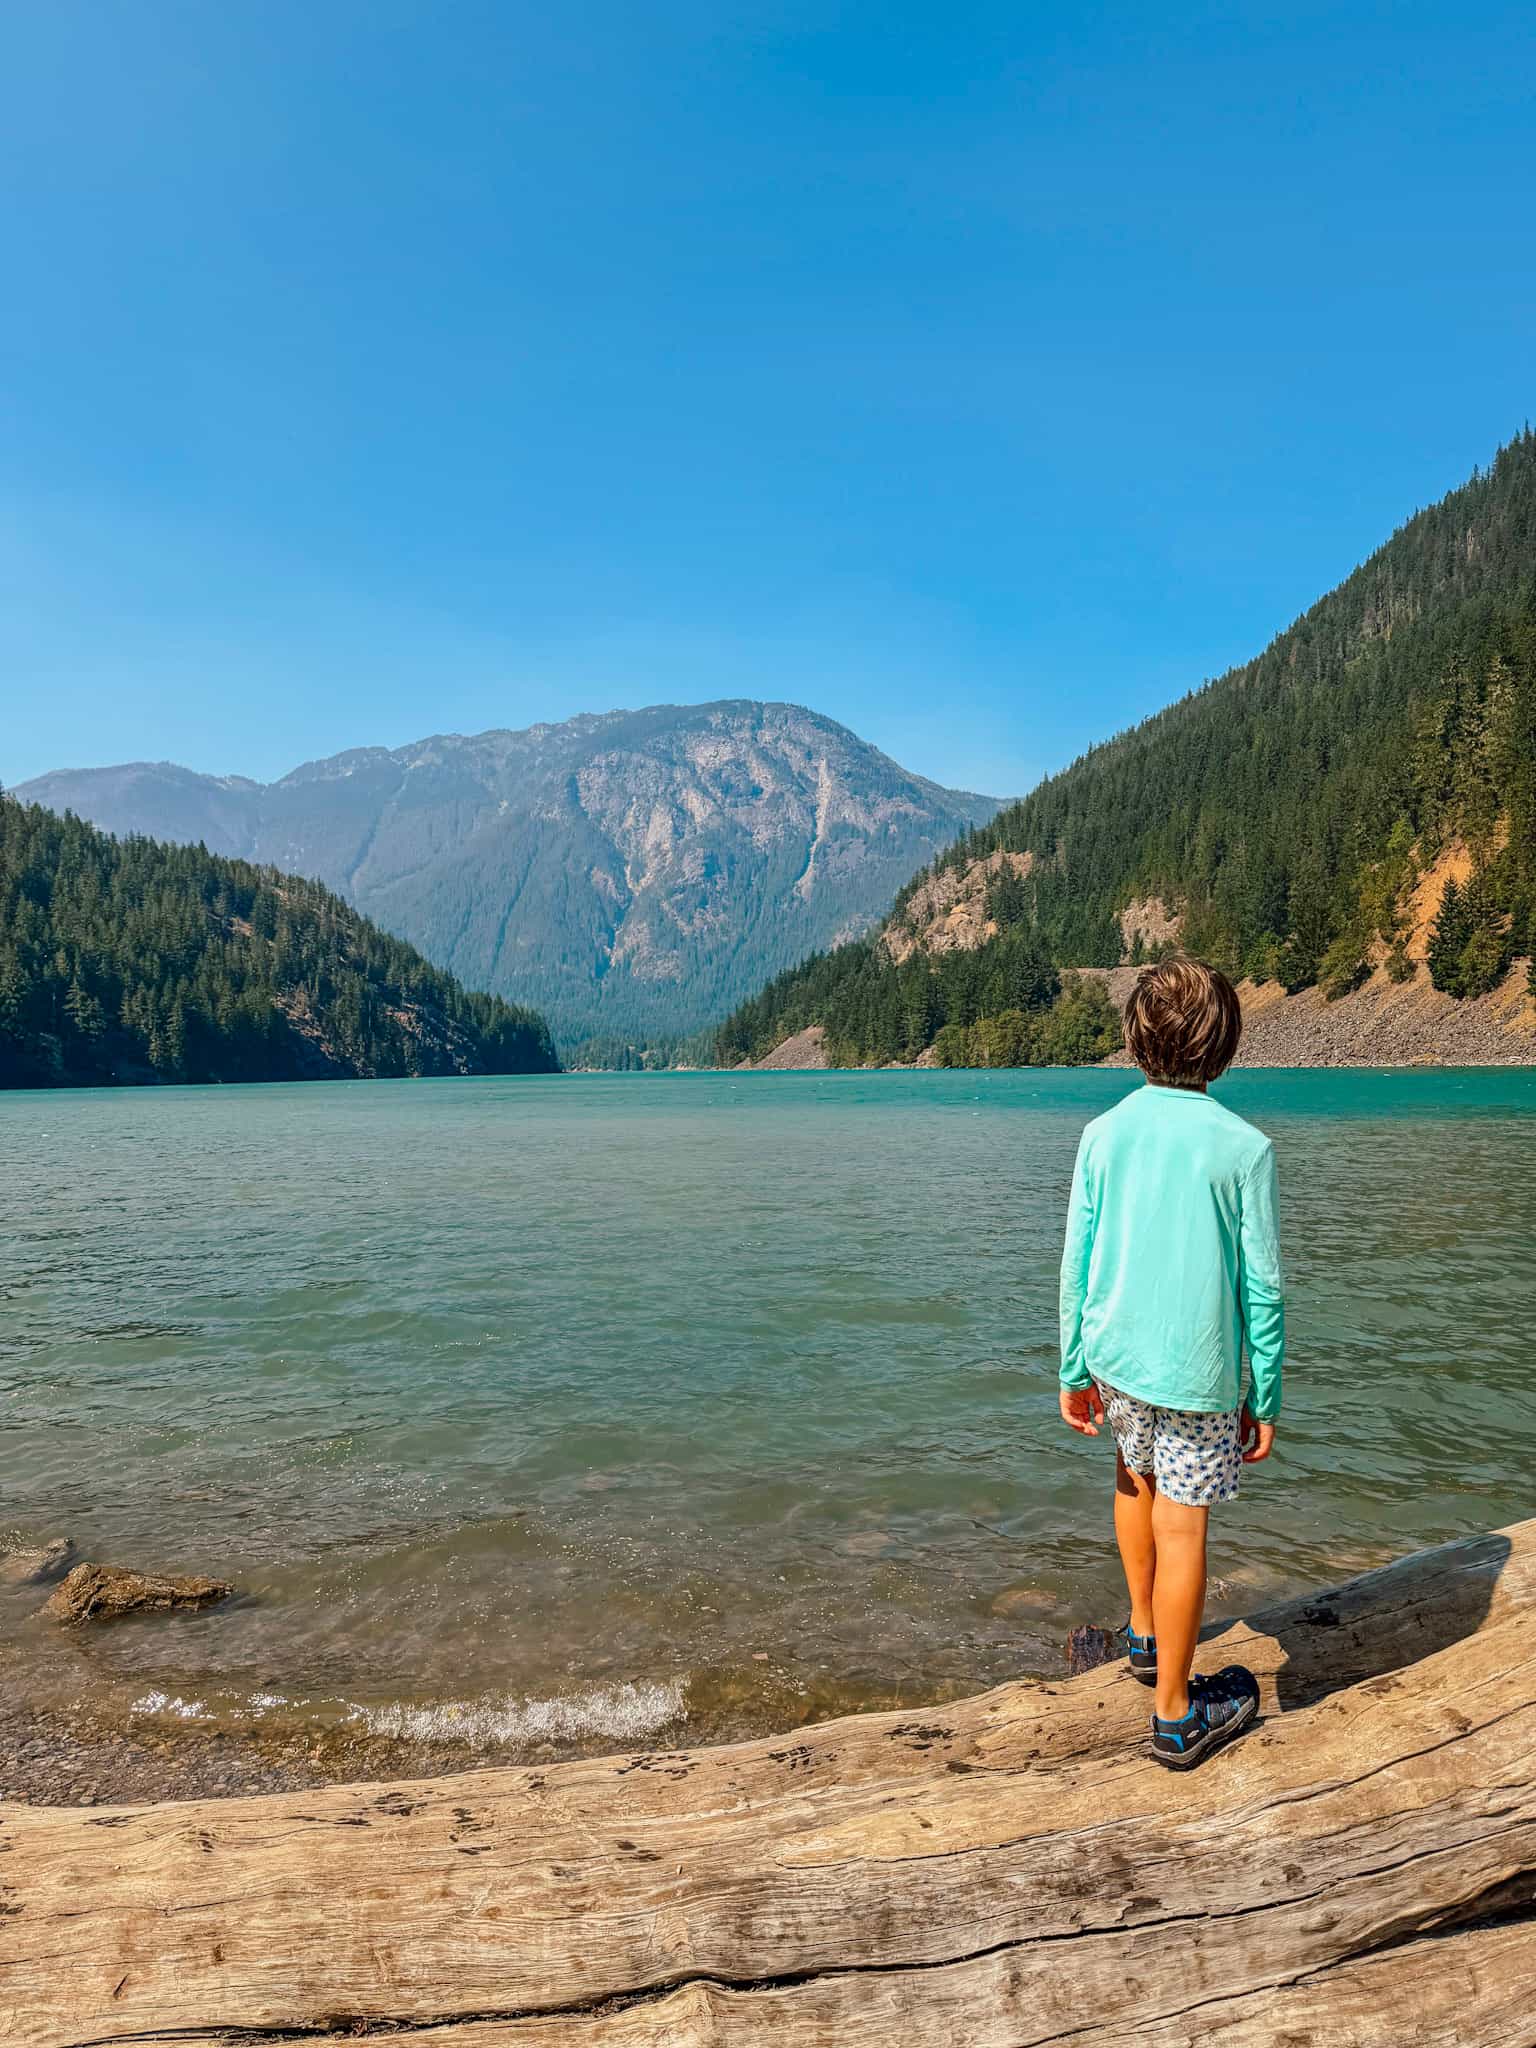
If you are looking for some more adventure in North Cascades National Park, there are so many stunning trails to choose from here.
Check out my full guide to North Cascades National Park with kids to read other family-friendly trail recommendations.
After an afternoon of paddling, head back out of North Cascades towards Mt. Rainier National Park. Make sure to return your paddle board!
We stayed at Silver Springs Campground for the night, which is located on the north side of Mt. Rainier and is about a 3.5 – 4 hour drive from North Cascades.
If you are not camping, here’s where I would recommend staying:
- Holiday Inn Express Auburn – indoor pool, free breakfast + family rooms
- Muckleshoot Casino Resort – indoor pool + mountain views
- Guest House Inn Enumclaw – free breakfast, closer to Sunrise are of Mt. Rainier
Note: If you want more time in North Cascades, save the drive to Mt. Rainier for the next morning and spend the evening in North Cascades instead
Day 8: Mount Rainier National Park
Mount Rainier National Park Sunrise Area + Tipsoo Lake & Paradise
Where we stayed: Cougar Rock Campground
The next two days will be dedicated to exploring the stunning Mt. Rainier National Park. There is no shortage of views, wildlife and crystal clear lakes here.
As with the other two national parks, I highly recommend downloading the Guide Along tour before your visit!
Sunrise Area
Start your day by heading to the Sunrise Visitor Center, the highest point in the park accessible by car during the summer season. The views on the way up are incredible, and if you visit during the late July or early August, you can expect field full of wildflowers.
Although a popular area of the park, the parking lot is large and we had no trouble finding a spot here around 10 am.
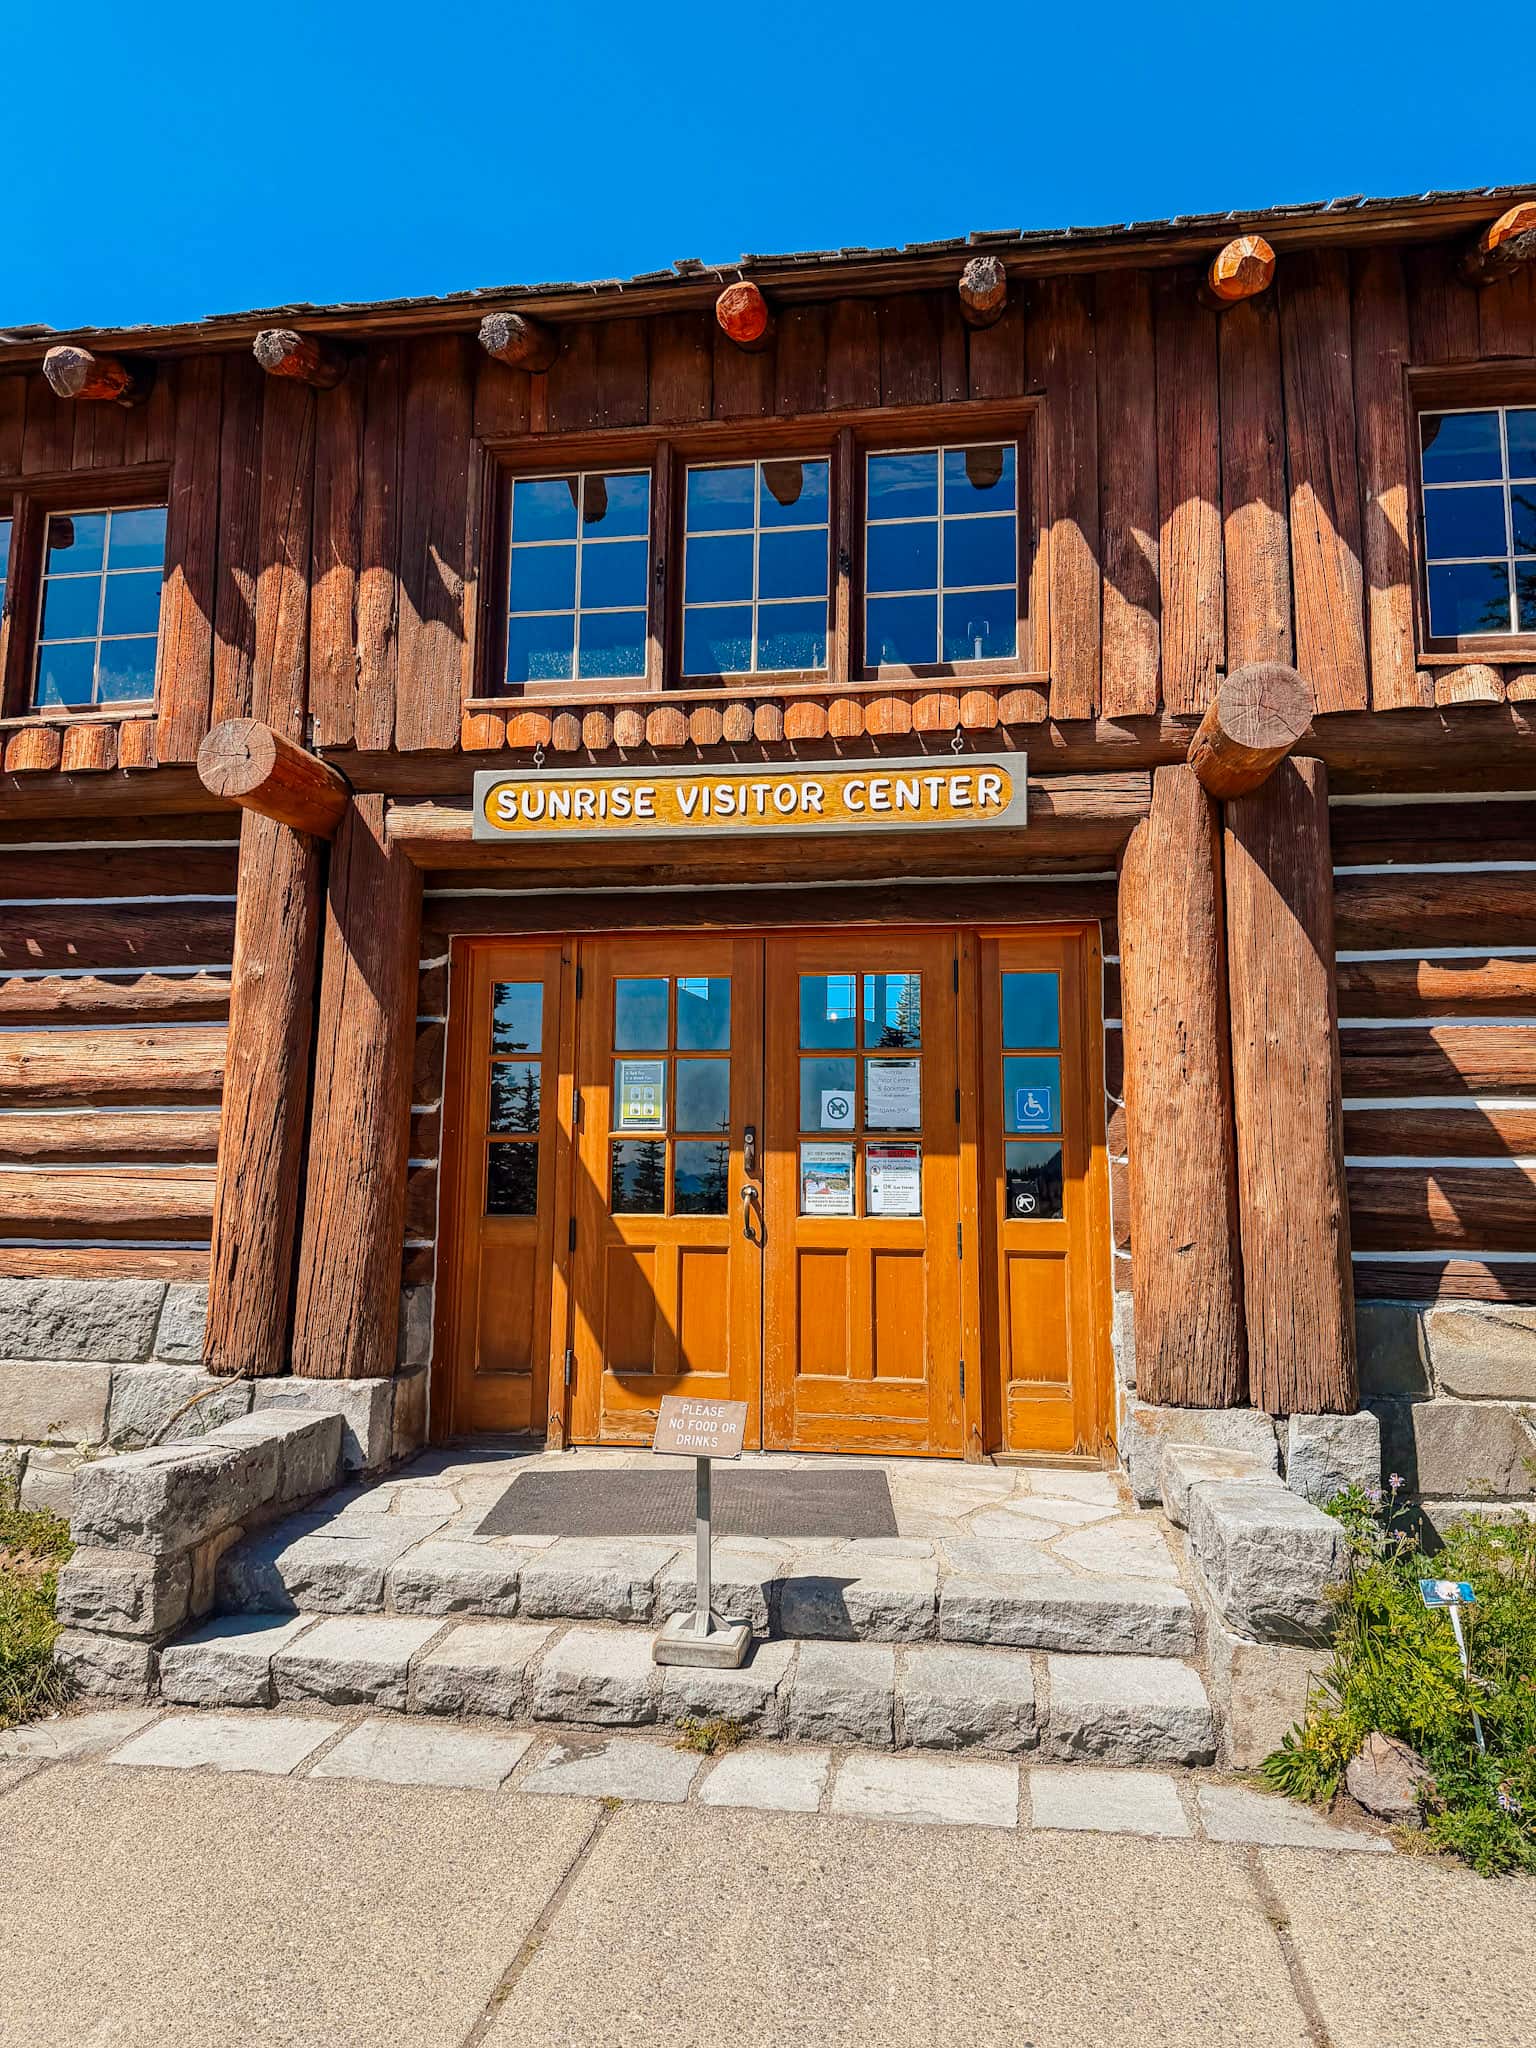
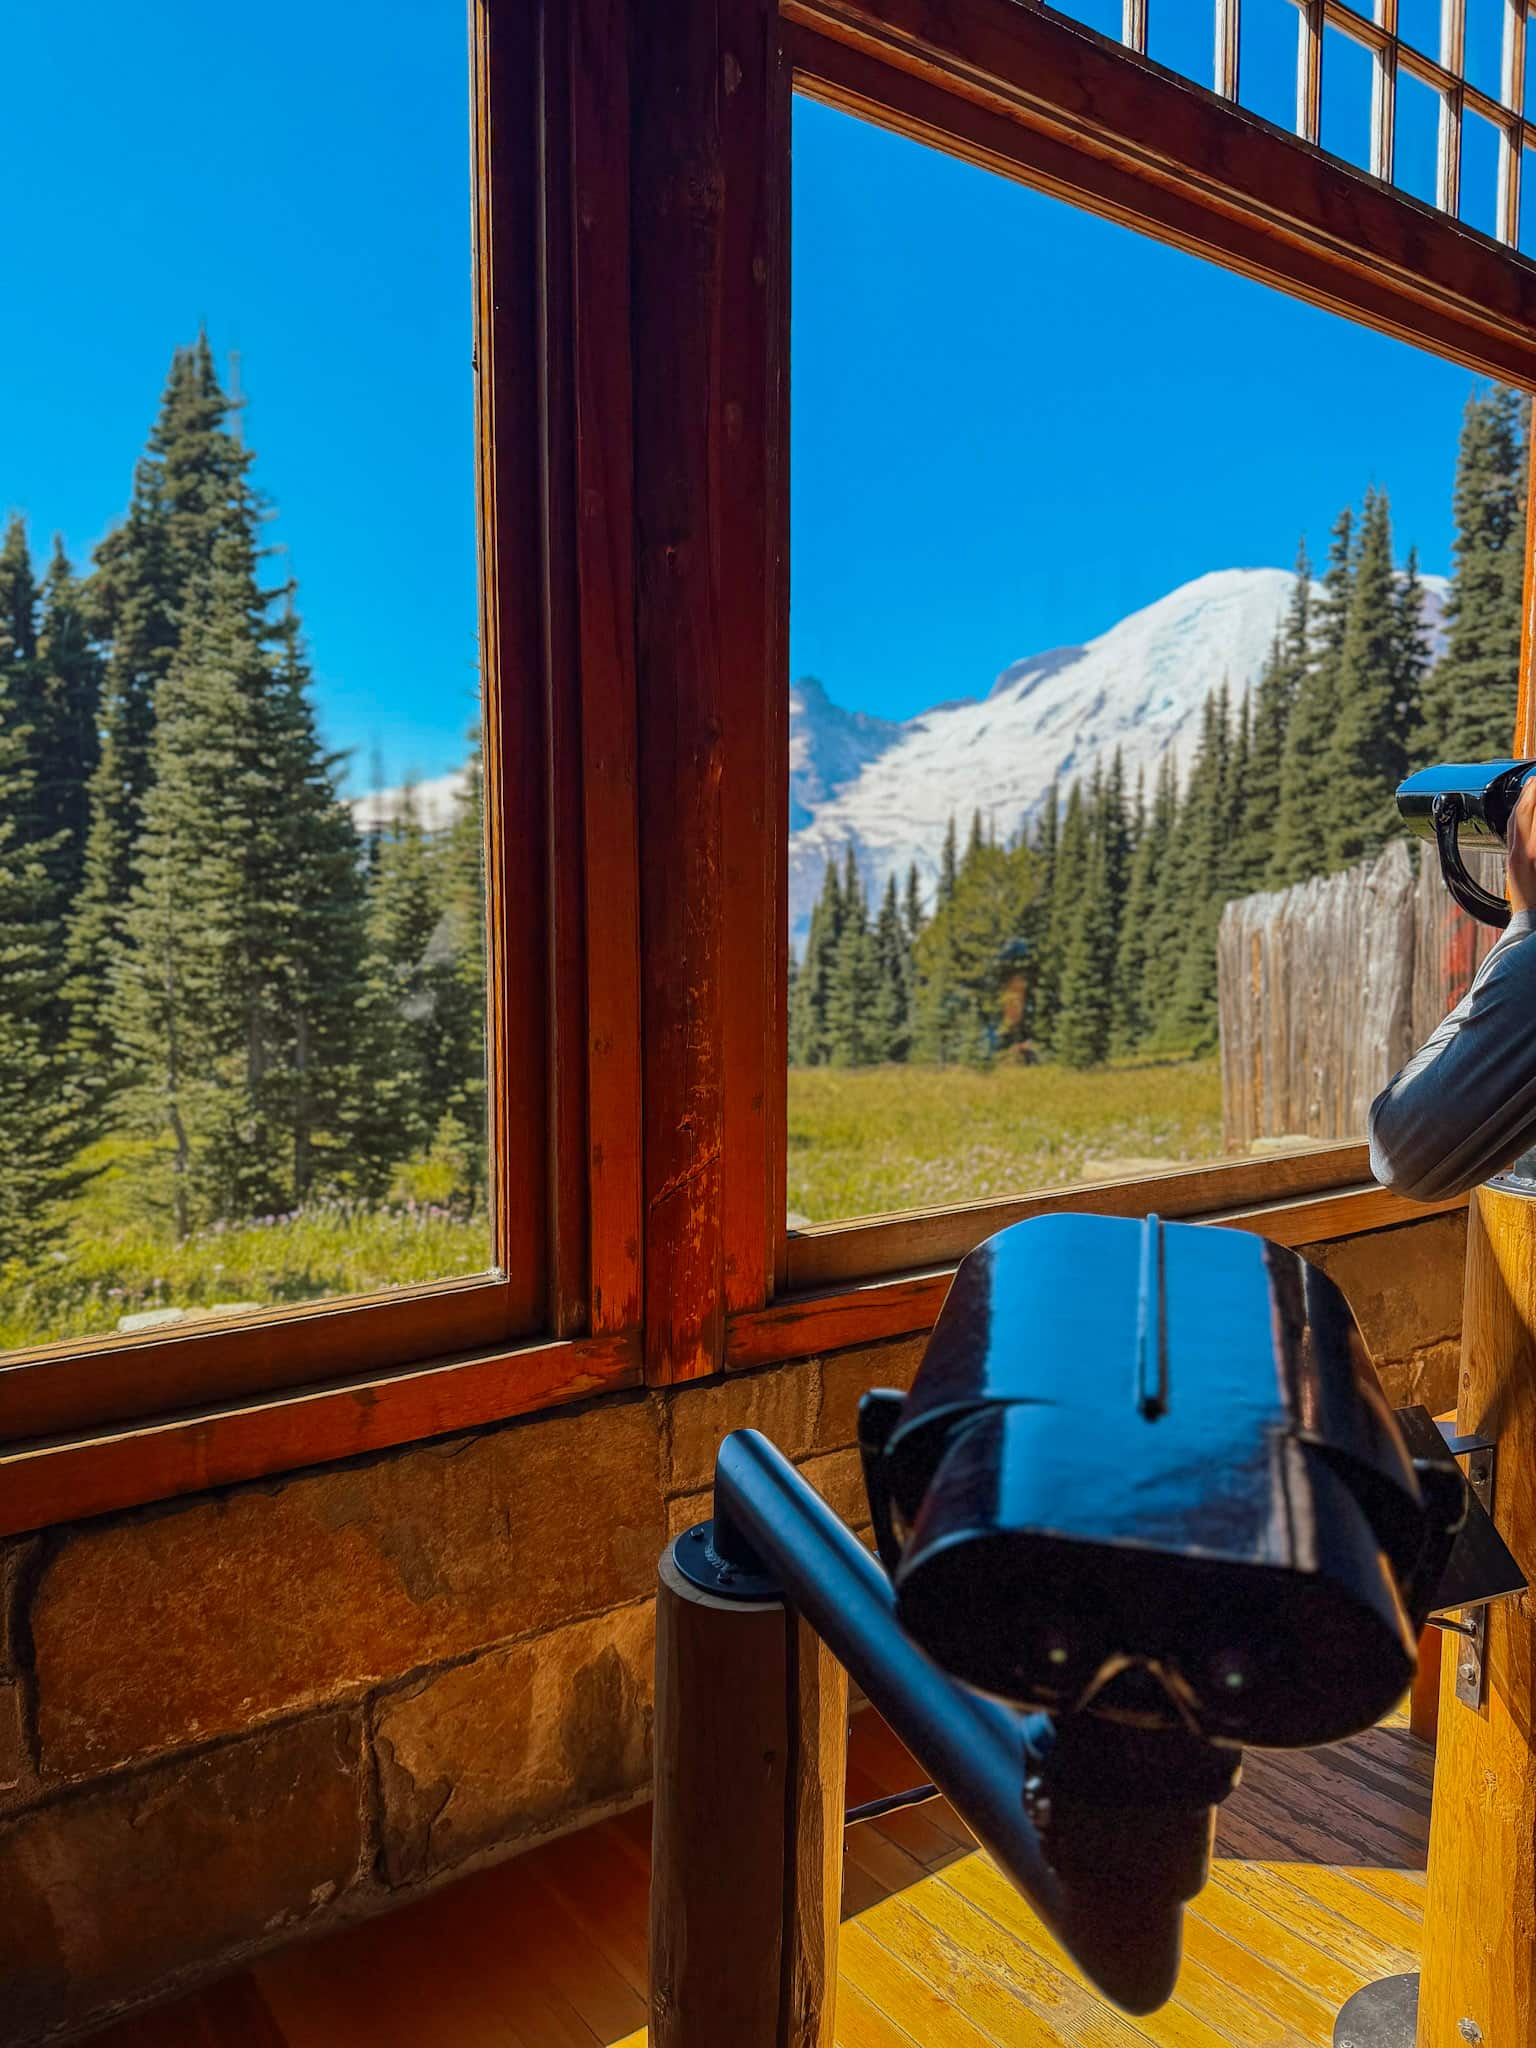
After you’ve spent time in the Visitor’s Center and gift shop, head onto one of the many trails that leave from here.
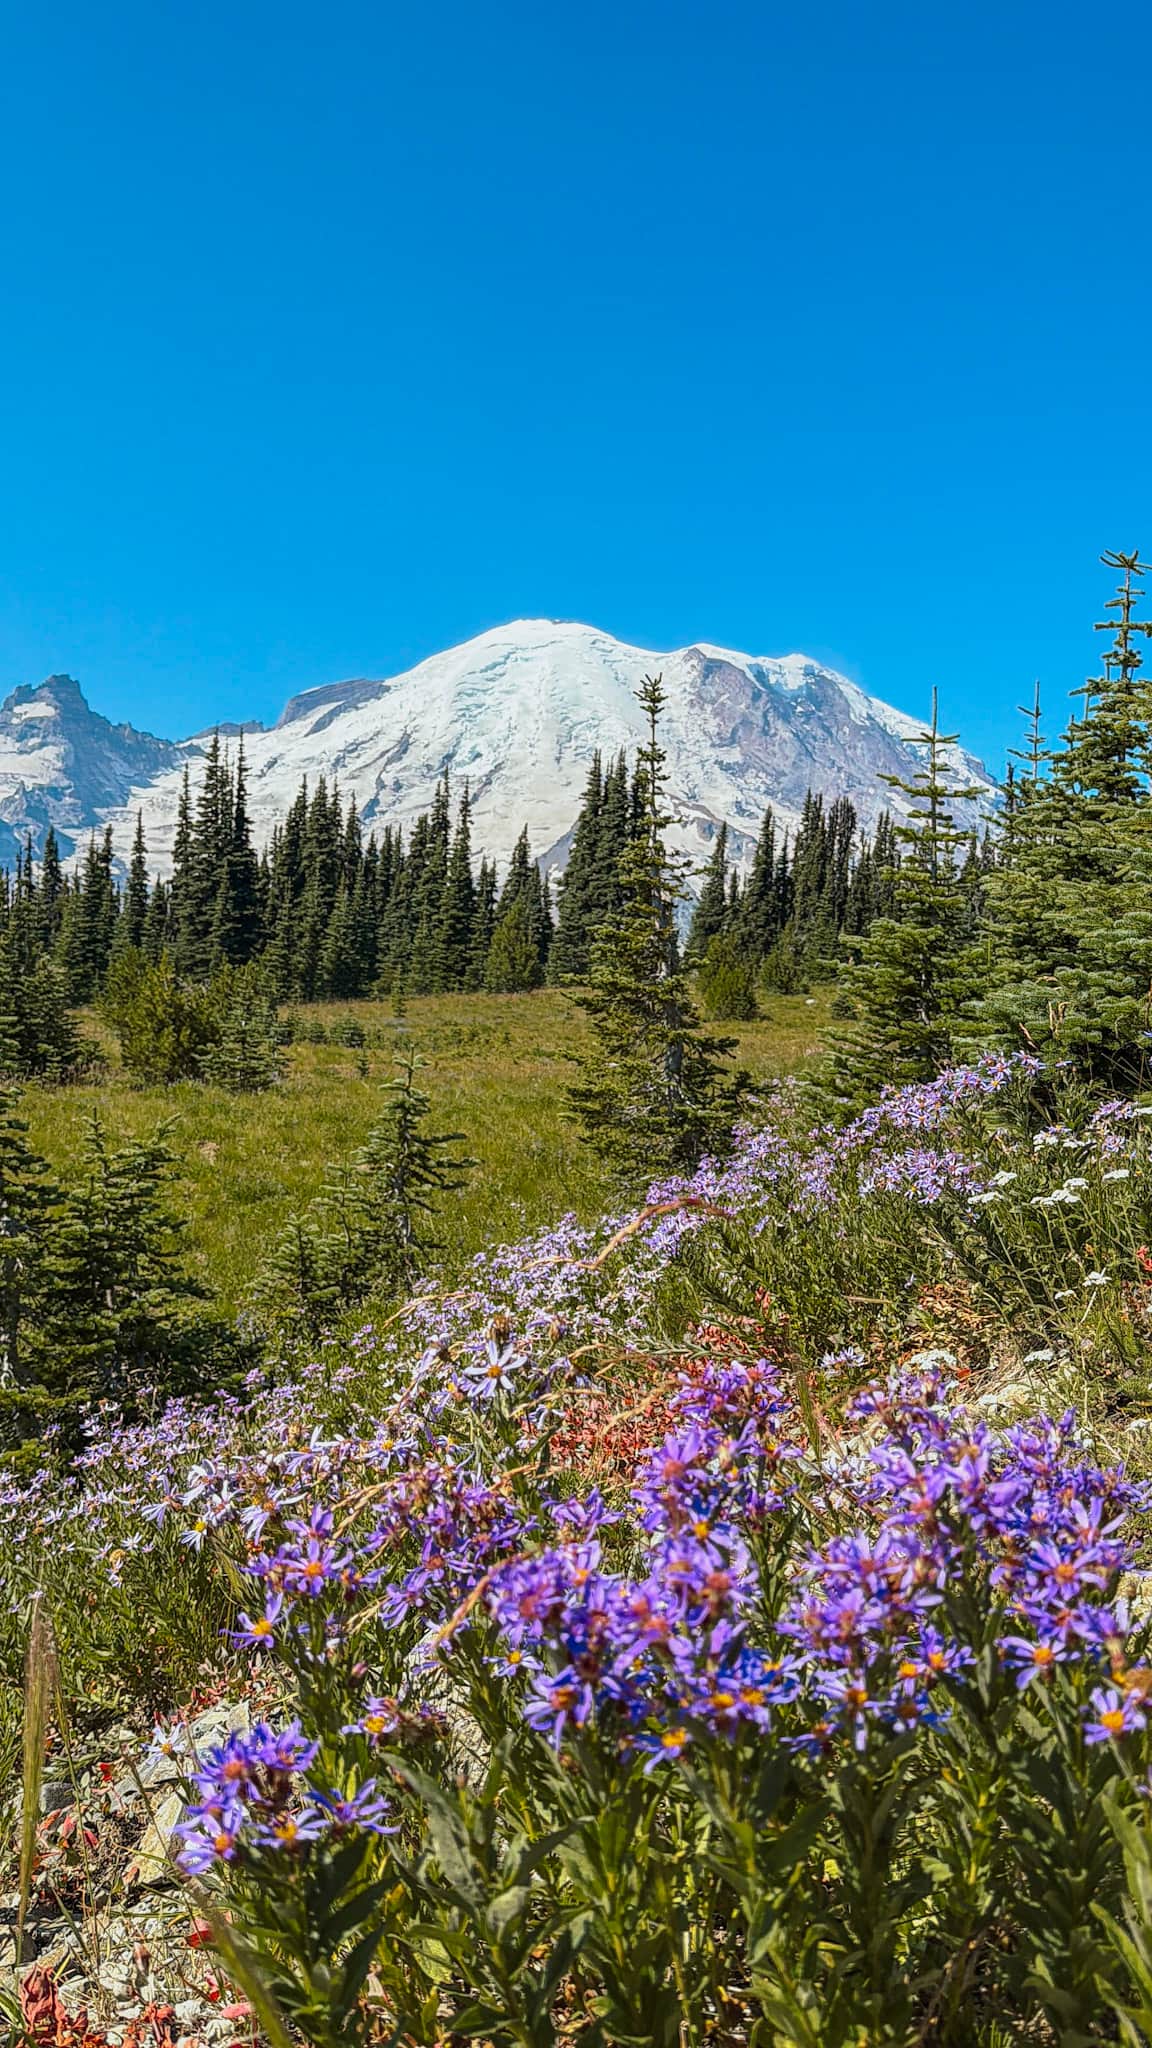
We picked the Emmons Vista Trail, which is a short 0.8 mile out and back that offers amazing views of Mount Rainier and the surrounding landscape.
Read my full guide to Mt. Rainier with Kids for more trail ideas!
Tipsoo Lake & Naches Peak Loop
After you’ve spent some time exploring the Sunrise area, head toward Tipsoo Lake to hike the Naches Peak Loop.
This 3.5-mile loop is one of the most scenic hikes in Mount Rainier, especially when wildflowers are blooming.
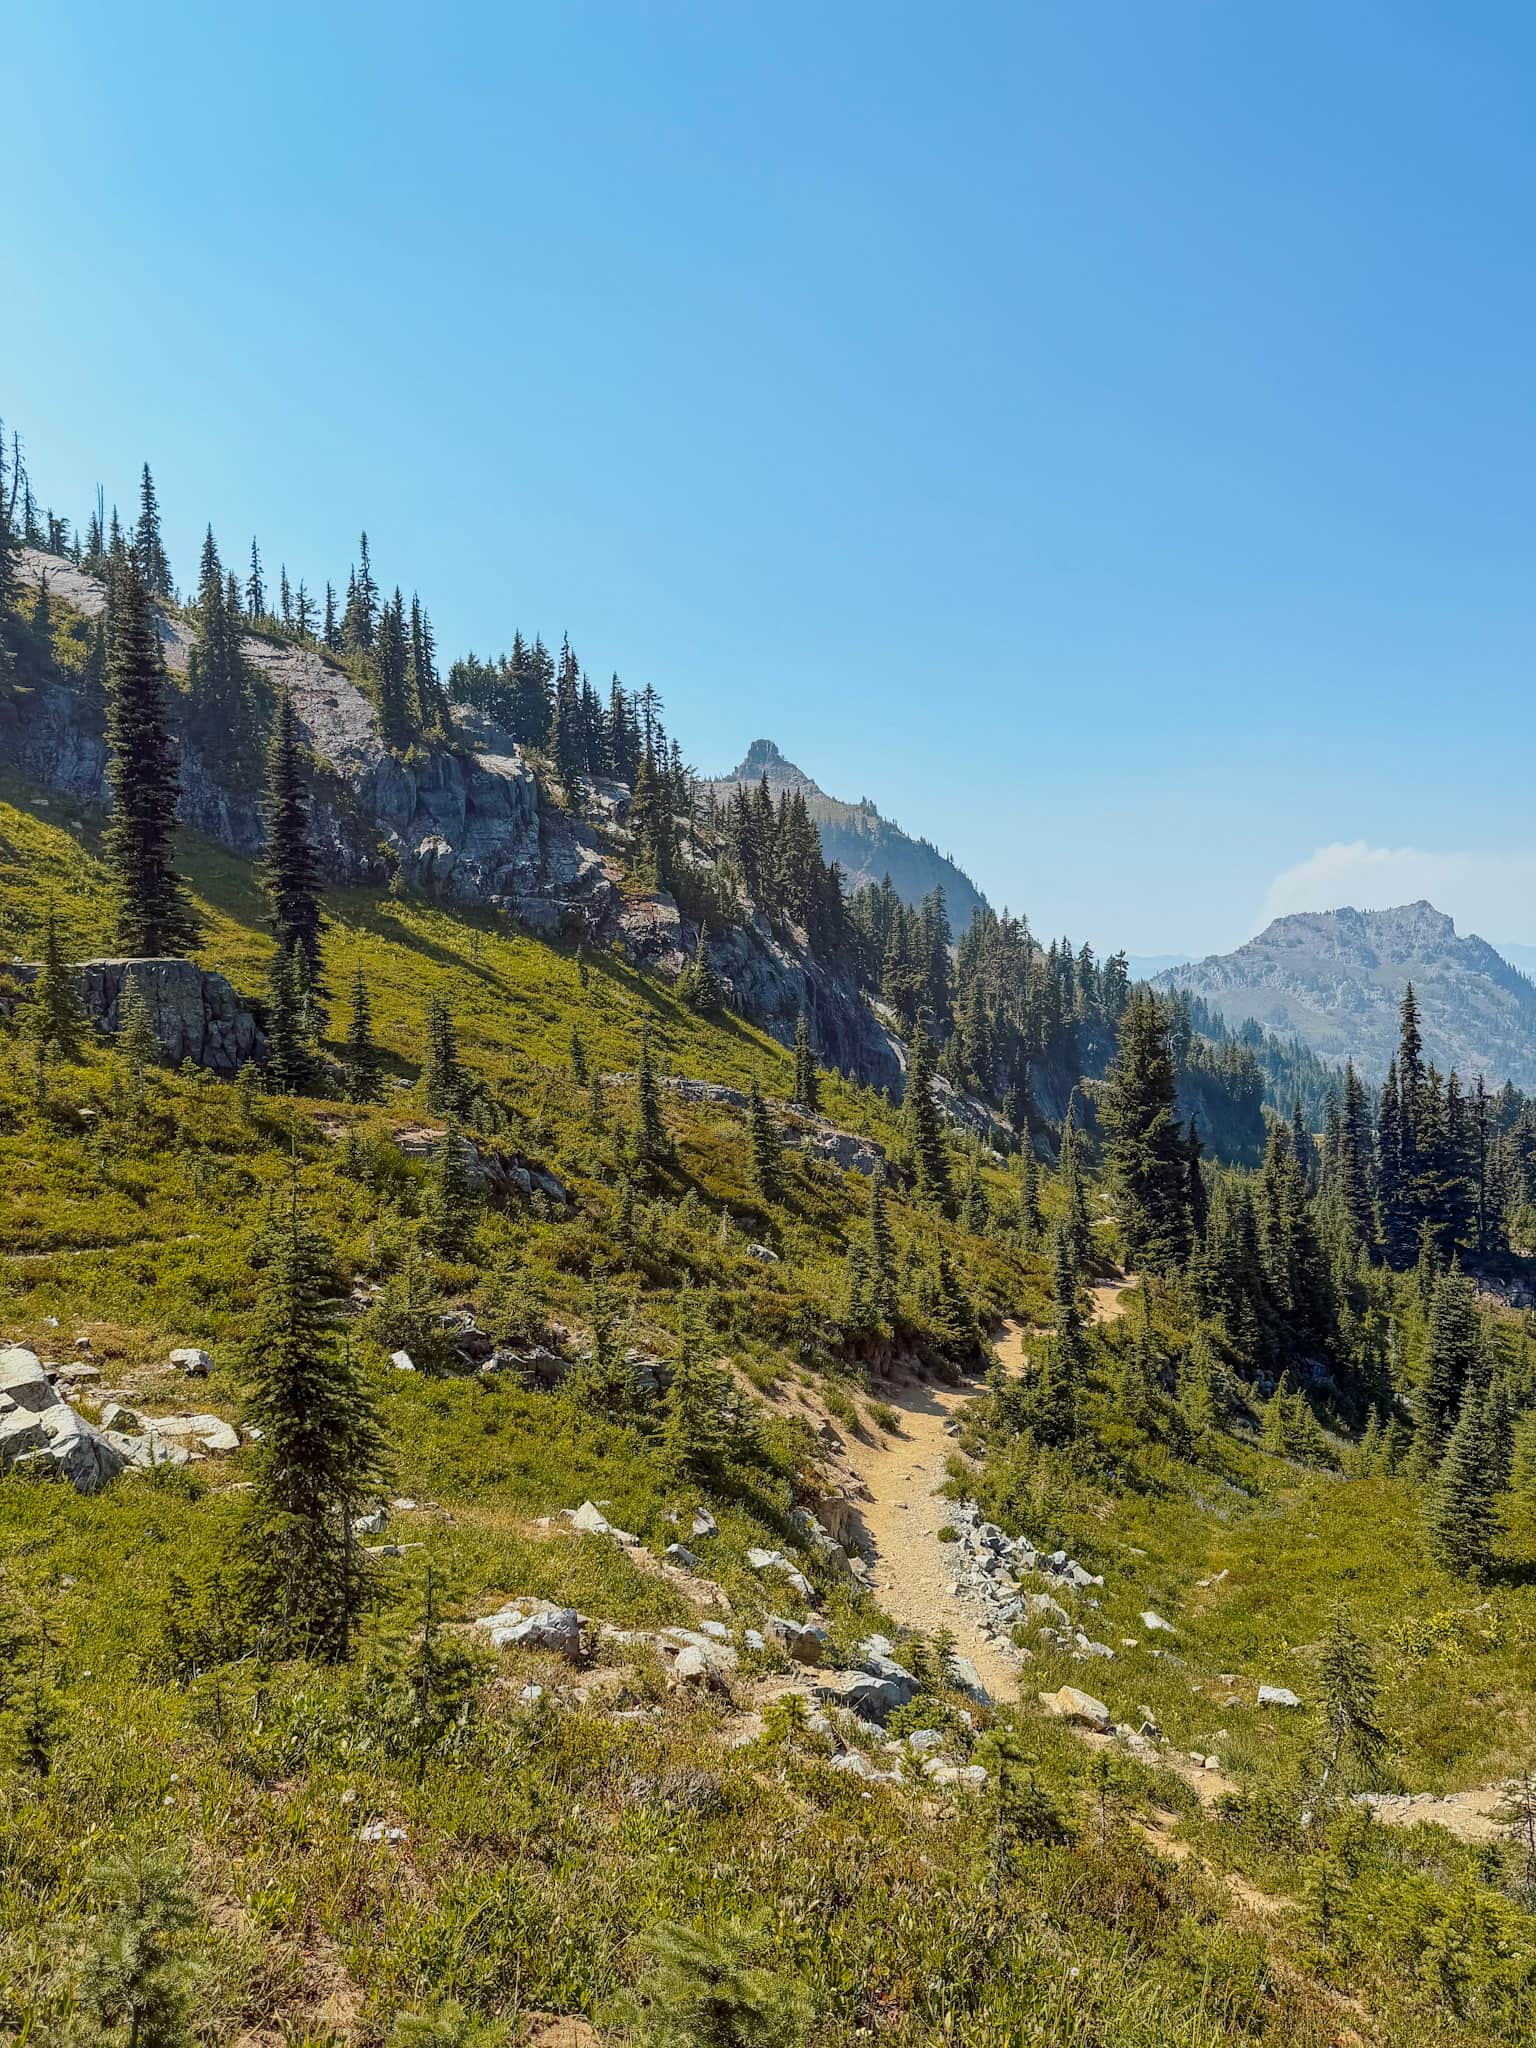
It does have a little bit of elevation gain in the first mile, but the views throughout the trail are worth the effort.
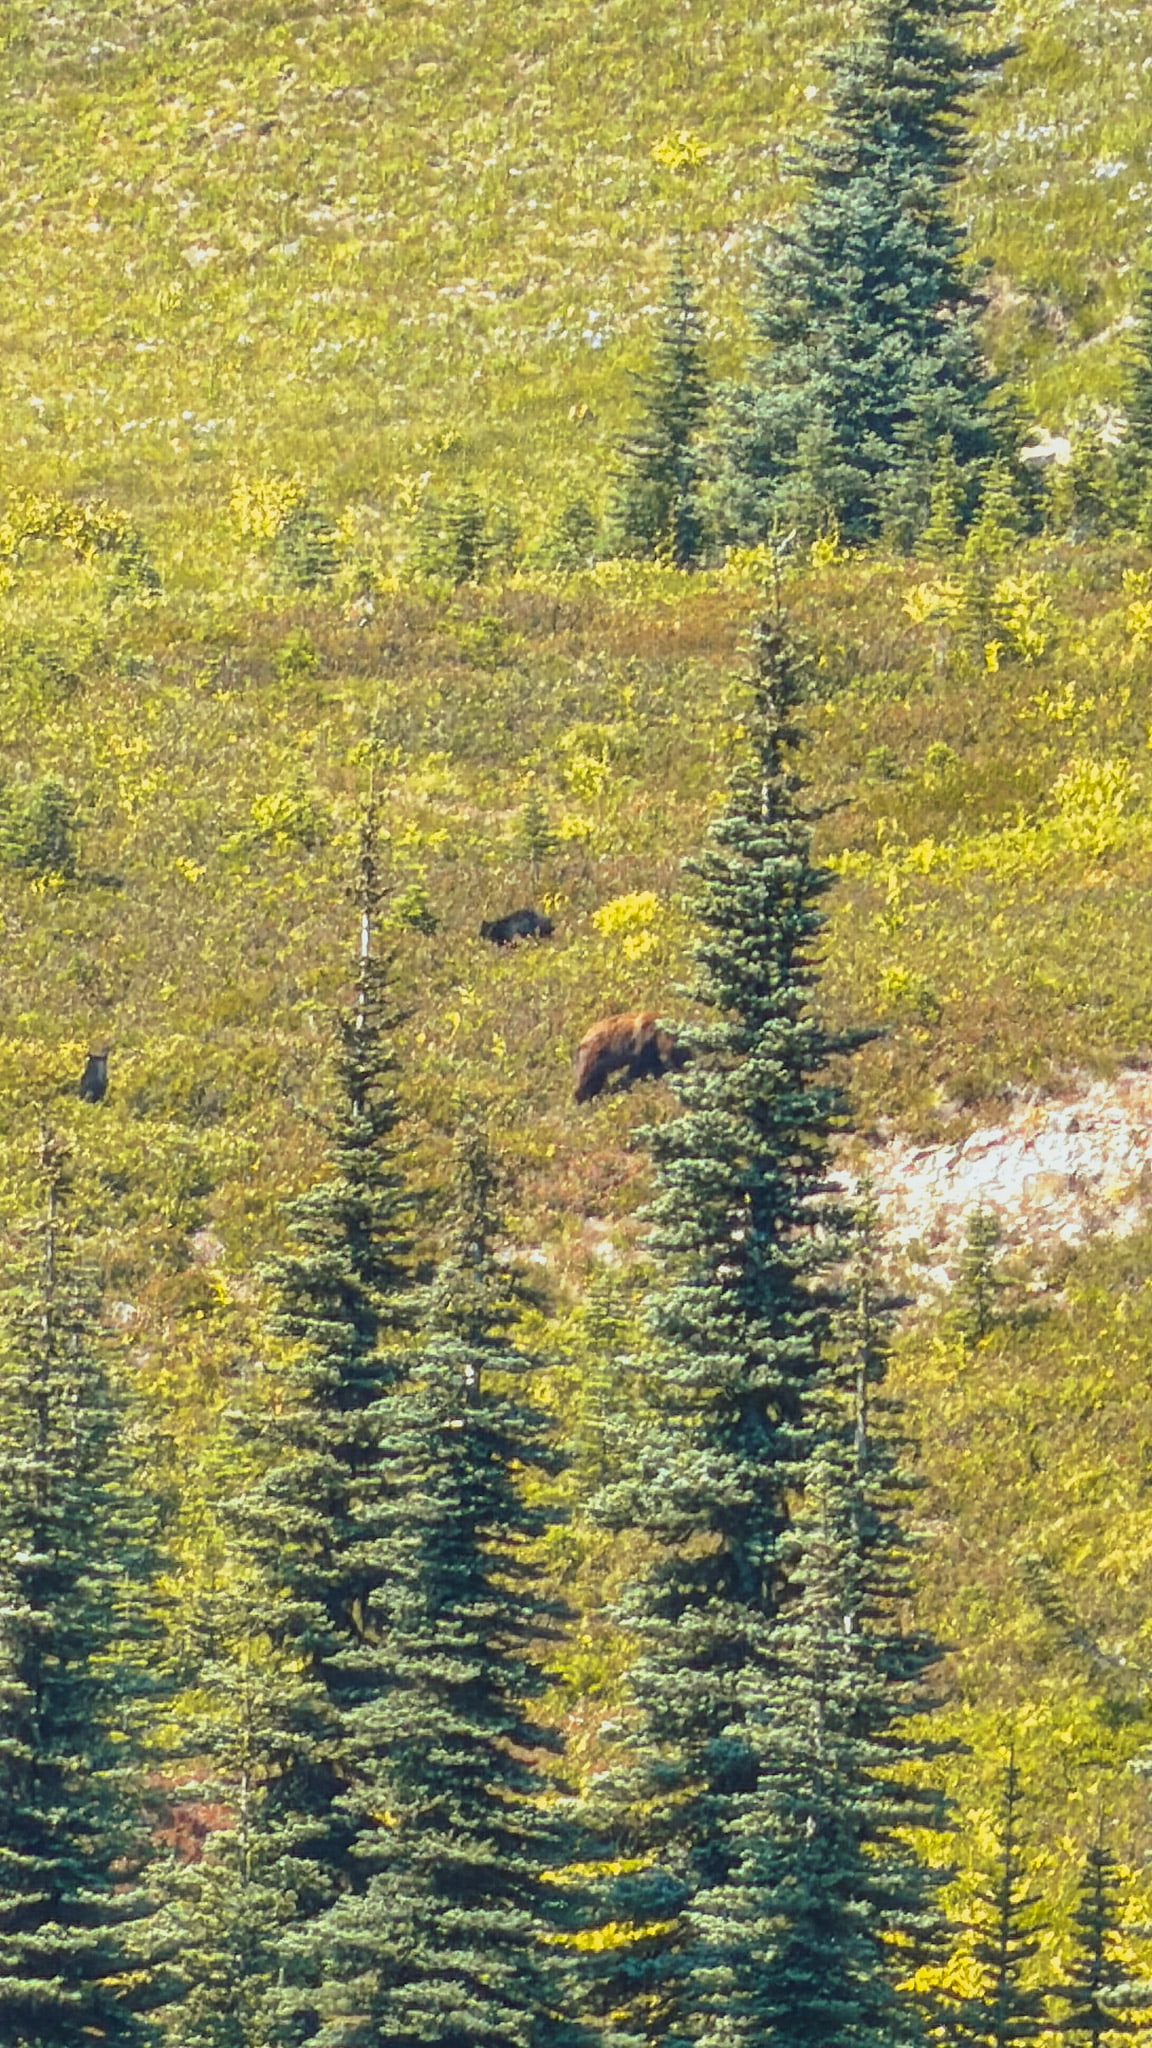
We spent several hours on this trail, stopping at all the overlooks, dipping our toes in the alpine lakes, and watching a mama bear and her cubs foraging for food!
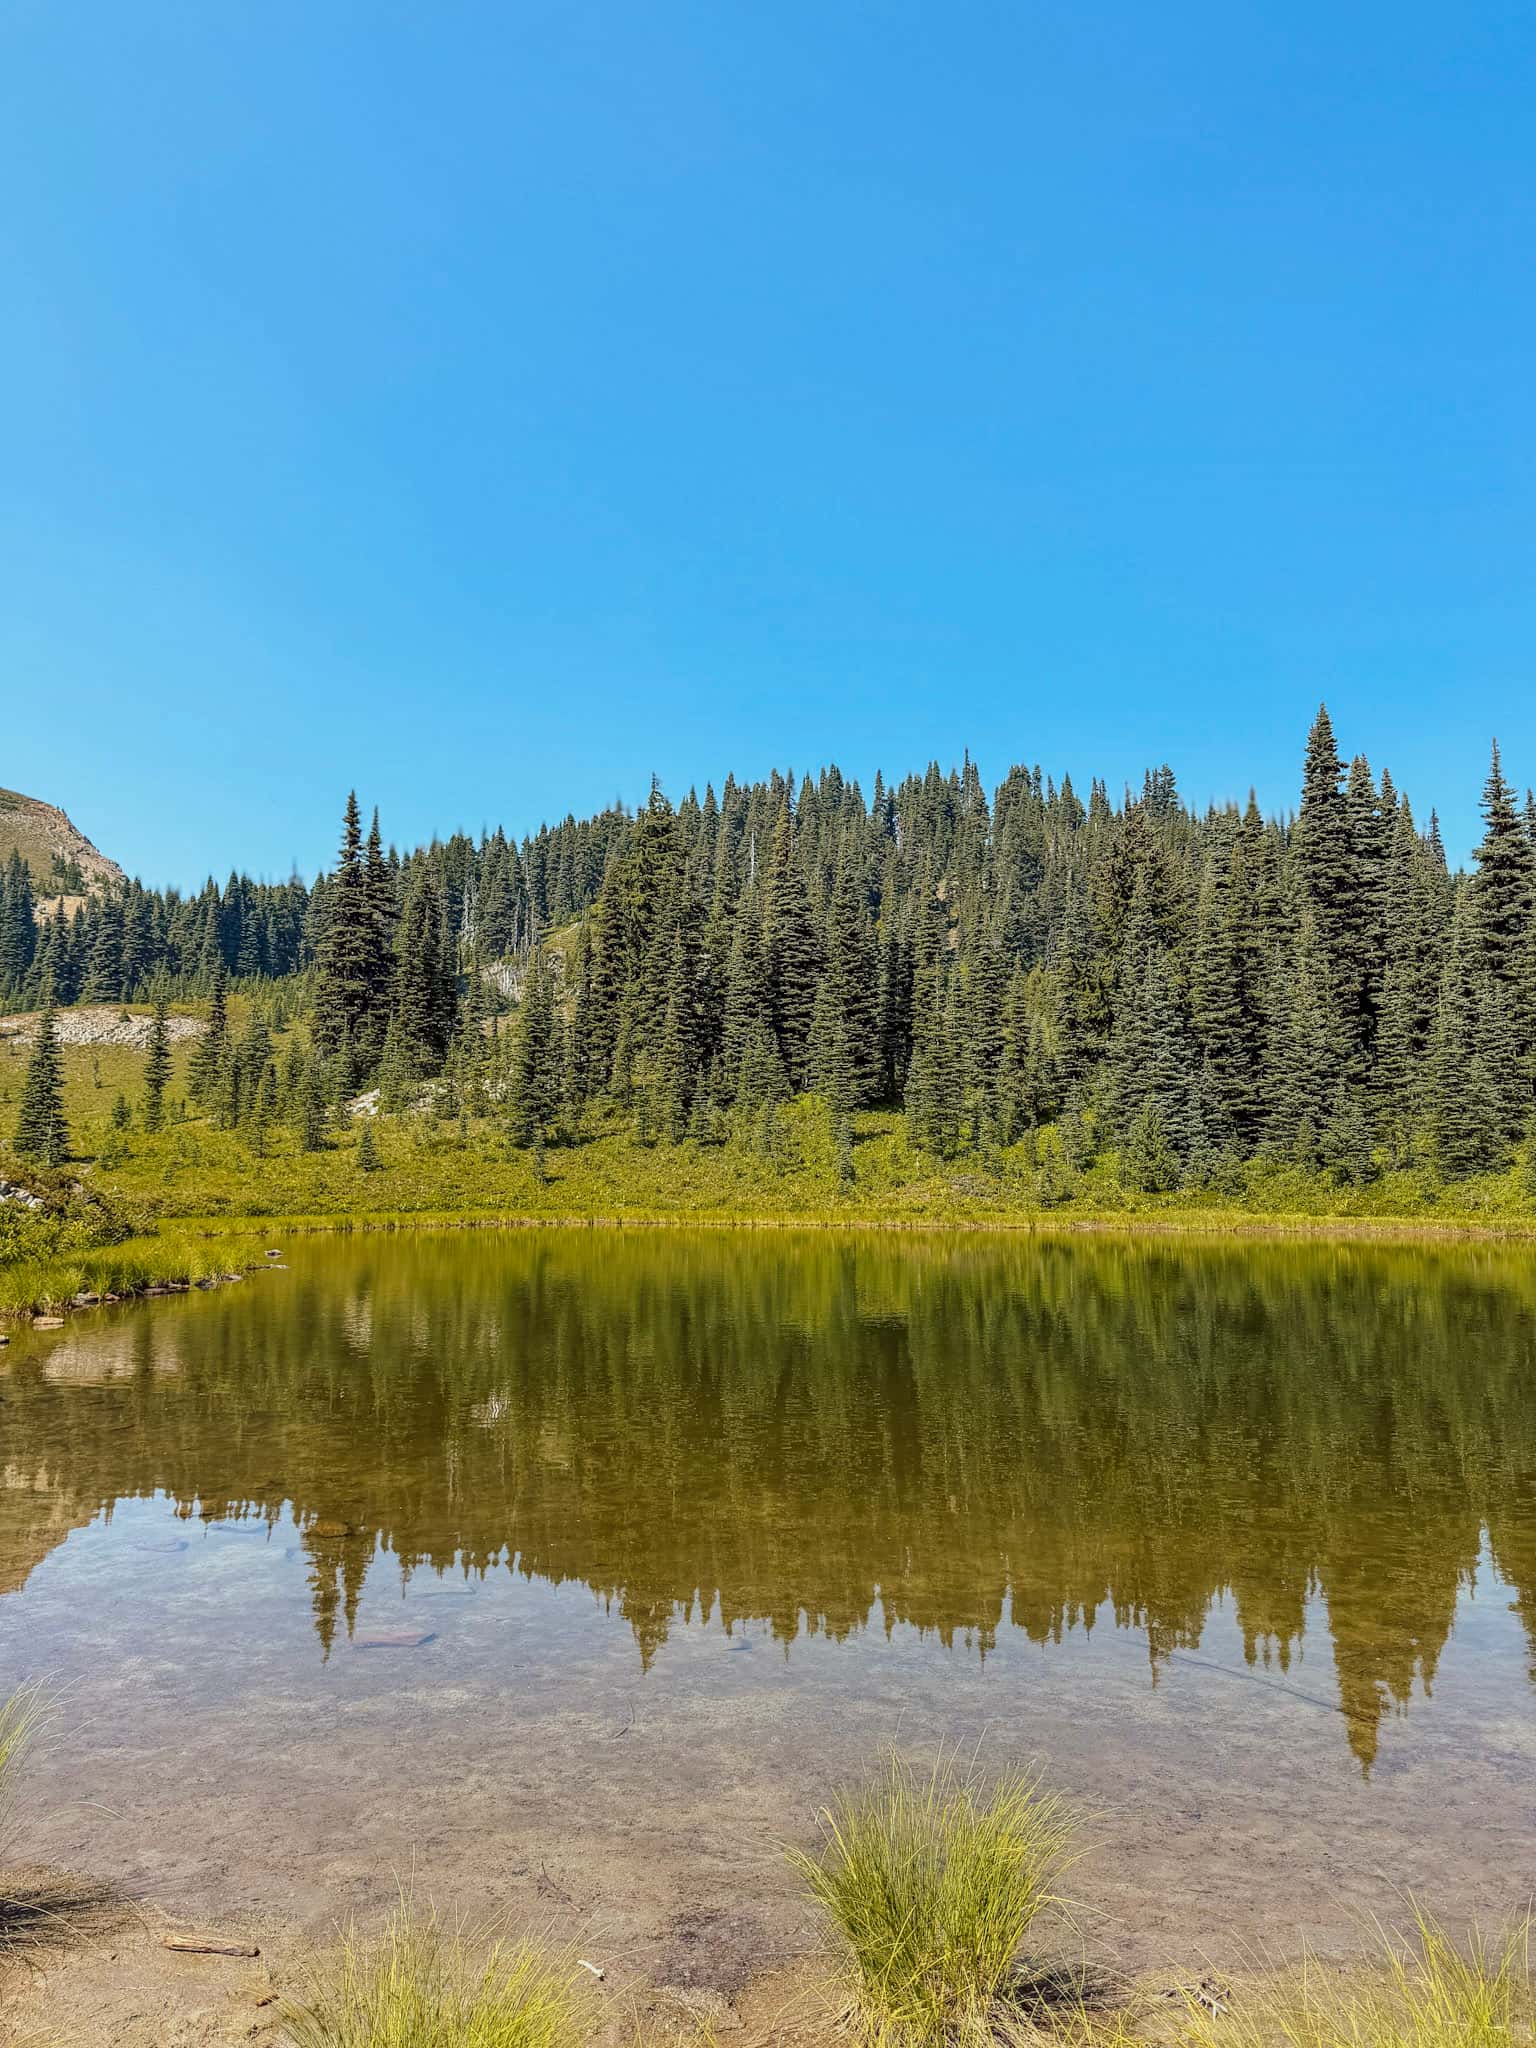
If you only pick one moderate trail to do with your kids in Mt. Rainier, Naches Peak is my suggestion.
If you don’t want to commit to the 3.5 miles, take a stroll around the beautiful Tipsoo Lake instead.
Paradise Area
Once you’ve recovered from an afternoon of hiking, take your time heading towards the Paradise area of the park.
This is one of the park’s most popular areas, and visiting during morning or midday often results in long wait times for a parking spot.
This is why I recommend saving this area for a late evening visit. We took our time on the drive, stopping at a pull-out to cook dinner and let the kids have some free time.
We arrived to Sunrise around 6:30 p.m., and while we were easily able to find a spot, the parking lot was still very full and the trail had lots of other people on it.
The most popular trail here is the Skyline Trail, a 5.5 mile strenuous hike with around 1,800 foot of elevation gain.
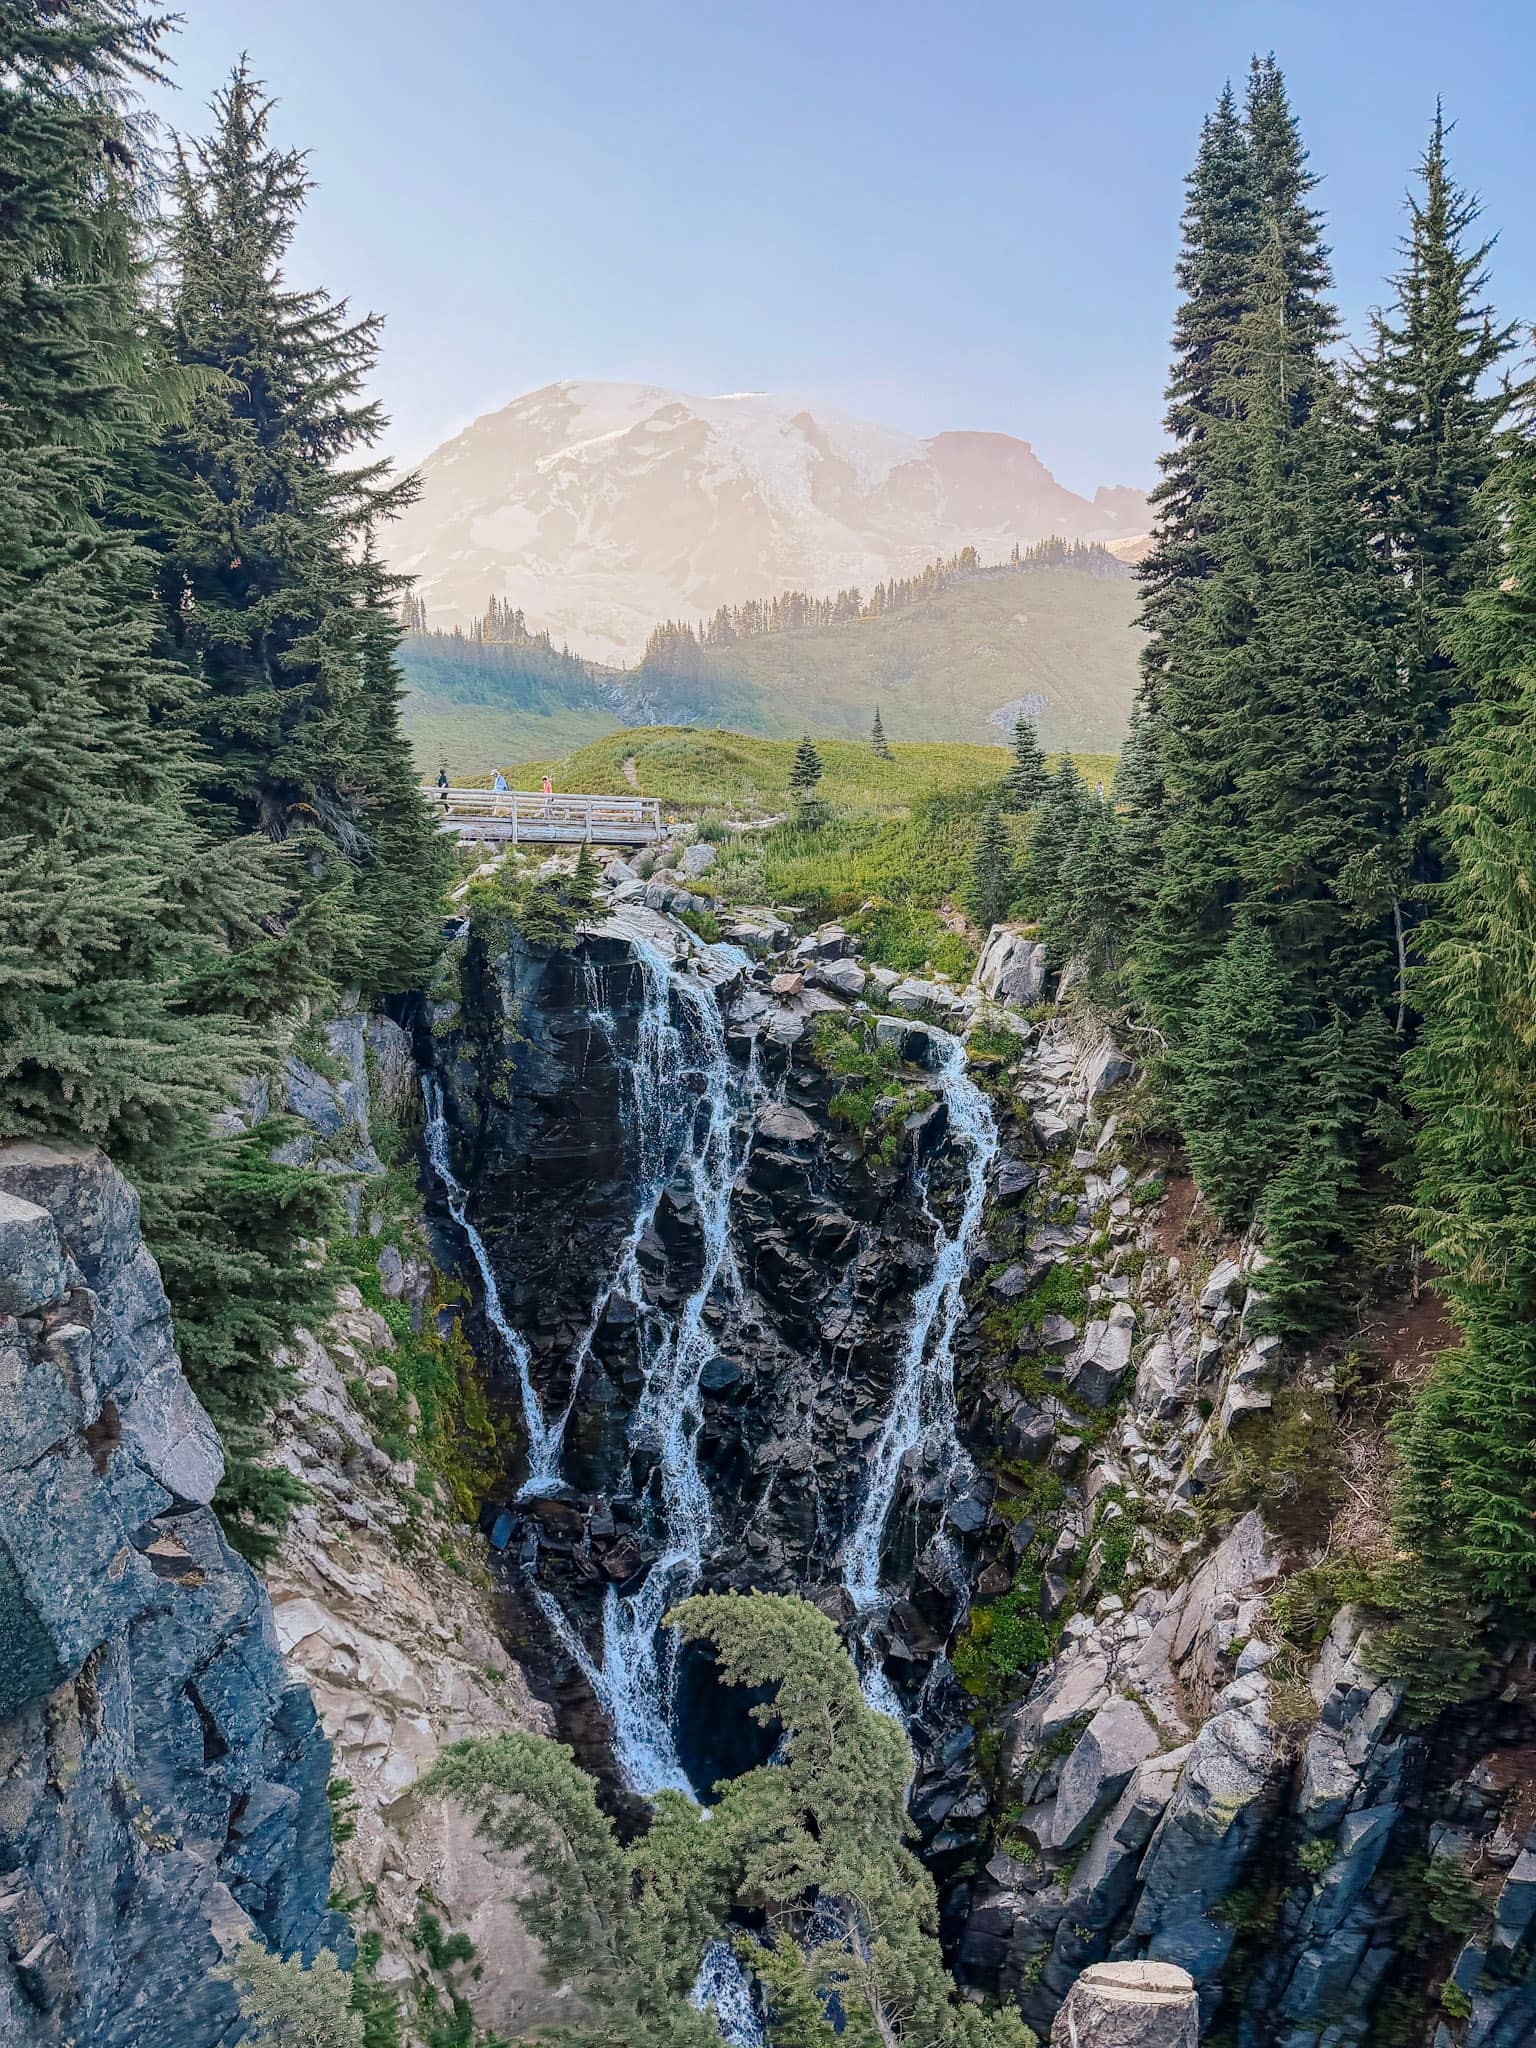
I knew this hike would be too much for my kiddos, especially at the end of the day, so we opted just to hike the first 0.5 miles of the trail to see Myrtle Falls, and then popped into the lodge for some ice cream.
This is one of the most popular trails for spotting wildlife if you’re feeling up to a good challenge!
We headed to Cougar Rock campground for the night.
If you aren’t camping, here’s where I would recommend staying:
- Paradise Inn Lodge – the lodge located inside the park in the Paradise area
- Paradise Village – tiny homes with unique onsite amenities
- Mountain Meadows Inn & Chalet – family rooms, garden view
Day 9: Mount Rainier
Longmire → Silver Forest Trail → Gifford Pinchot National Forest
Where we stayed: Boondocking in Gifford Pinchot National Forest
Spend your final day in Mount Rainier exploring some of the park’s scenic stops and shorter trails.
Longmire
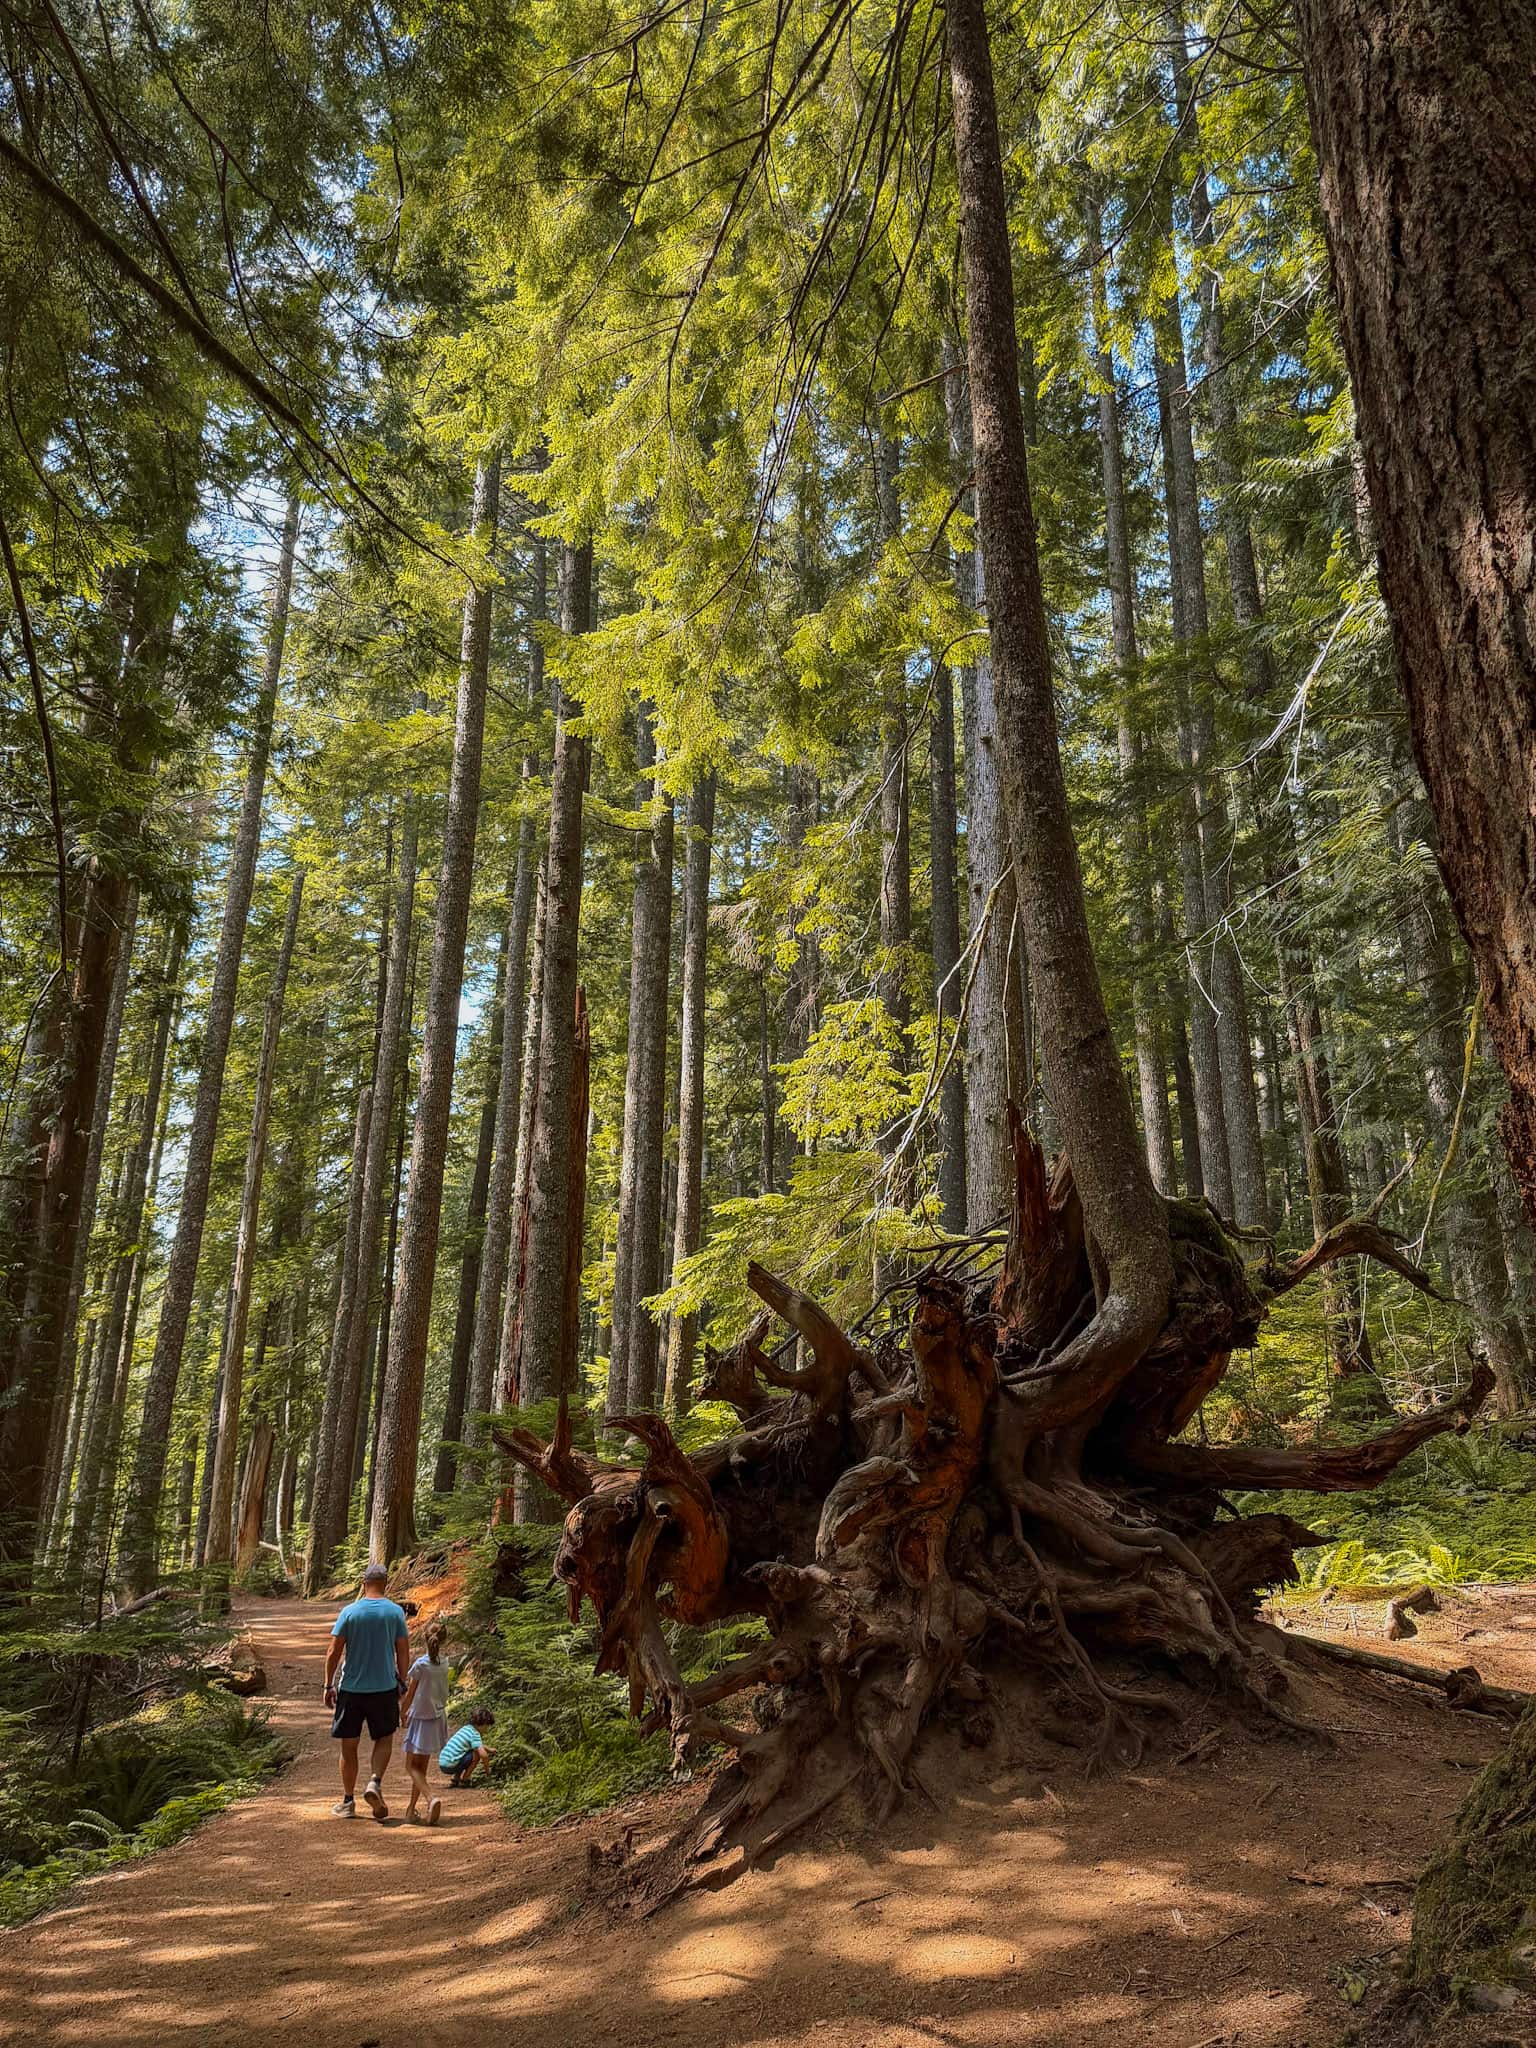
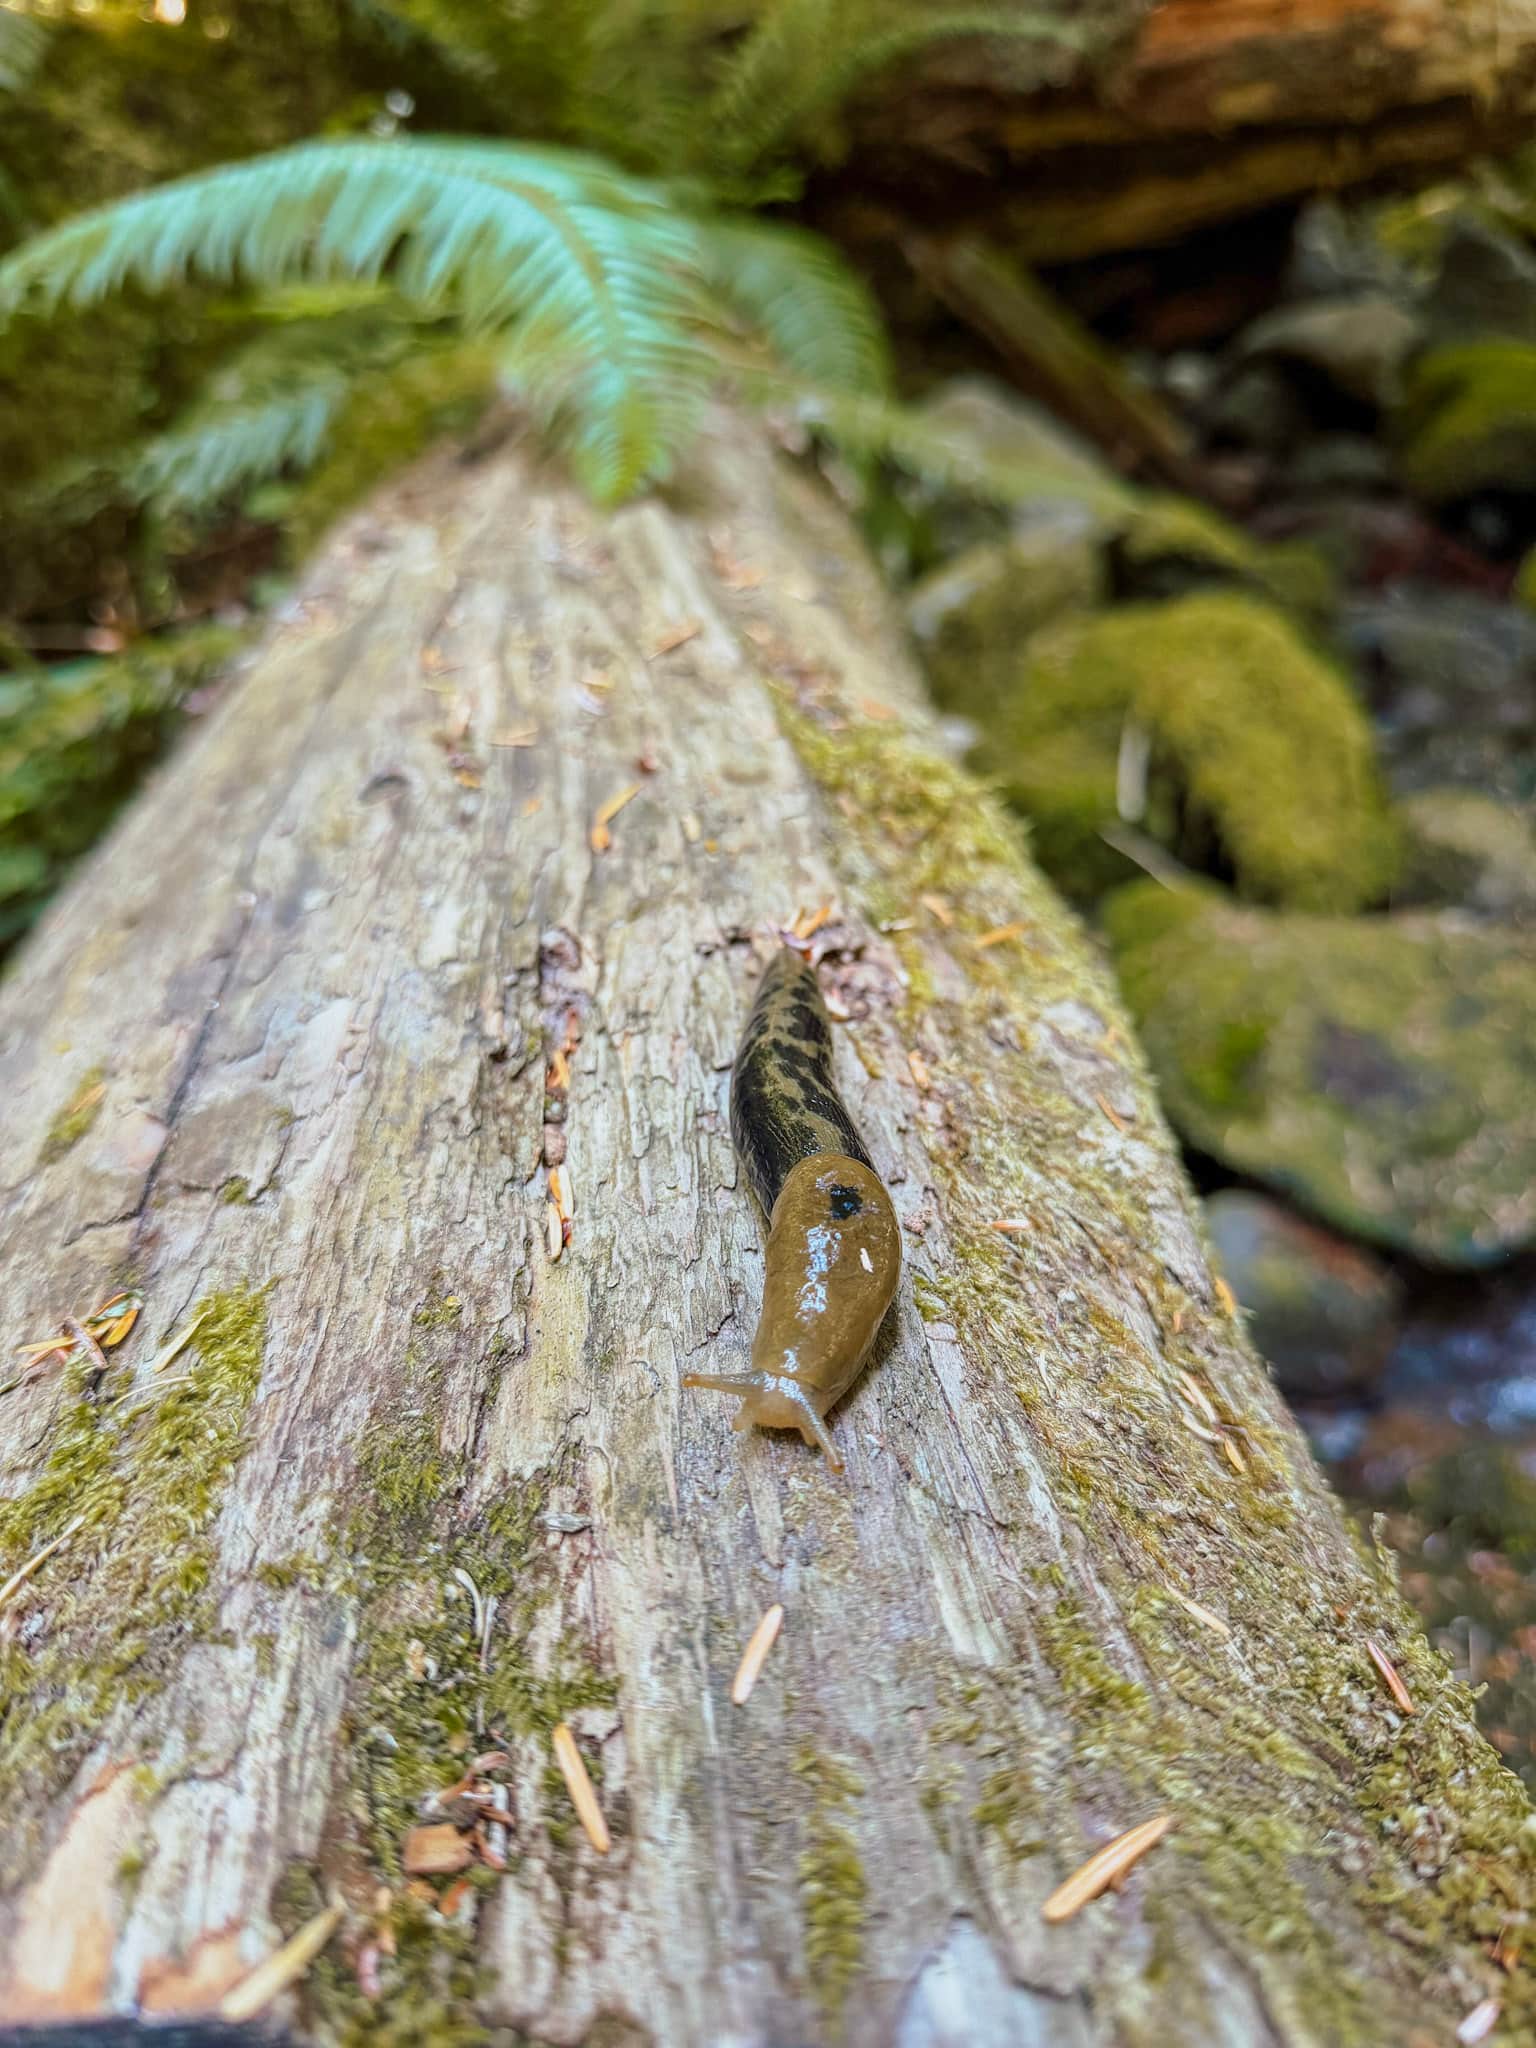
Start the morning in the Longmire area, where you can visit the museum, turn in your Junior Ranger books, and explore the Trail of Shadows and Twin Firs Trail. These are short, easy trails that take you through old growth forests, past bubbling hot springs and fat banana slugs.
Scenic Drive
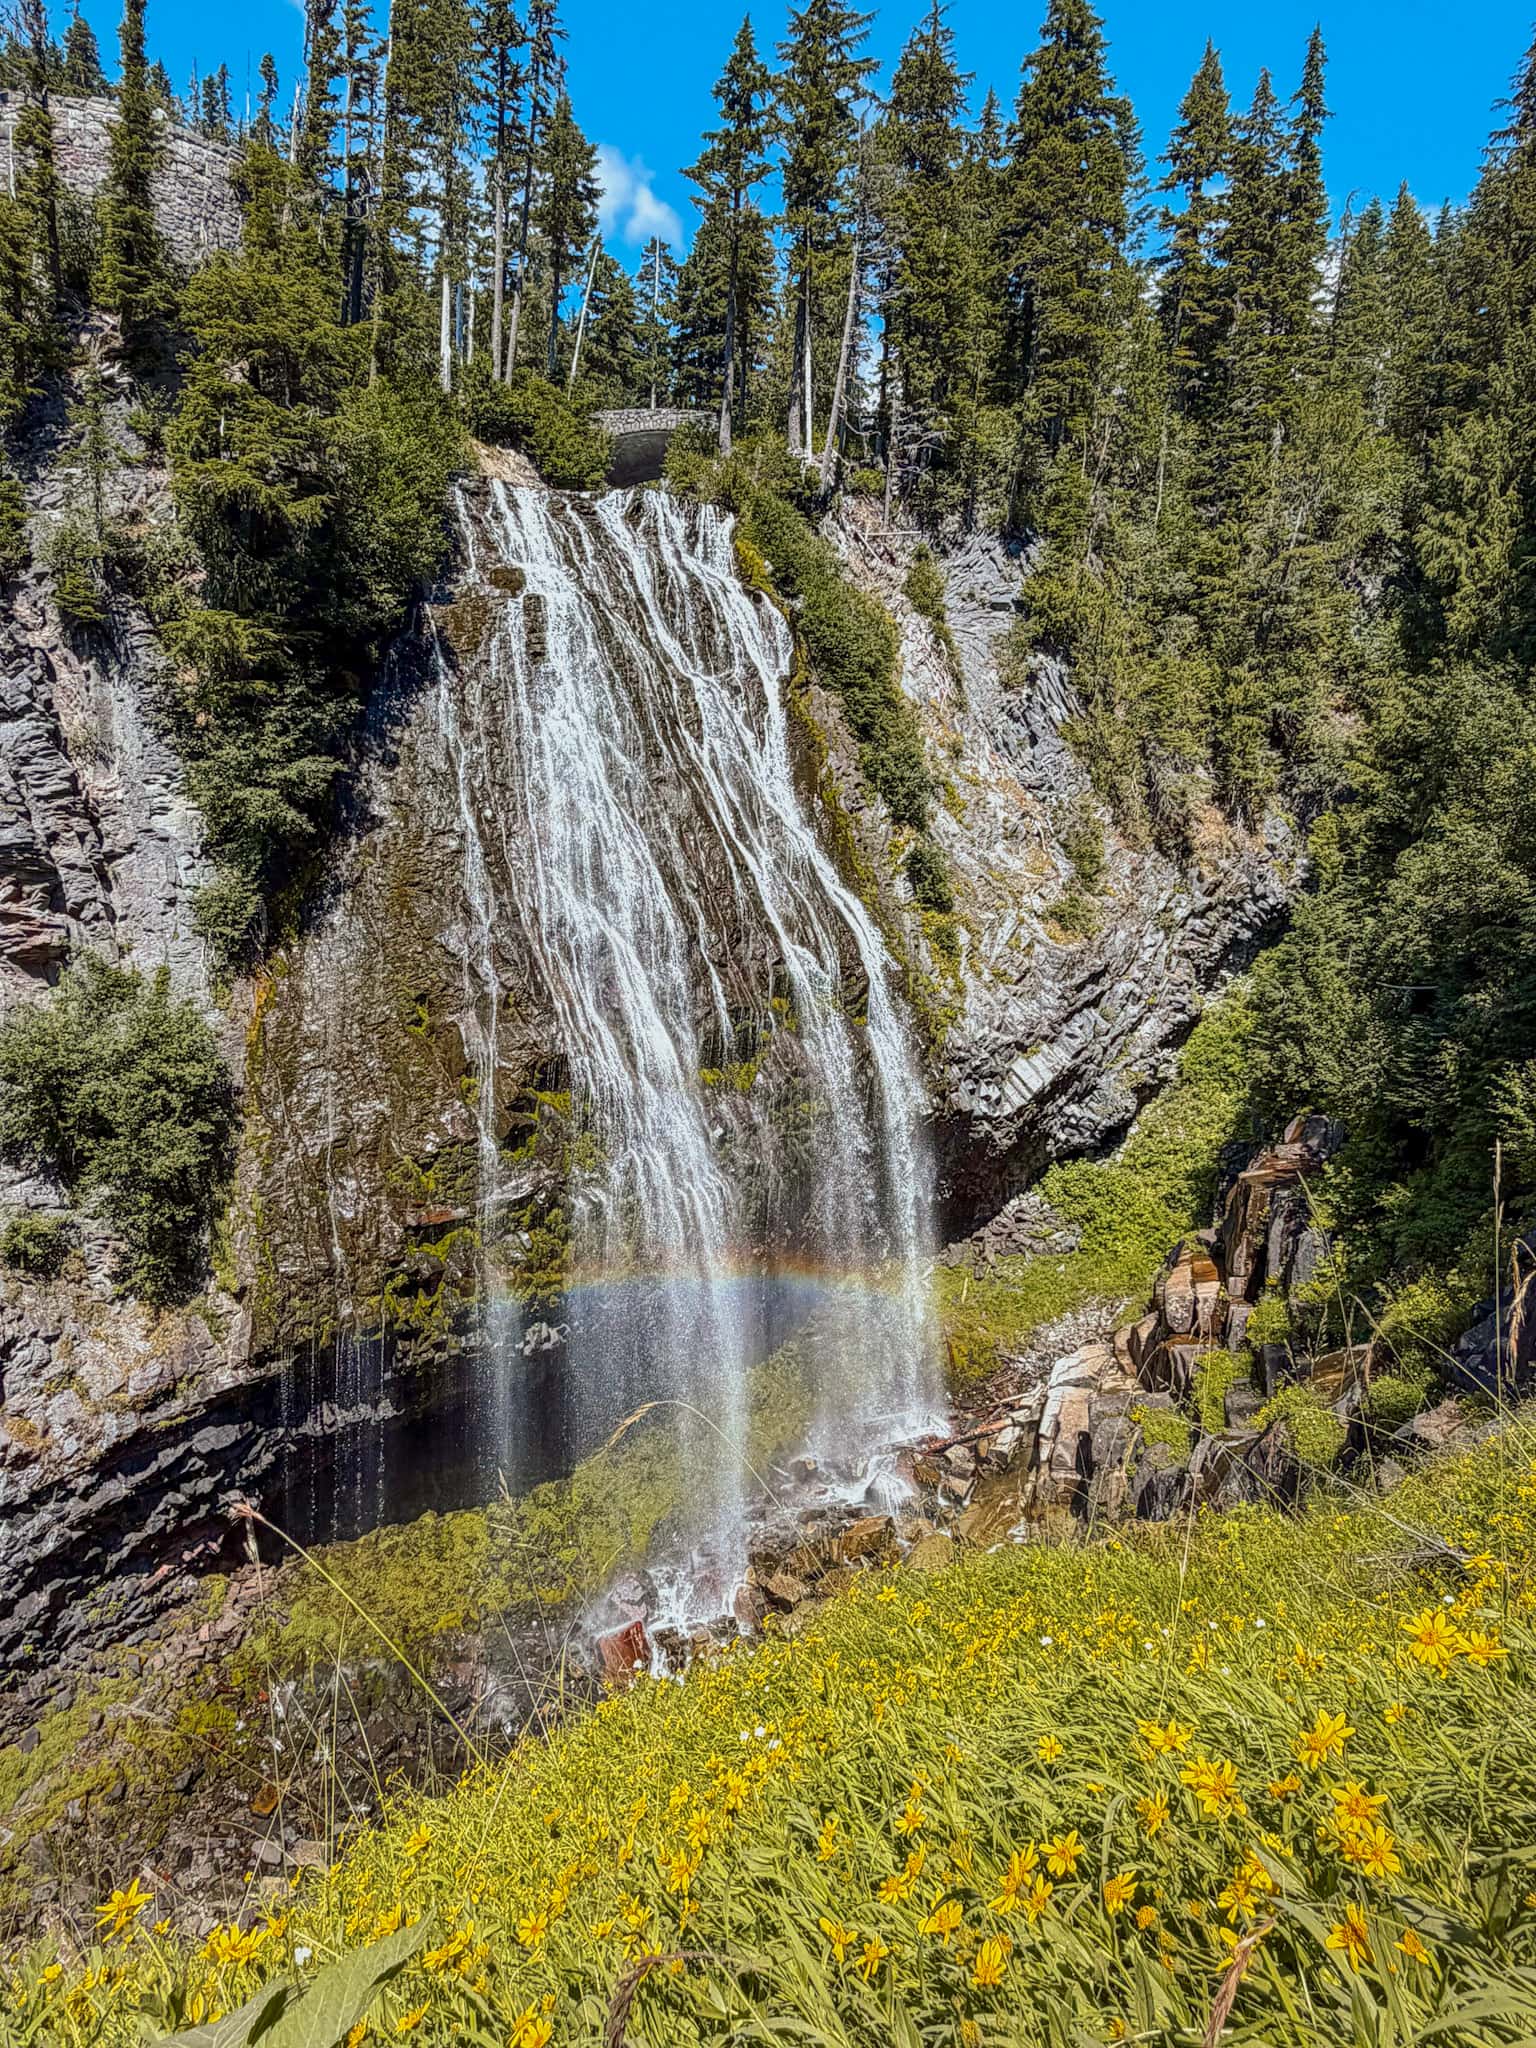
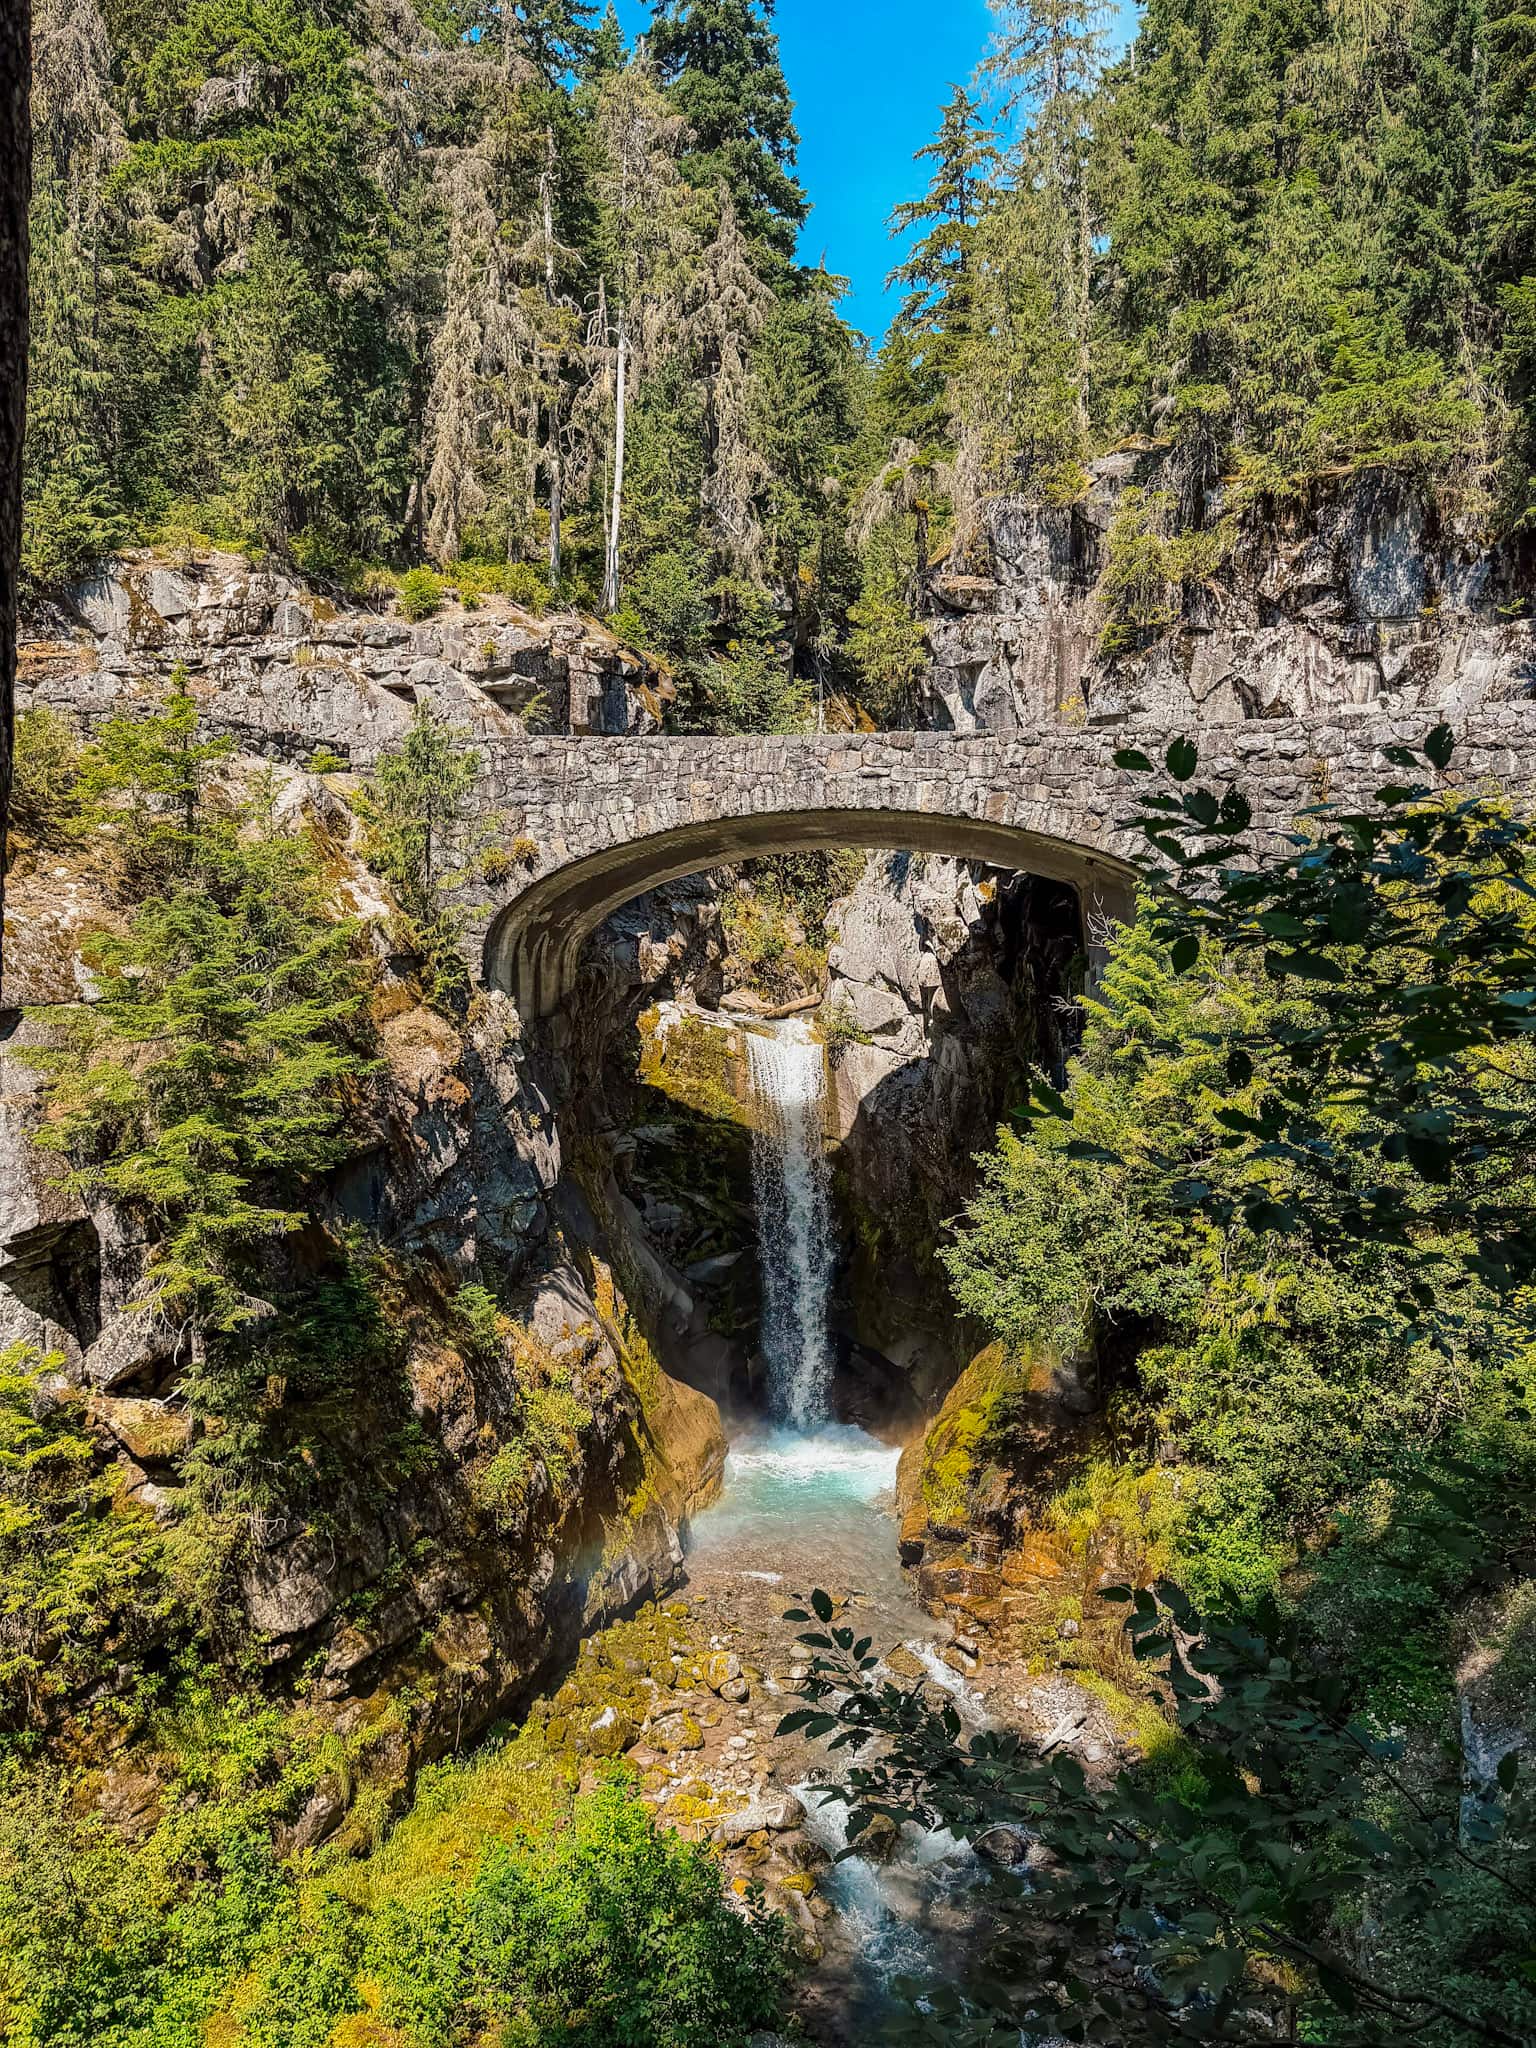
From there, I recommend taking a scenic drive along this southern part of Mt. Rainier National Park.
You definitely want the GuideAlong app for this drive, which adds history and tons of information about the park. My kids even enjoy listening along.
Some of the stops you don’t want to miss are:
- Ricksecker Point
- Christine Falls
- Narada Falls
- Box Canyon
- Reflection Lake
Silver Forest Trail
If you have time for an afternoon hike, I highly recommend the Silver Forest Trail. This 2.2 mile trail take you through the old growth forest to a stunning waterfall.
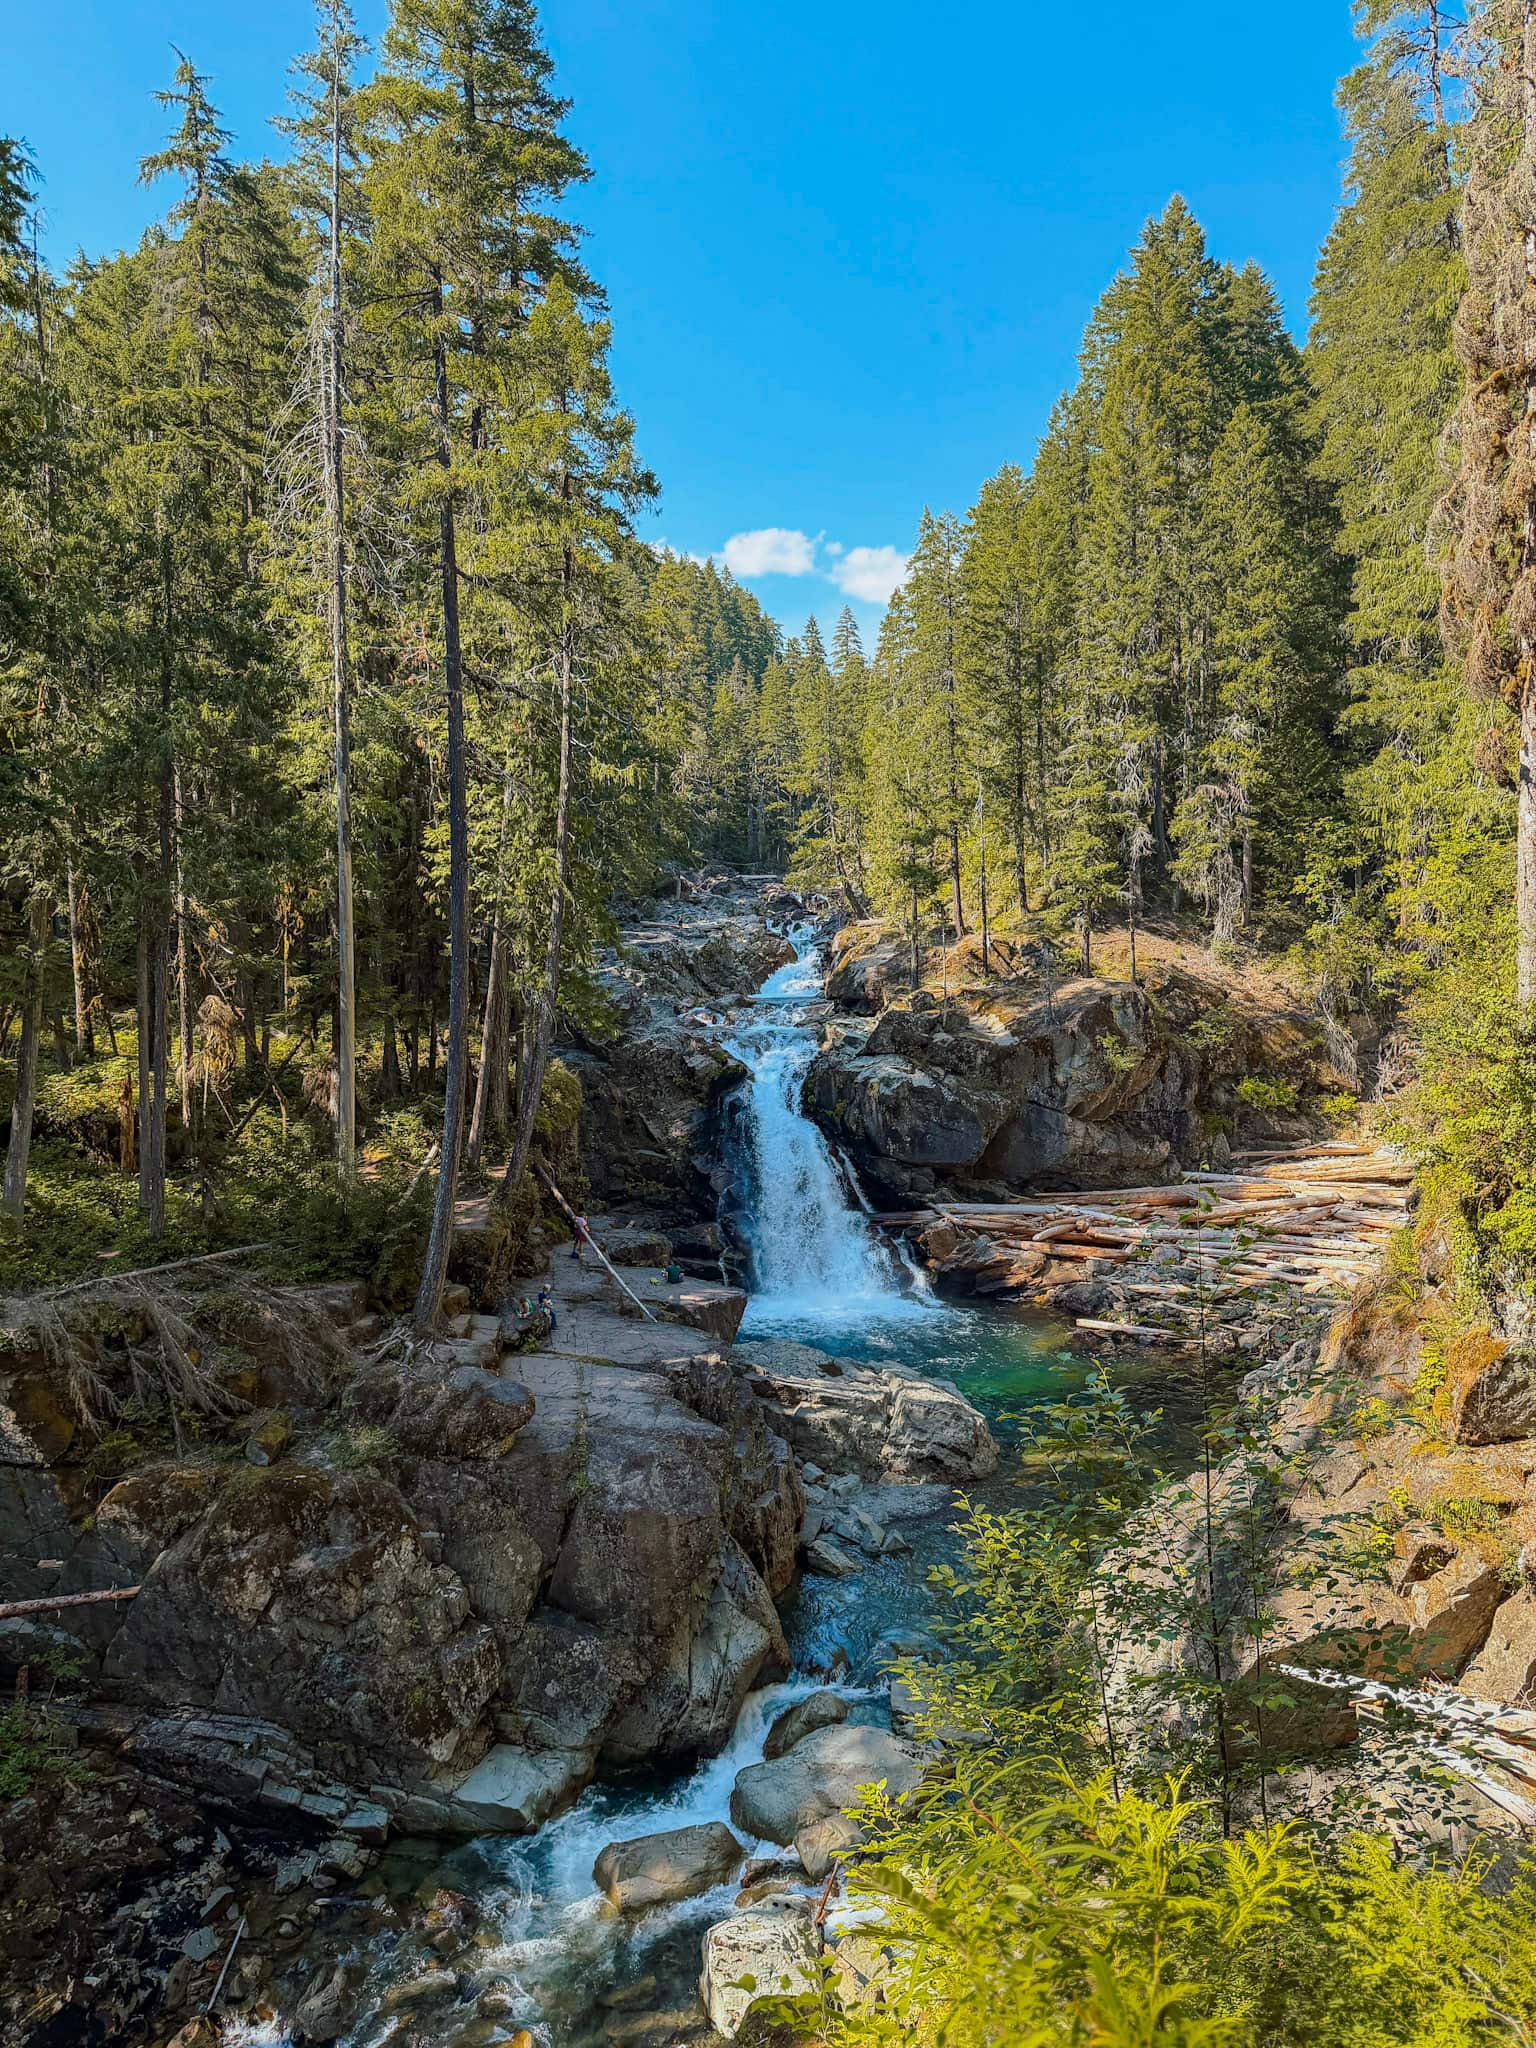
It’s time to start making your way south towards Portland, so after you wrap up your day in Mt. Rainier National Park, start the drive through the Gifford Pinchot National Forest.
Dispersed camping is allowed here, so I recommend just driving until you’re ready to stop for the night.
If you aren’t camping, here’s where I would recommend staying:
- Best Western Woodland Inn – indoor pool, family rooms + free breakfast
- Lewis River Inn – free breakfast + river views
- Holiday Inn Express East Portland – great pick if you plan to skip Ape Cave & spend more time exploring the Columbia River Gorge
Day 10: Ape Cave & the Columbia River Gorge
Gifford Pinchot → Ape Cave → Panther Creek Falls → Bike the Gorge → Portland
Where we stayed: Hyatt Place in Portland by the airport
The final day of your epic Washington and Oregon road trip will end with one of the most unusual adventures of the entire trip: Ape Cave.
Ape Cave is a massive lava tube created thousands of years ago when molten lava from Mount St. Helens flowed through the area.
The cave is unlike anything else you’ll experience on this itinerary, and your kids will love the adventure of exploring a lava tube.
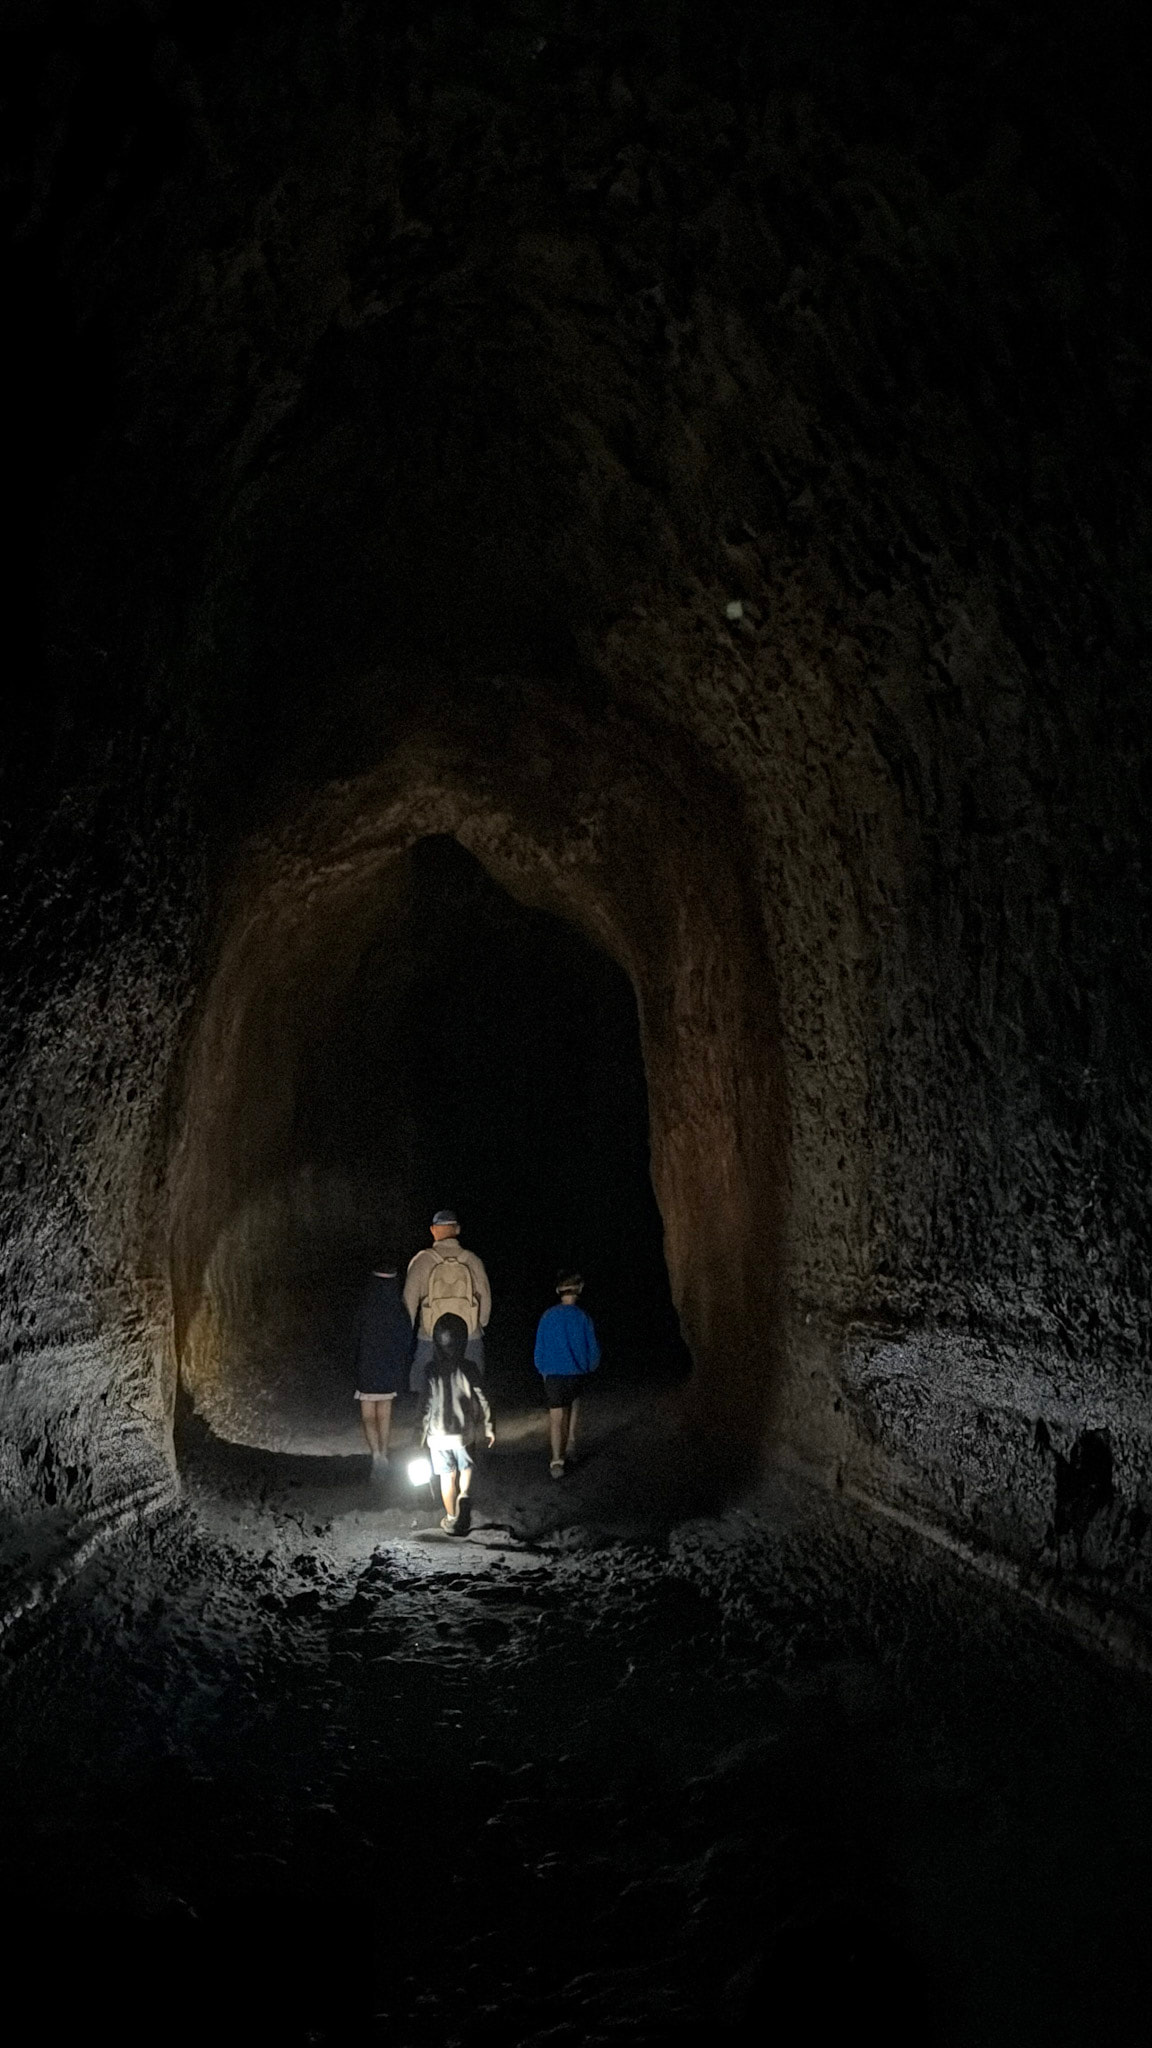
Be sure to make reservations ahead of time and bring appropriate clothing and several flashlights or headlamps – it’s pitch black and 42° year round.
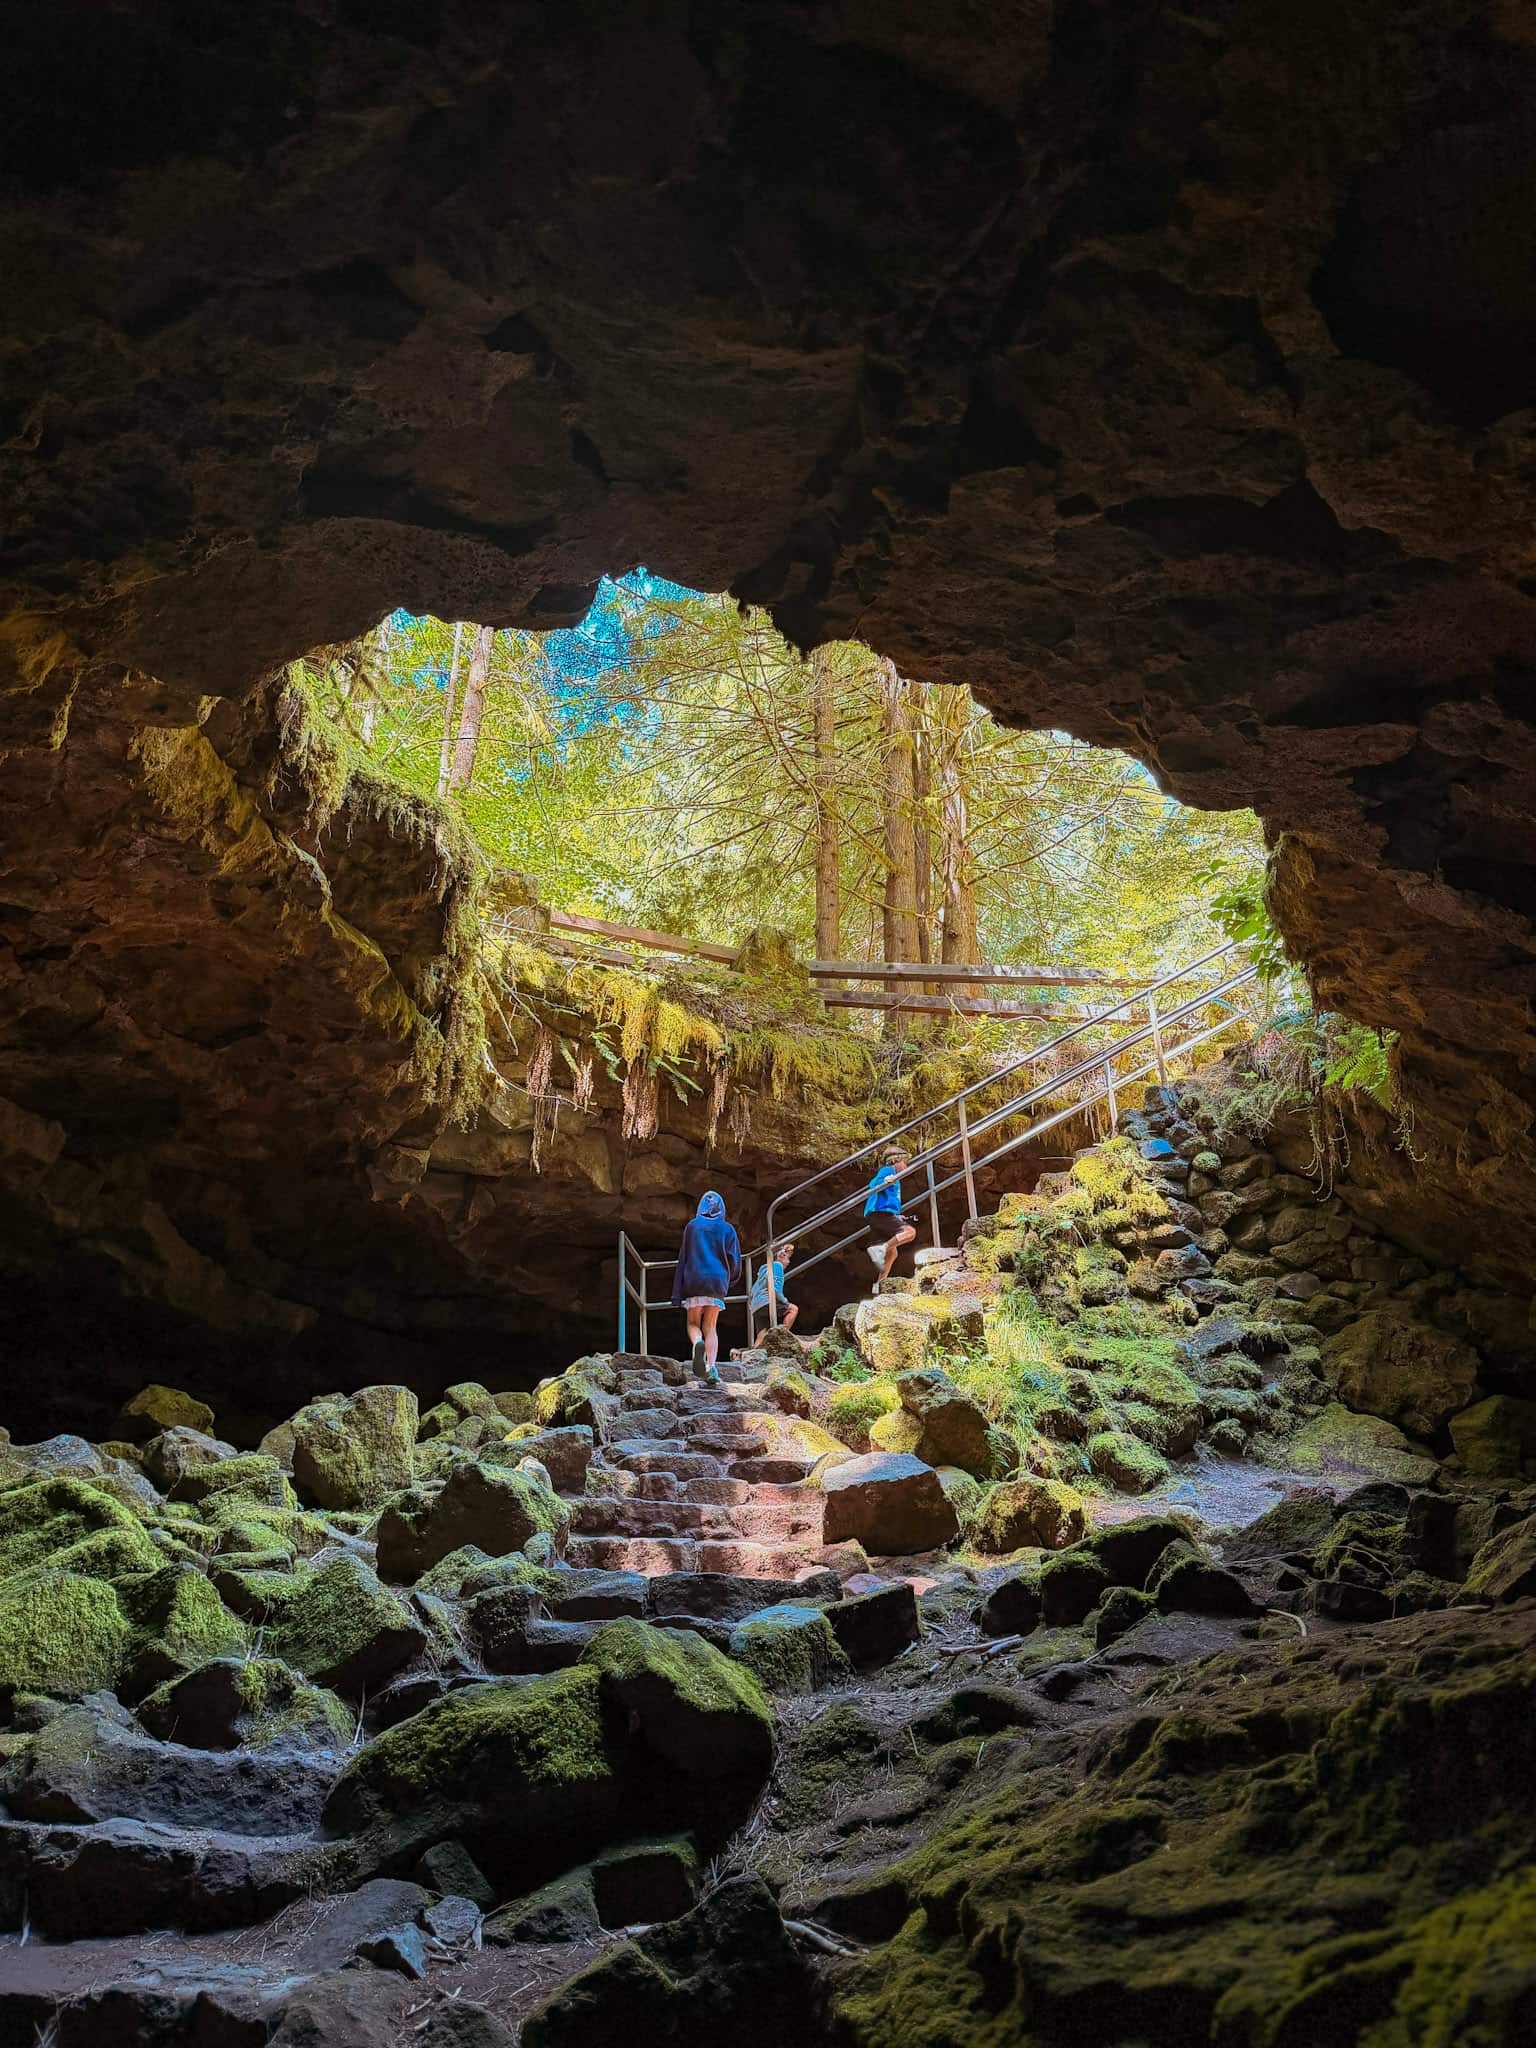
There are two trail options in the cave: the upper cave & the lower cave. The upper cave is 1.5 miles and very difficulty; be prepared for rock scrambles the entire way. We started on the upper cave trail and turned back very shortly after we started.
The lower cave trail is 3/4 mile to the end and is flat, easy walking. This is the trail I recommend for families with younger kids.
Bike the Gorge
After finishing your adventure at Ape Cave, continue the drive in Gifford Pinchot National Forest towards the Columbia River Gorge. Make a stop at Panther Creek Falls if you have time.
For your last adventure, rent e-bikes from Bike the Gorge and take a self guided tour along the Columbia River Gorge to see some really amazing waterfalls.
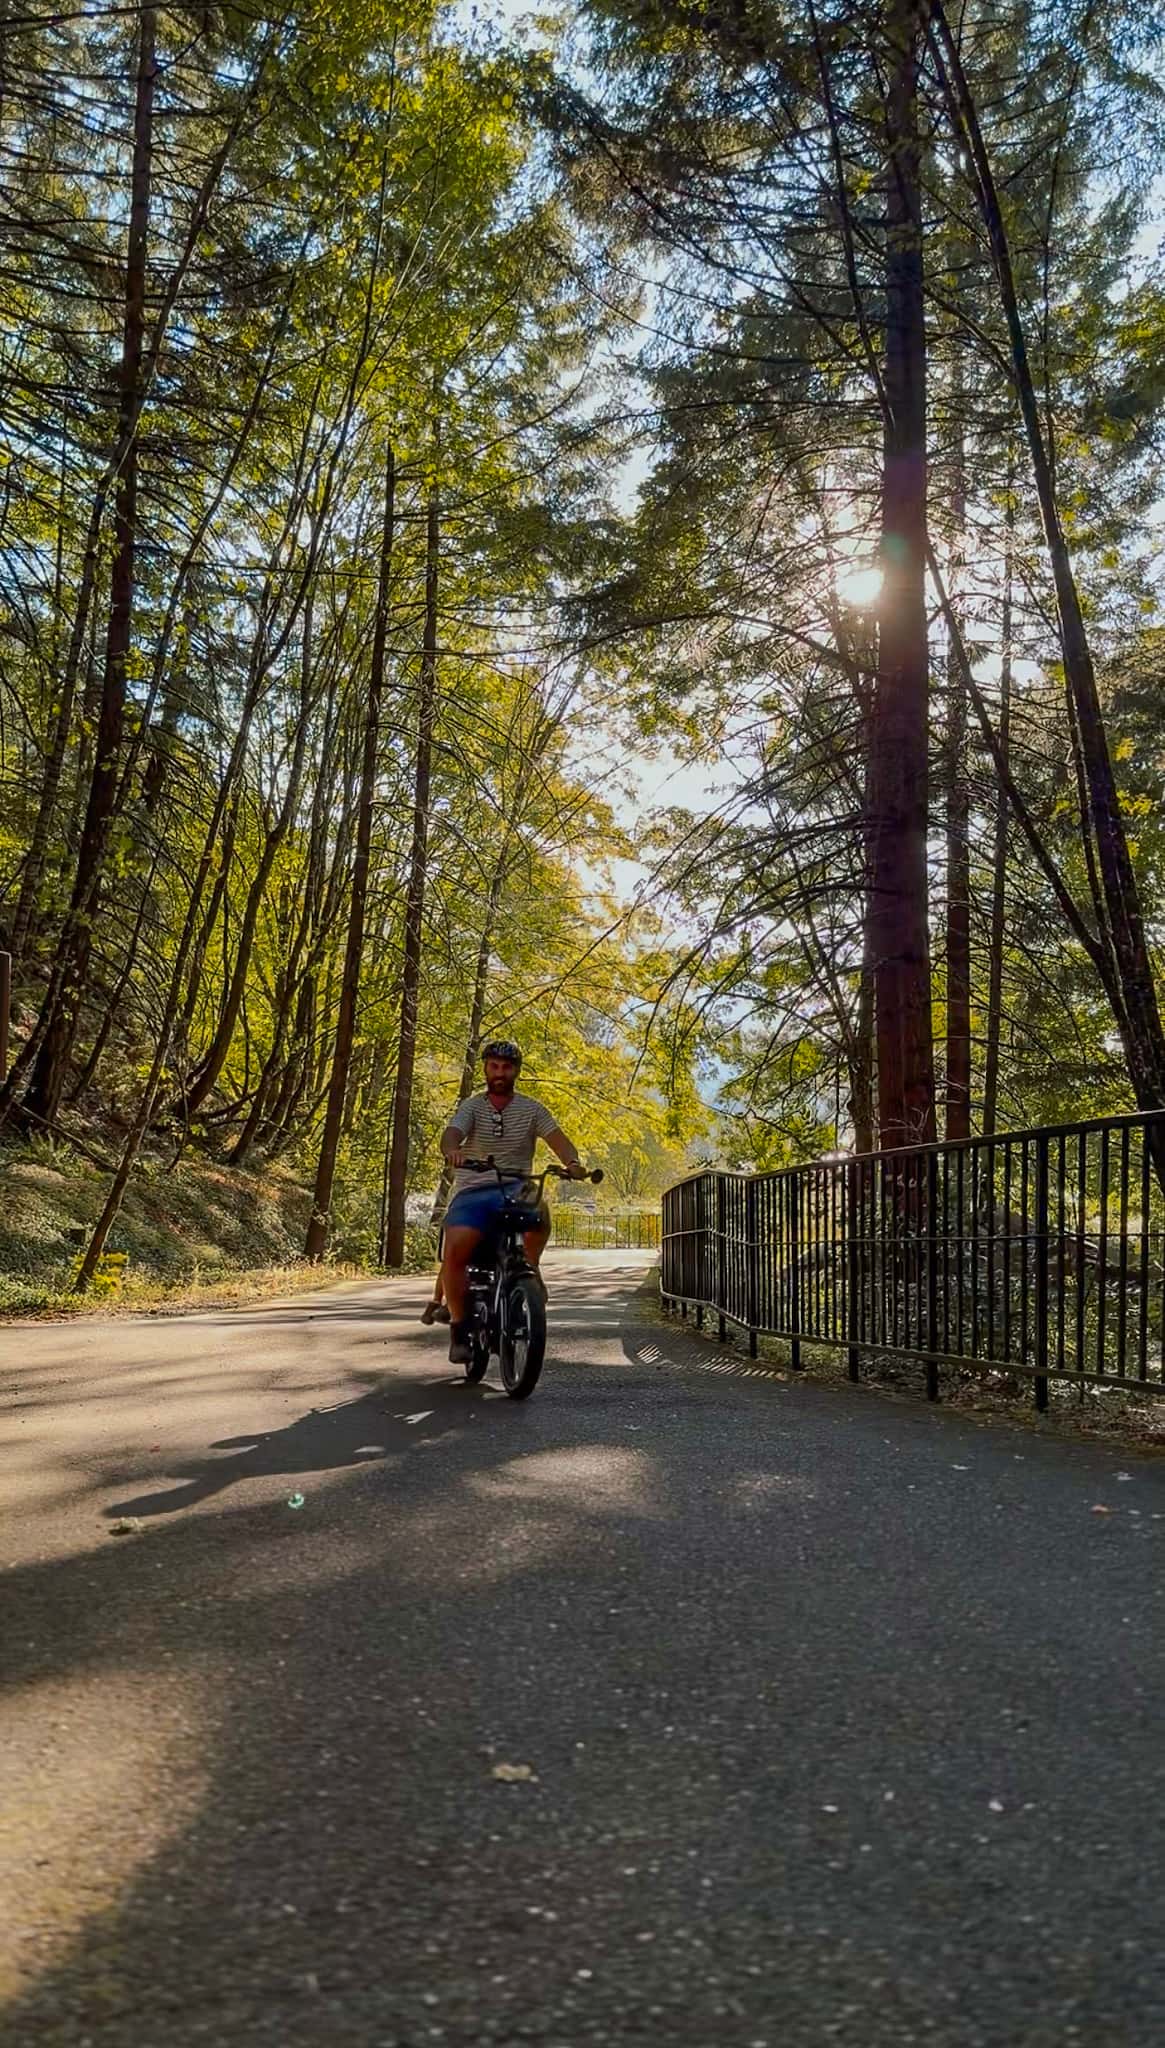
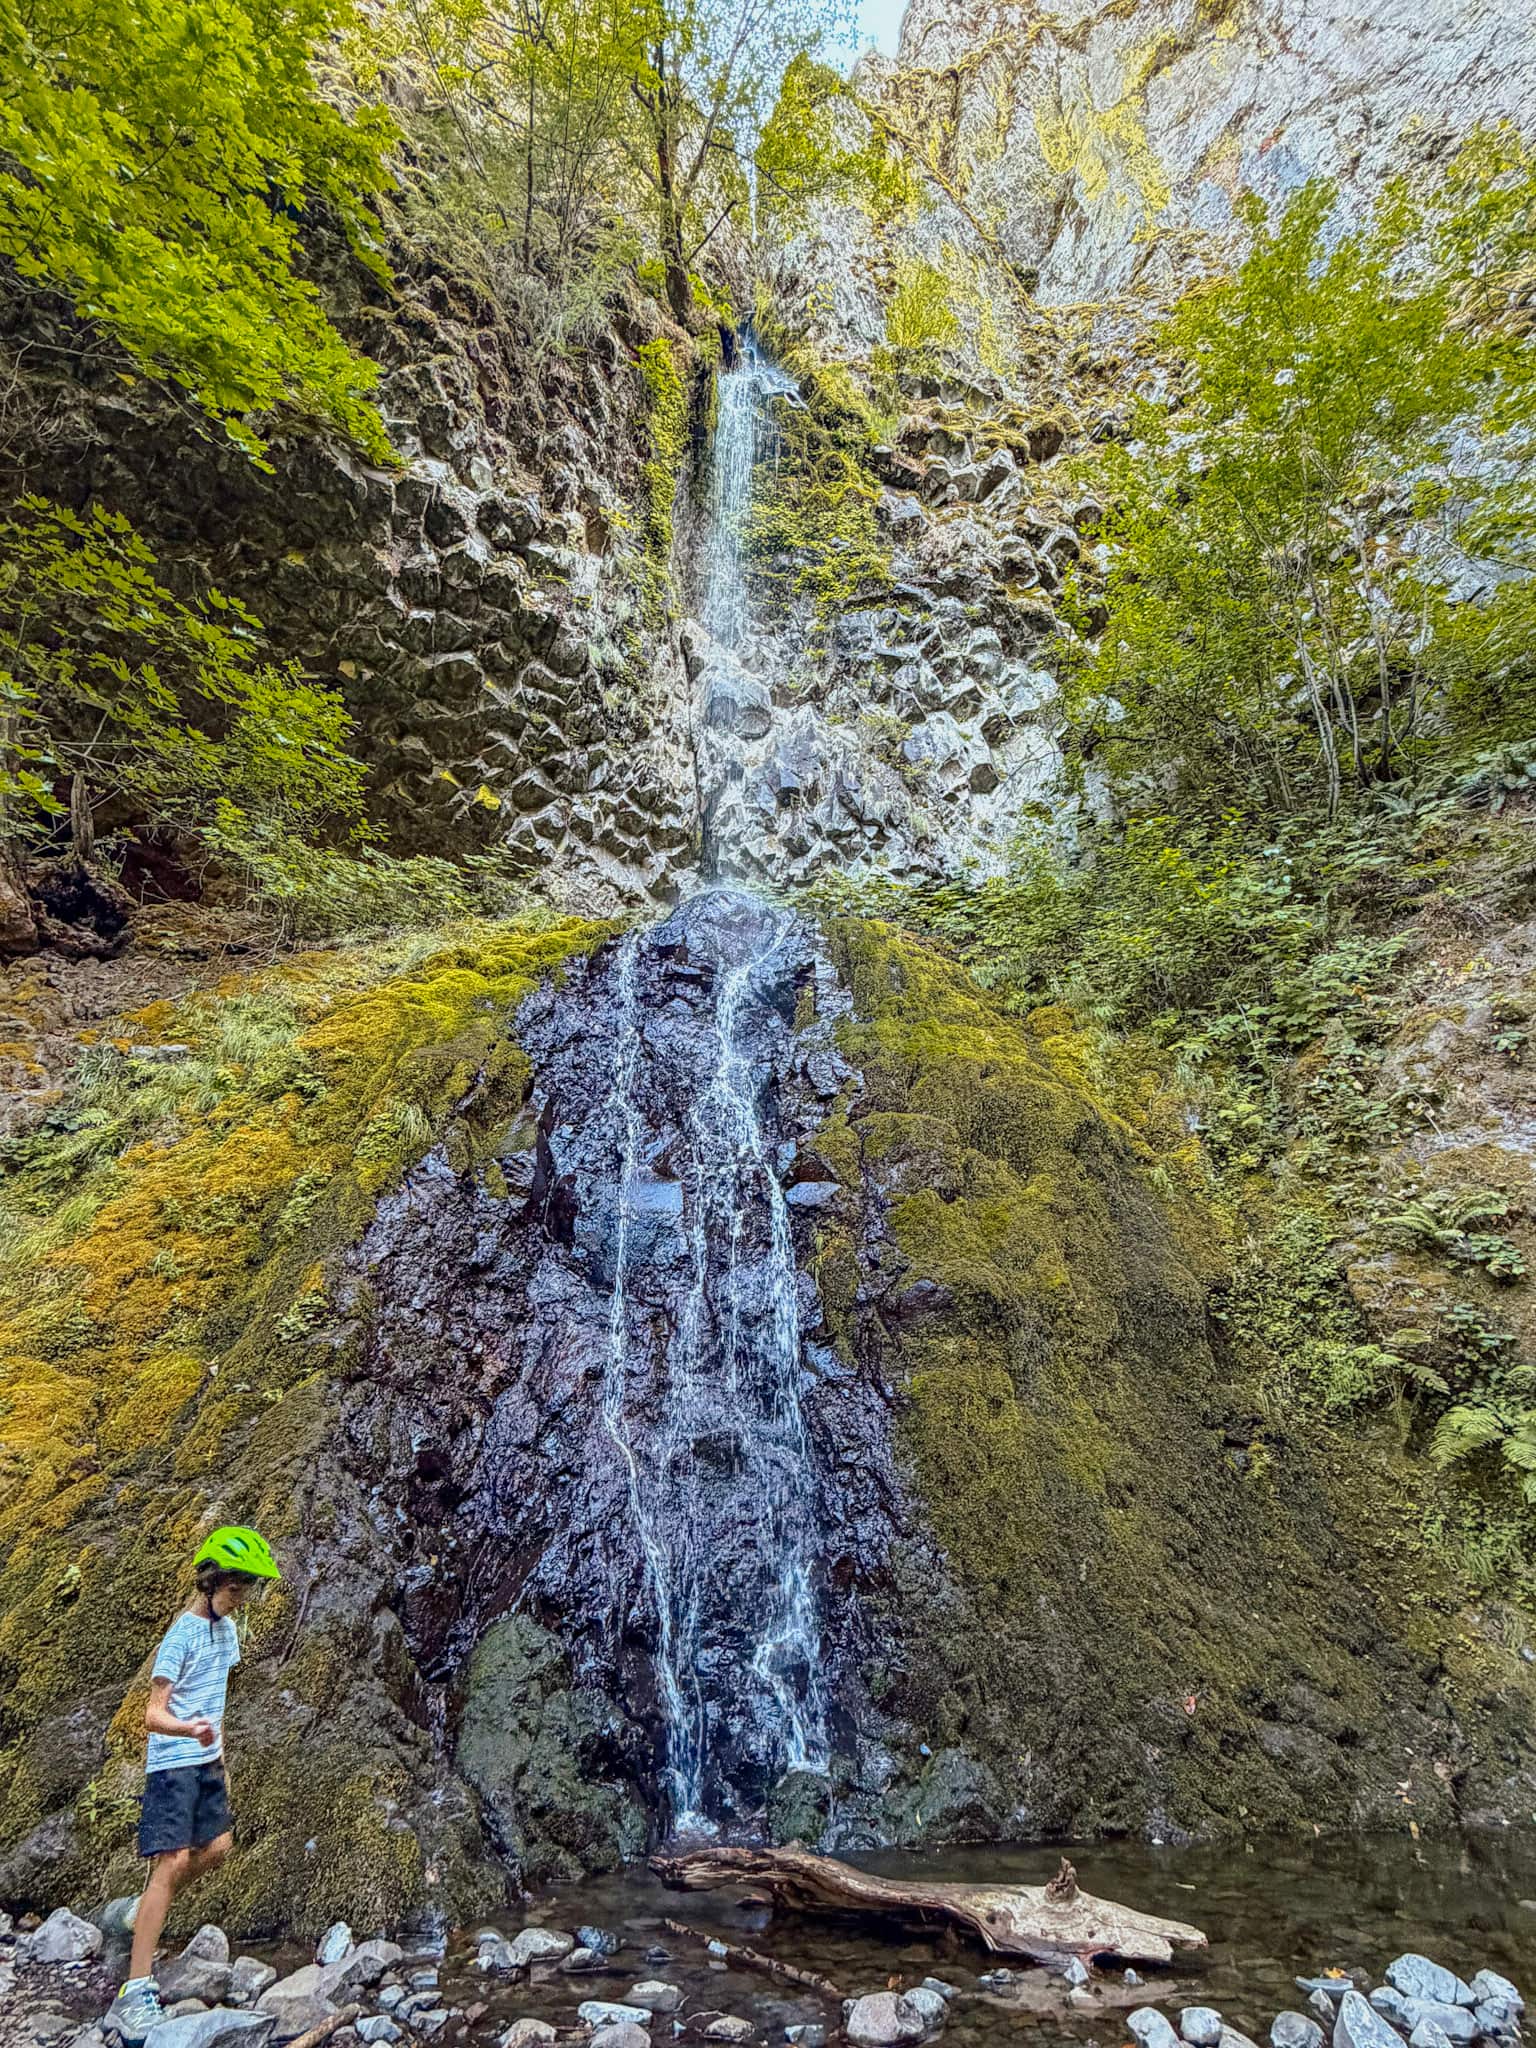
We did the 3-hour Waterfalls & Waterfront Tour, renting 2 adult e-bikes with passenger seats on the back. It fit our kiddos perfectly, and was a really fun adventure to end our trip with.
Then we headed back into Portland for the night to pack back up and get ready to head home the next day.
While there are definitely some campsites in and around Portland we could have stayed at, we decided after 10 nights in a camper van we would be ready for a real shower and bed, so we booked a room near the airport instead.
Day 11: Return the Campervan & Head Home
After 10 full days on the road, it was time to return our campervan and head to the airport.
Our flight left Portland in the early afternoon, which gave us plenty of time to repack our bags, empty out our van and get it returned.
If you’re renting a camper van or RV, I highly recommend doing the same. Giving yourself a buffer before your flight makes the end of the trip much less stressful.
Where to Stay on a Washington & Oregon Road Trip
One of the biggest advantages of traveling this route by camper van is the ability to stay close to the places you’re exploring, along with not having to pack & unpack our suitcases every single night.
Our overnight stops included:
- Beaverton
- Fort Stevens State Park
- Hoh Rainforest Campground
- Sol Duc Campground
- Elwha area
- Deception Pass State Park
- Rasar State Park
- Silver Springs Campground
- Cougar Rock Campground
- Gifford Pinchot National Forest
- Portland
If you’re traveling without a campervan, you’ll want to plan your lodging around these same general areas.
Staying close to the parks is particularly helpful because many of these destinations become much busier later in the morning. The closer you stay to the park, the easier it is to get there early in the morning before the crowds show up.
How Much Driving Is Involved?
This is not a slow road trip.
You’re covering a lot of ground in 10 days, and several days involve multiple stops and hikes.
That’s one reason I really loved having a camper van, and I truly think it’s the best way to go for this road trip. We weren’t constantly checking in and out of hotels or packing everyone’s bags every morning.
That said, if you don’t love itineraries that are packed to the brim, I would consider adding 2–4 additional days to allow you to slow down just a bit.
The easiest places to add time are:
- Oregon Coast
- Olympic National Park
- North Cascades
- Mount Rainier
Tips for Planning Your Washington & Oregon Road Trip
Reserve campsites early.
Summer is peak season throughout the Pacific Northwest. Popular national park and state park campgrounds fill quickly.
Book your campsites as soon as they open up, which is 6 months in advance for all NPS sites.
If you don’t get the site you want right when it opens, don’t panic! Sign up for cancellation notifications. We were able to grab several campsites this way.
Check tide charts.
If tide pooling is part of your plan, your itinerary needs to revolve around the tides—not the other way around. Definitely check when low tide is before planning an entire day around it!
Start early.
This is particularly important at the National Parks, as parking spots are limited and wait times can get long during peak times.
Leave some flexibility.
We had a lot planned, but weather and wildlife can change plans quickly in the Pacific Northwest.
If plans change and you have to pivot, don’t stress. The entire PNW is a truly magical place, and no matter what your alternate plans end up being, it will be amazing.
Download everything you need beforehand.
Cell service is limited or nonexistent in many areas of the national parks and forests, so make sure to download Google maps, NPS maps, AllTrails maps and your Guide Along tours before your trip starts.
Pack layers.
Even in the middle of summer, temperatures can vary dramatically between the coast, mountains, and rainforest. I highly recommend bringing rain jackets, a few pairs of pants, and sweatshirts, even if you are visiting in the summer. The first several days, we desperately wished we had a pair of pants – we were there in late July!
Should You Do This Road Trip in a Campervan?
For us, absolutely.
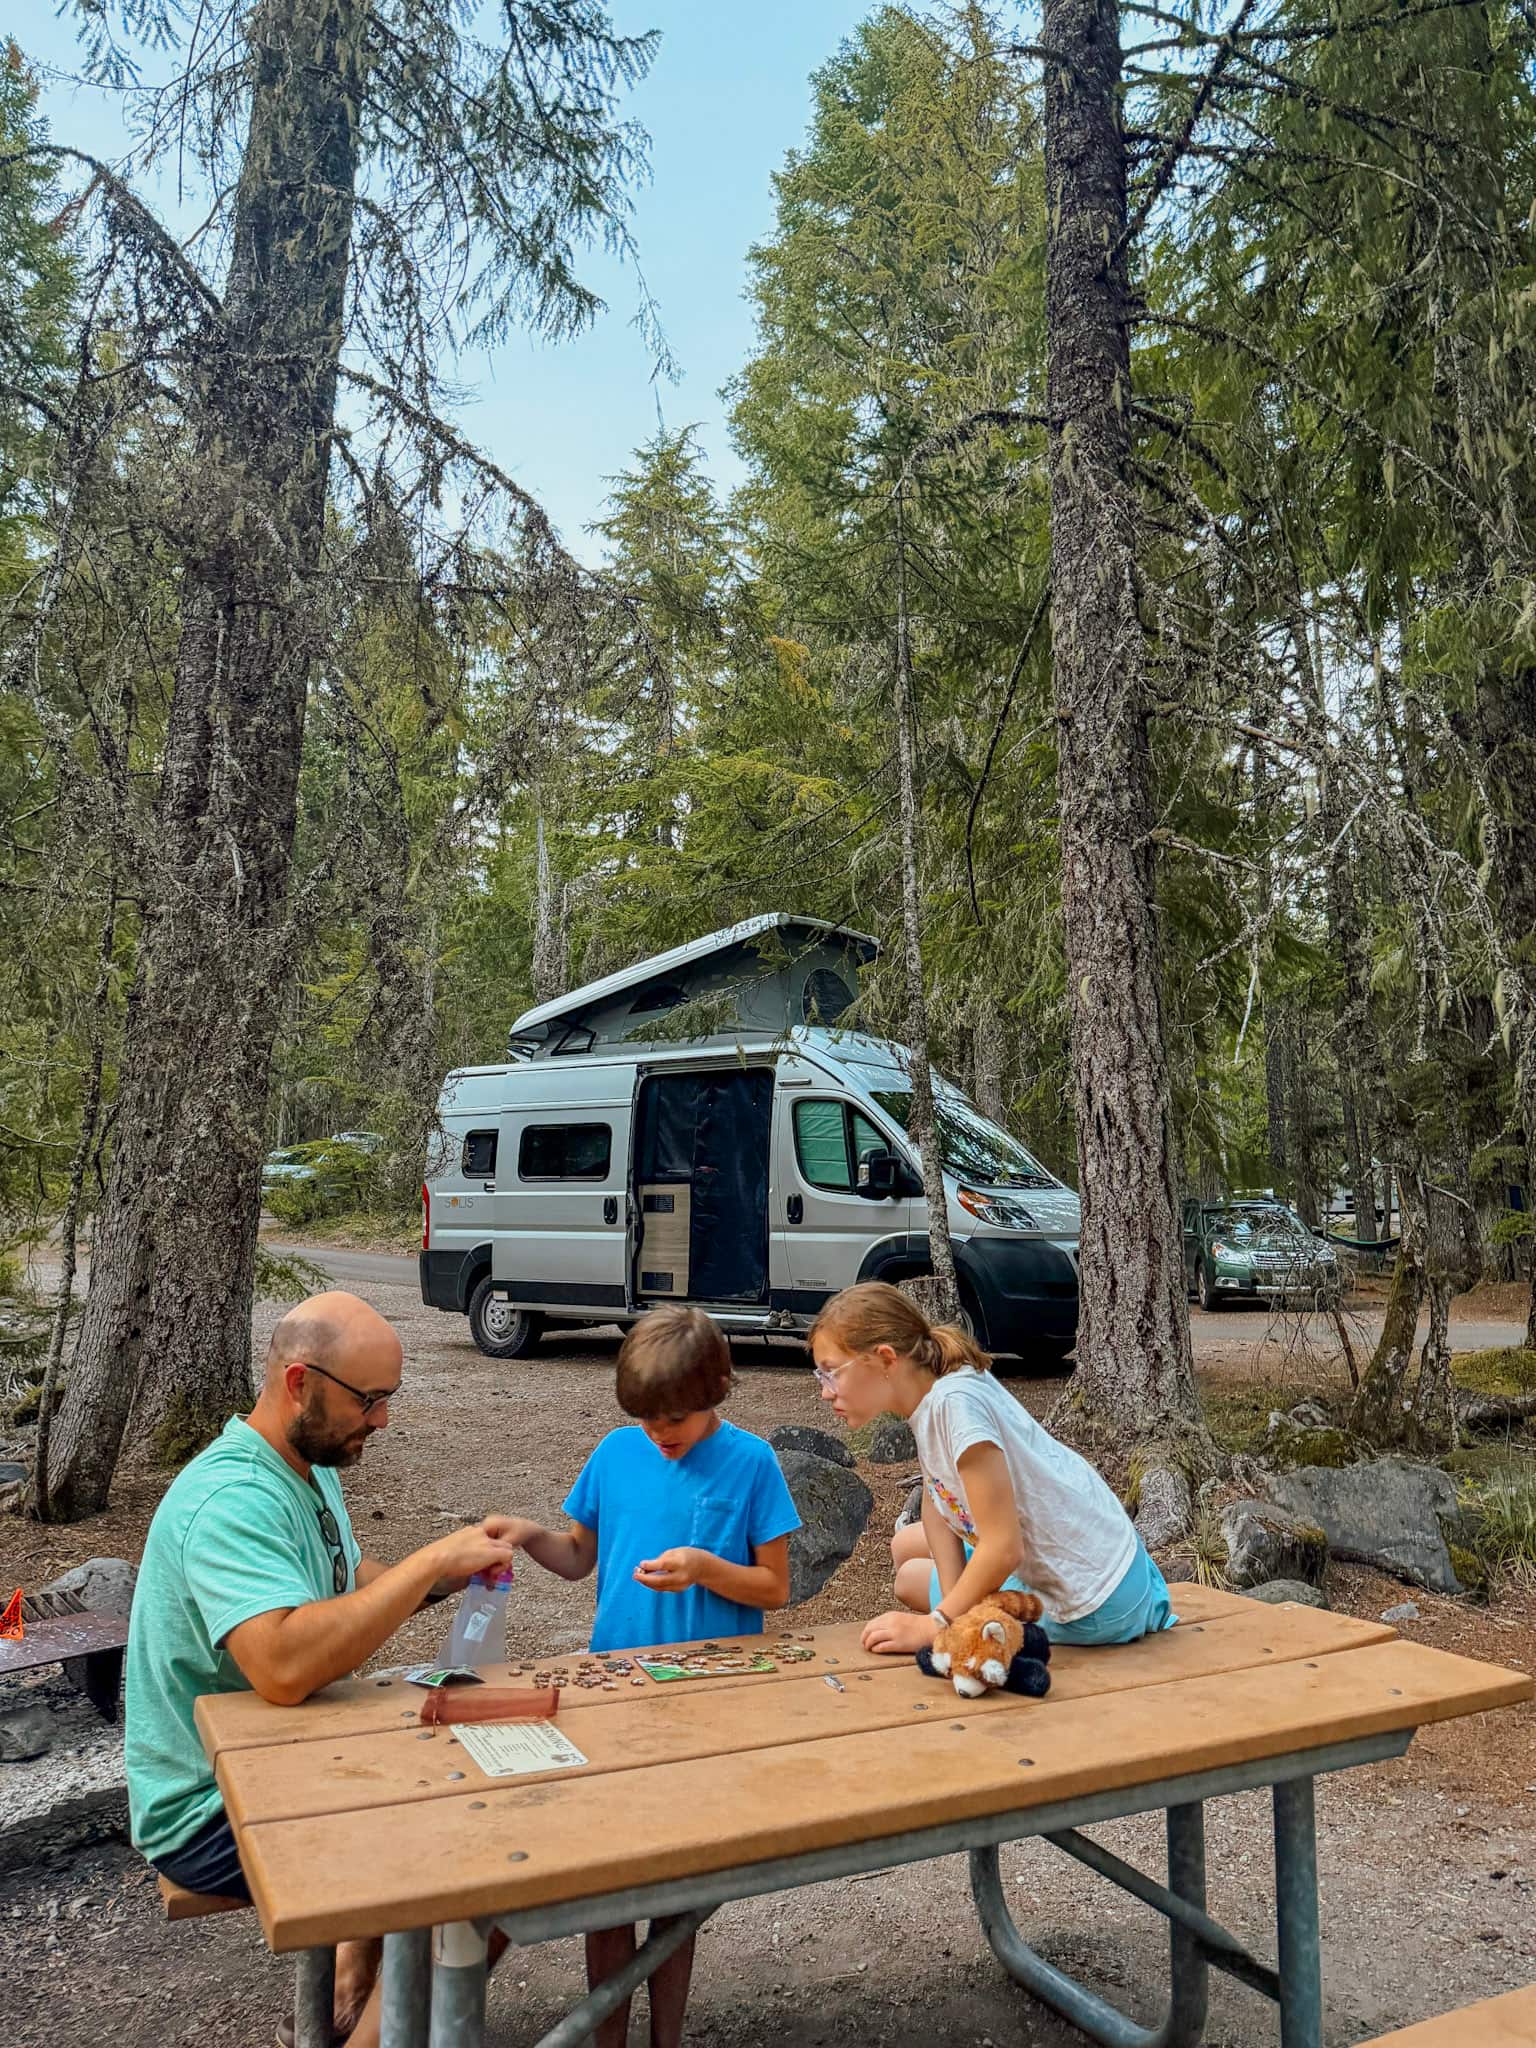
The camper van made this particular itinerary feel much more manageable because our accommodations moved with us. We could make lunch in the parking lot after finishing a long hike, cook dinner at our campsite, and stay close to the parks instead of driving back to a hotel every evening.
It also added an element of adventure that our kids loved, and helped us feel truly immersed in the magic of the Pacific Northwest.
But campervan travel isn’t for everyone.
There are definitely tradeoffs when five people share a small space for 10 days, and there are a few things I would do differently next time.
I’ve written a separate guide about what it’s really like to take a campervan road trip with kids, including what we loved, what was challenging, and whether I’d recommend renting one for your family.
Final Thoughts on Our Washington & Oregon Road Trip
Our 10 days through Washington and Oregon were packed, but that’s part of what made this trip so special.
In a single trip, we walked through a rainforest dripping with moss, searched for creatures in tide pools, saw a pod of orcas hunting, hiked through fields of wildflowers, paddled across a turquoise lake, explored waterfalls, rode a scenic train, and crawled through an ancient lava tube.
And that’s what makes the Pacific Northwest such an incredible family road trip destination. You aren’t doing the same type of adventure every day, and there’s truly something here for every member of your family.
One day you’re at the beach. The next you’re hiking through a rainforest. Then you’re surrounded by mountains.
If you have 10 days and want a road trip that combines national parks, hiking, wildlife, beaches, waterfalls, and plenty of unique family adventures, I can’t think of a better route.
More Pacific Northwest Family Travel
Planning to follow our route? Start with these guides:
- Olympic National Park With Kids
- 9 Must See Spots in Olympic National Park with Kids
- Where to Stay in Olympic National Park with Kids
- Best Beaches & Tide Pools in Olympic National Park
- Oregon Coast Road Trip With Kids
- North Cascades National Park With Kids
- 6 Best Family-Friendly Hikes in North Cascades
- [Mount Rainier National Park With Kids]
- [Best Family-Friendly Hikes in Mount Rainier]
- [Ape Cave: Everything You Need to Know]
- What It’s Really Like Traveling in a Campervan With Kids
- Our Top 10 Campervan Essentials
- 10 Easy Campervan or RV Meals for Families
- What it Really Cost to Rent a Campervan for a 10 Day PNW Road Trip